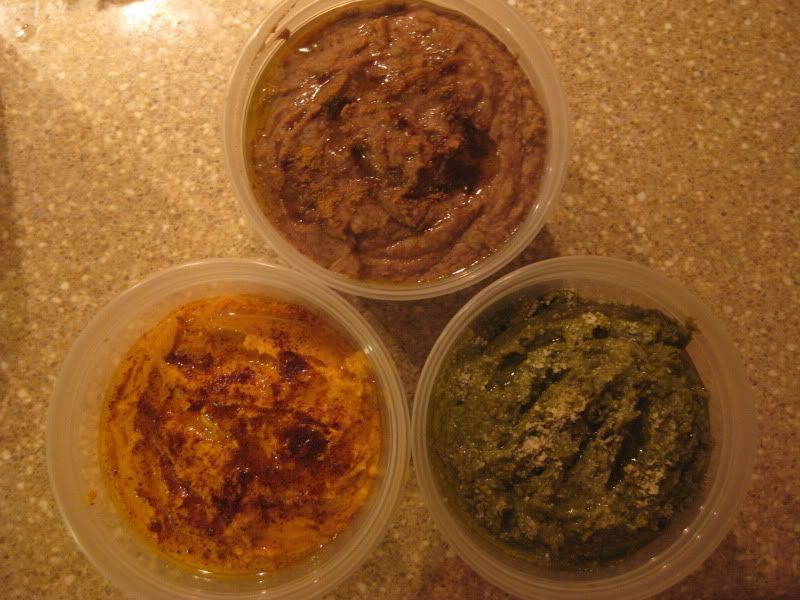
Today I have three different flavors of hummus, along with a very basic hummus recipe so you can try your own varieties. You will be shocked at how easy and inexpensive it is to make. If you have a food processor or blender, and five minutes to spare, you're in business! (The hummus business, that is)
Basic Hummus Recipe
I don't have any pictures for this guy, because once you realize how many wonderful flavor combinations there are, basic hummus is just too boring. Here are the step-by-step instructions:
- Drain one can of chickpeas (also called garbanzo beans), but save the water in another container. Dump the chickpeas into your food processor or blender, and blend on high speed until the beans form a paste. Once they won't break down any more, add a little bit of the reserved water, a teaspoon at a time, until your hummus is nice and creamy.
- Add 1-2 tablespoons of tahini. Tahini is a paste made from sesame seeds and has a texture and flavor not unlike natural peanut butter. You can find tahini in the ethnic section of the supermarket, or in a pinch, you can even use natural peanut butter, as long as it really is natural (ingredients: peanuts, salt).
- Add a little olive oil, salt, and lemon juice. For the olive oil, I just make a quick ring around the food processor bowl. Add the salt and lemon juice to taste. Basic hummus also benefits from a little dash of cumin and ground coriander if you have it on hand.
- Blend until creamy and thoroughly mixed, and guess what? You have hummus! Eat it right away, or for best flavor, put it in a container, top it with a drizzle of olive oil, and put it in the fridge for a couple of hours to let the flavors marry.
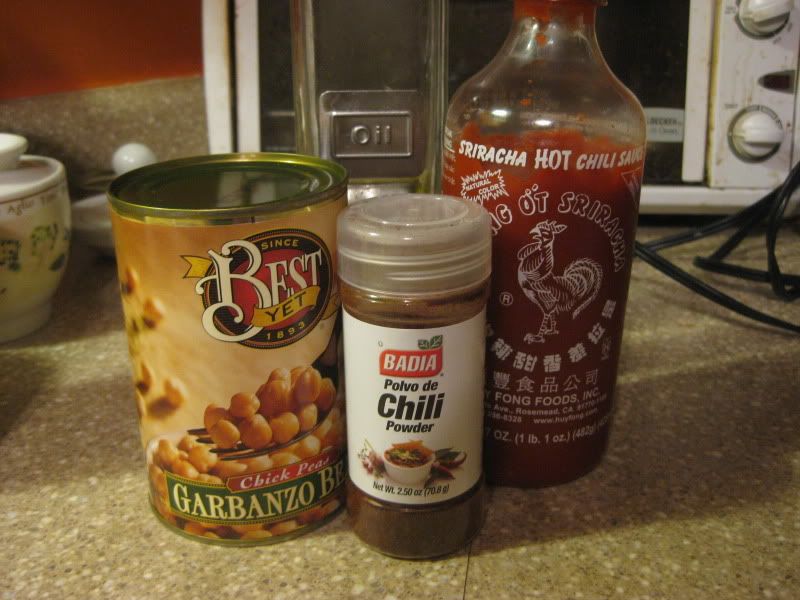
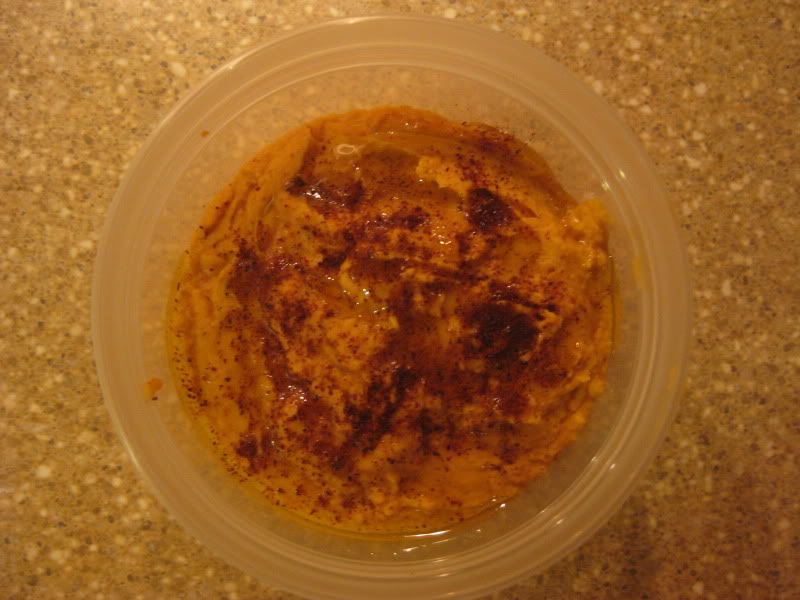
Spicy Sriracha Hummus
 |
| Not pictured: Tahini |
For this variety, simply omit the lemon juice and add a tablespoon of chili powder and a healthy squirt of srirachi sauce. Top with a drizzle of olive oil and a sprinkle of chili powder.
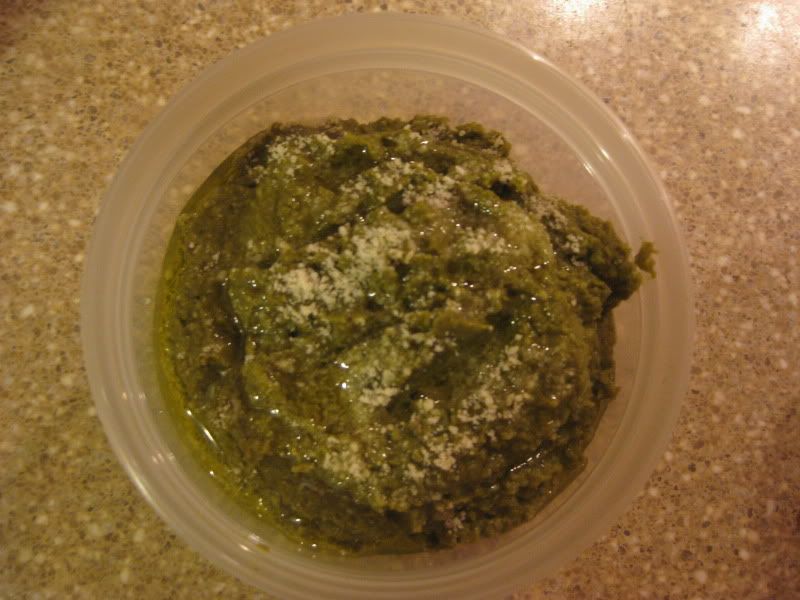
Spinach and Artichoke Hummus
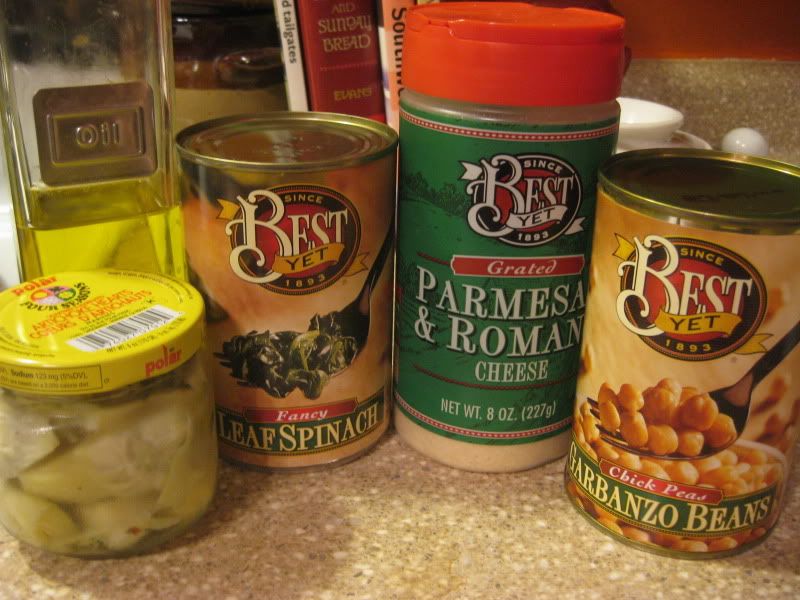
For this variety, add 1/4 cup chopped cooked spinach (I used canned), 1/4 cup of marinated artichoke hearts, and a healthy helping of parmesan cheese (the green can is just fine). Top with a drizzle of olive oil and a sprinkle of parmesan cheese.
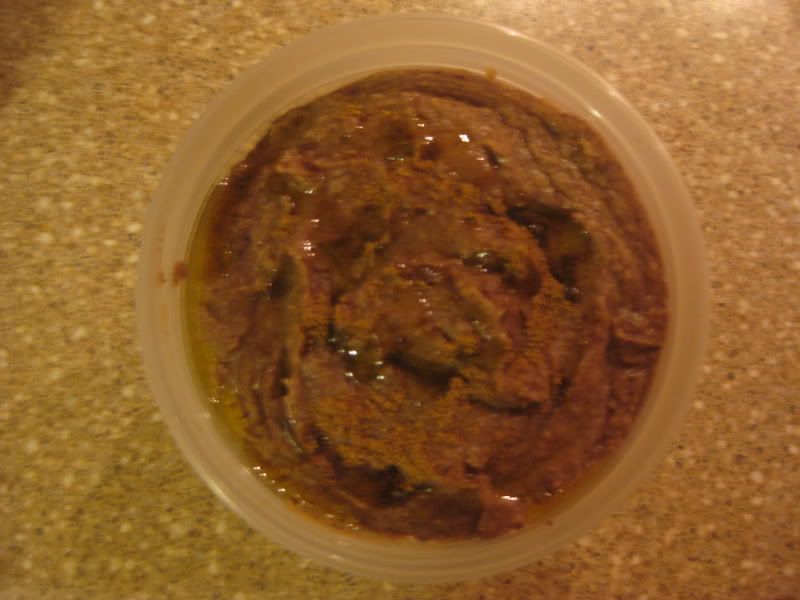
Black Bean Hummus
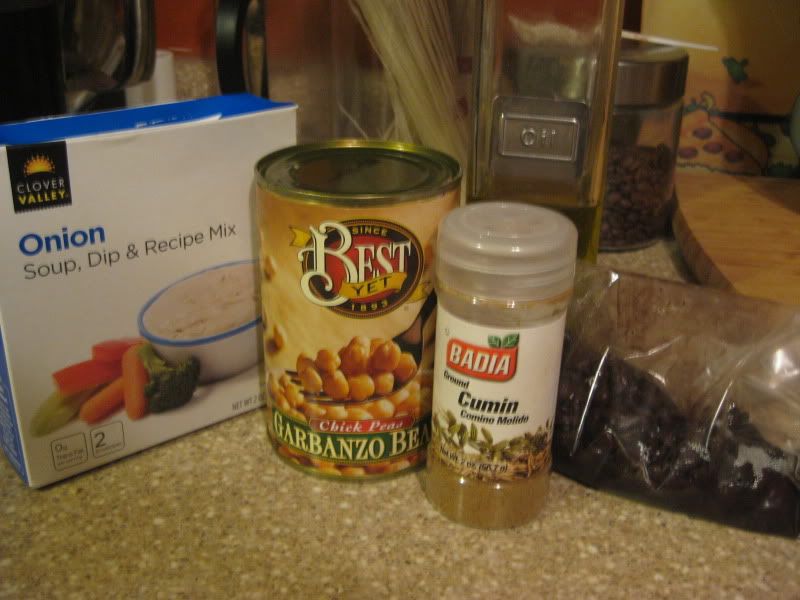
For this variety, add 1/2 can of drained black beans, 1/3 packet of onion soup mix, go a little heavy on the cumin, and omit the salt entirely (there is plenty of salt in the onion soup mix). Top with a drizzle of olive oil and a sprinkle of cumin.
Now, how do you eat this hummus you've just made? Well, it goes great with some pita slices, fresh veggies (Scott and I like cucumber, grape tomatoes, and celery), on a sandwich instead of mayo, in a wrap, on a salad, on slices of toasted french bread with a dollop of diced tomatoes, and sometimes right out of the jar with a spoon.

Nugget the infamous monster-cat was roaming the kitchen counter after I had made all the hummus, and she seemed particularly fond of the reserved chickpea water. That lady is strange.
 |
| Thanks for helping, Nuggs. |