Showing posts with label Asian. Show all posts

Tuesday, September 21, 2010

Kimchi Spring Roll - FAIL!

Yes, this was a fail.  So why am I still blogging about it?  Because the flavors were all there... sesame oil, kimchi, chili paste, fish sauce, etc... there was just a massive execution mishap.  I will tell you exactly how I made these in the hopes that you can learn from my mistake and never make spring rolls this way, ever.  I'll also tell you how I would do it next time, so hopefully there is still a salvageable recipe buried in here somewhere.
Fail.

To be honest, these might have turned out okay if I had changed just one little ingredient: the wrapper.  I sent Scott off to the Asian market today to pick up supplies, and I even provided him with a shopping list.  My error was that I did not make a detailed enough list for him.  When I asked for spring roll wrappers, I meant for him to get the kind that are flour-based, square, and either refrigerated or frozen.  I can't possibly blame him, because what he brought home was clearly marked "Spring Roll Wrappers", only they were Vietnamese-style rice paper wrappers.
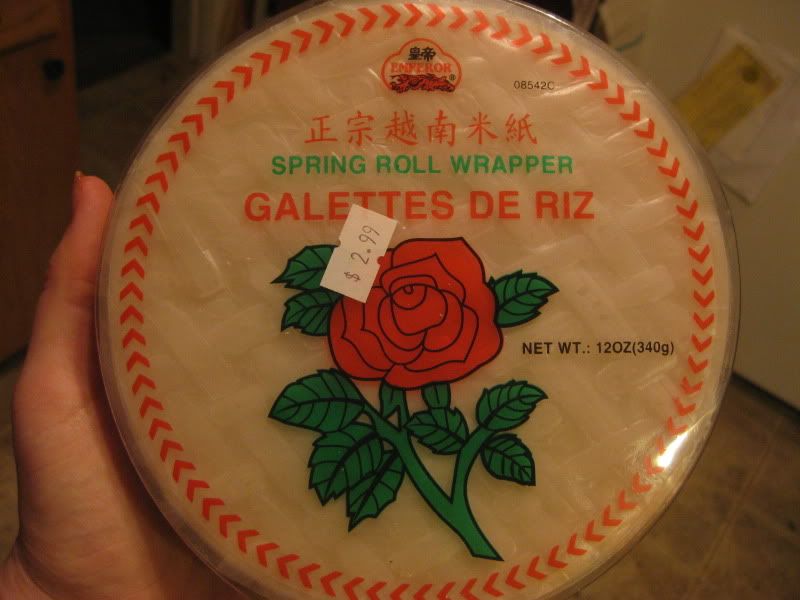


Totally different.  I figured I could either run down to the grocery store (the Asian market is too far away for a last minute trip) and pick up some phyllo dough, or I could just see what happens with the rice paper.  I hate, hate, hate phyllo dough (to cook with, not to eat... that stuff is delicious), so we decided we would just figure out how to work with the rice paper.
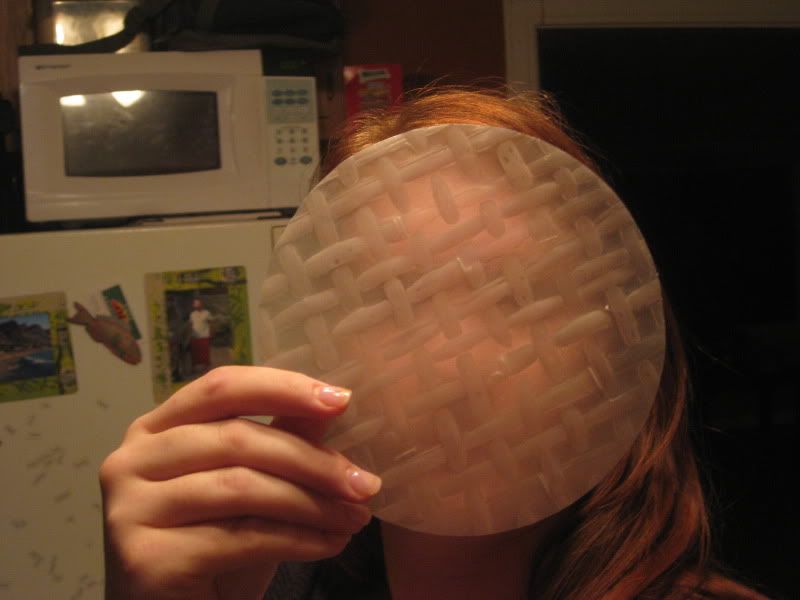
Sort of see-through... weeeird!

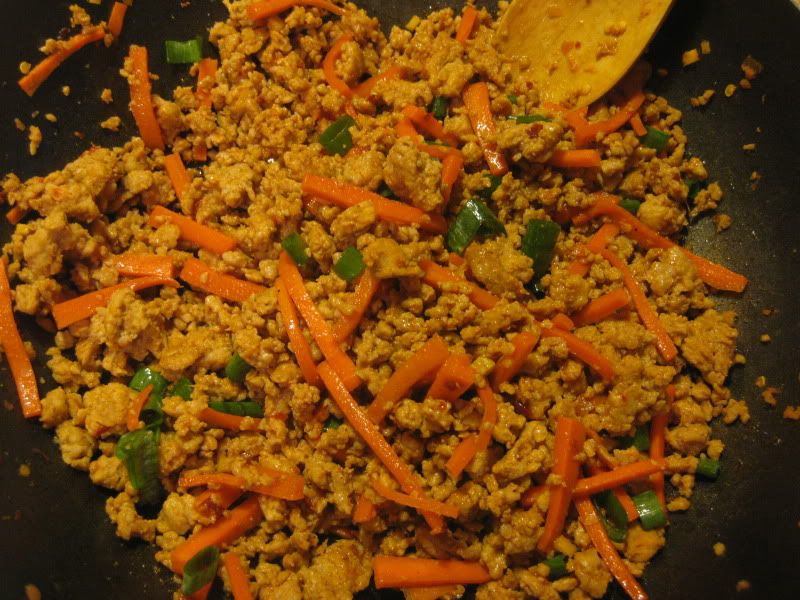
From there, I just made everything as normal.  I browned some ground pork in a skillet with some sesame oil, minced ginger, and julienned carrots (I use the terms "minced" and "julienned" loosely, as my knife skills are sorely lacking) marinated in a blend of soy sauce, mirin, fish sauce, brown sugar, and chili-garlic paste.


 A word on fish sauce, for those who have never cooked with it before: the flavor is essential to most Asian dishes, so you really can't substitute.  It's typically made from anchovies, water, and sometimes some salt and sugar.  It tastes delicious.  I promise.  Here's the thing, though... when you open up the bottle and take a whiff, it straight up smells like sweaty underwear.  It is a most pungent, unpleasant, and gag-inducing aroma, but please don't let that deter you.  Something magical happens when you cook with it, and it makes all Asian food taste like manna from heaven.  Strange but true.

My first time working with actual ginger. True story.

Meanwhile, I chopped up some kimchi that Scott also picked up from the Asian market.  By the way, this kimchi was made fresh just for us... all the store had were giant, restaurant-sized jars of kimchi, so when Scott asked if they had anything smaller, the shopkeeper told him, "Fifteen minute!  You shop!", and before Scott had gathered everything from my list, the guy presented him with a half-gallon sized jar of freshly-made kimchi.  Nice!
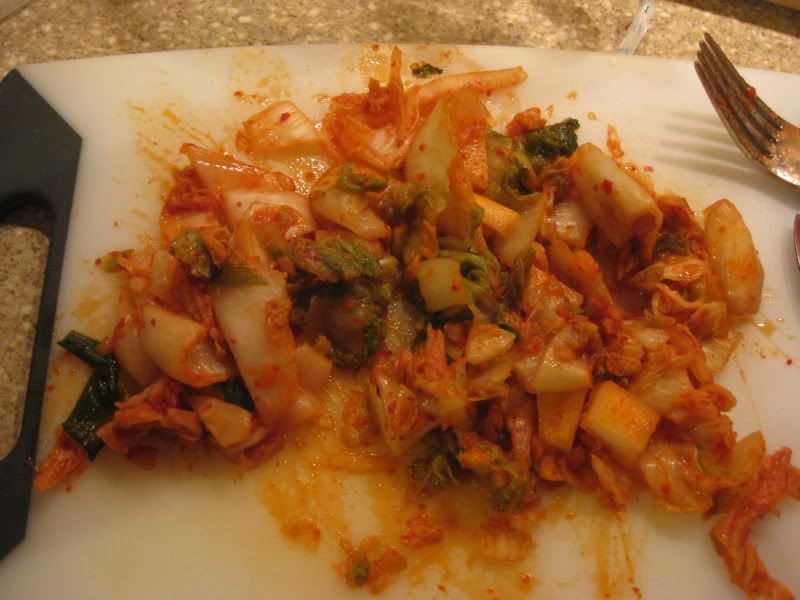
A hot mess of chopped kimchi.

Now to deal with these rice paper wrappers... I filled a bowl with some hot water and wrapped a cutting board with a wet kitchen towel.  I had all my fillers at the ready, and I had my oven pre-heating to 425 degrees.  I also had a small bowl with equal amounts of sesame and canola oil to brush over the spring rolls, to prevent them from getting too crunchy in the oven.
Sesame oil is one of my favorite smells

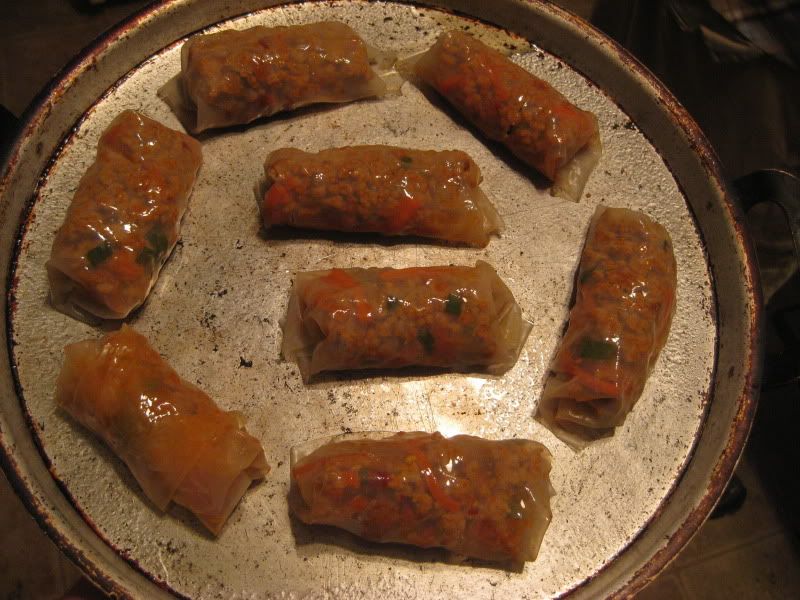
One at a time, I dipped a sheet of rice paper in the hot water for about 5 seconds, then laid it out on my cutting board.  I placed a tablespoon of the pork mixture and a tablespoon of kimchi in the center of each one, then rolled them up like a taco.  It was fast and easy work, and in about 5 minutes, I had made 8 of them and was ready to be done.  I had originally planned to made a whole bunch of spring rolls for freezing, but I didn't think these would turn out well, so I stopped at a dinner-for-two sized amount.

You can only barely see the wrapper in this shot


After brushing them lightly with oil, I baked them for about 10-15 minutes, until they were getting brown on top and the fillings were starting to think about oozing out, and let them cool until they were almost at room temperature.  (Trust me, I tried digging in when they were cool to the touch, and the steam that came out of the spring roll nearly burned off my face)  I served them with the Pioneer Woman's sesame noodles, topped the whole thing with some spring onions, and grumbled through my whole meal.


Okay, next time, I would do things exactly the same way, except that I would use flour-based wrappers instead of rice paper.  Don't get me wrong, the rice paper is good, but it's meant to make summer rolls, chilled or room-temperature rolls filled with vegetables.  It just didn't work for this kind of filling.  I do have a lot of pork and kimchi left over, so I will be making fried rice sometime in the near future.  All in all, dinner wasn't terrible, and Scott even said it was good, but it's not something I would ever serve to guests.

Wednesday, September 15, 2010

Weeknight Beef Stir-Fry

A stir-fry is one of the quickest and easiest meals to throw together when you just don't have time to cook.  Aside from the rice, you can have a hot, delicious meal in about ten minutes from start to finish.  Take that, Rachael Ray!

I didn't feel up to cooking last night, but I didn't want to settle for a PB&J for dinner, so I poked around in the fridge, grabbed a few handfuls of this and that, and made a wonderful spicy beef stir fry for two, with leftovers for breakfast burritos in the morning!


There is literally no recipe for this meal, only a method, so it is endlessly customizable, and I guarantee that no matter what's in your fridge right now, you can pull a great stir-fry out of it!  All you need is a good sauce, some veggies, and some protein (and the protein is optional).  You can serve it over rice, noodles, scrambled eggs, mashed potatoes, or even just on a plate by itself!  The secret is in the way that you cook, not what you cook.

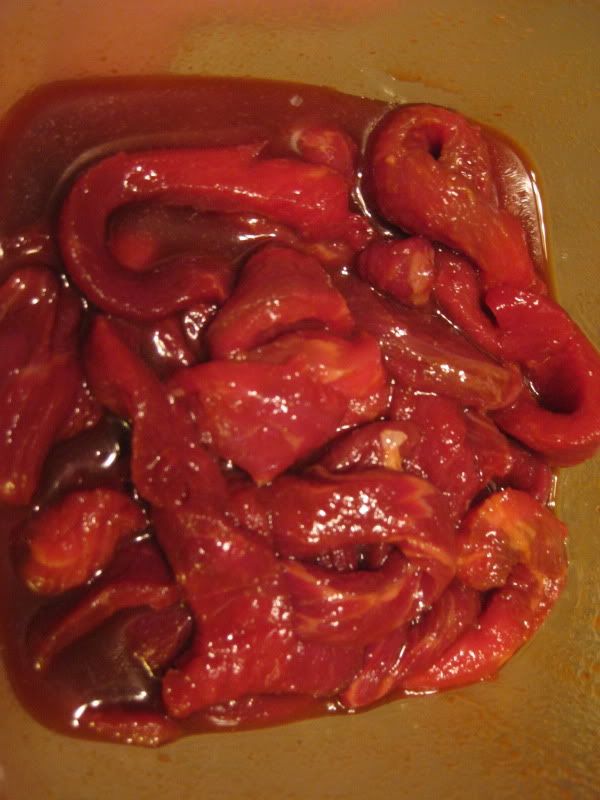
I started by marinating about 3/4 of a pound of beef sirloin strips in my homemade sauce.  I cheated and got the strips pre-cut at the grocery store, but whatever protein you're using (chicken, shrimp, pork, tofu, and firm fish are all really good options), make sure to slice them into uniform, bite-sized pieces.

Beef strips in marinade... yum!

For the sauce, I combined about 1/4 cup soy sauce, 2-3 tbsp each rice wine vinegar and sriracha, and about a tsp each of ground ginger and honey.  Since there was so much soy sauce, there's no need for any more salt in the dish.  I mixed it up in a tupperware, tossed it with the beef strips, and let it sit on the countertop while I made the rice.

Speaking of rice, here's my tried-and-true, foolproof rice cooking method: 1 part water, 1 part homemade chicken stock (that's another post), and 1 part brown rice.  Add everything to a pot, bring it to a boil, and as soon as it starts a heavy roll, put on a TIGHT fitting lid (if your lid does not fit snugly, or has holes in it, cover with a piece of tin foil first), and turn the heat to low (number 2 on my electric range).  After 25 minutes (15 for white rice), turn the heat completely off.  DO NOT take off the lid!  Let the pot sit on the burner for another 15 minutes, then remove the lid and fluff with a fork.  Perfect every time!

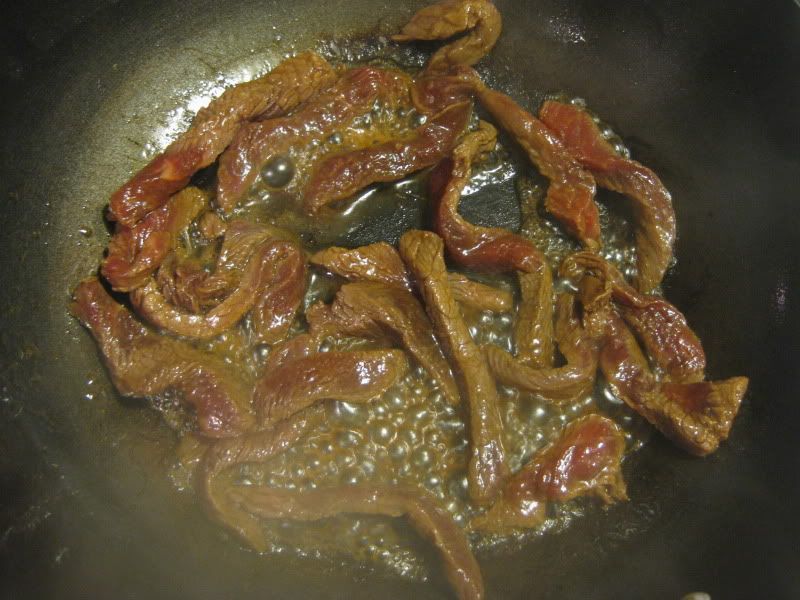
When I had turned the heat off for the rice, I started my stir-fry.  I heated a dry wok on high while I chopped my veggies.  This time, I was low on veg, so I just sliced up some yellow onion and had a pack of frozen stir-fry veggies on hand to bulk it up.  Then I added 1 tbsp canola oil to the wok, gave it a stir, and added my beef (just the meat, please... the sauce comes later).  I let the beef strips cook for about a minute, then I gave them a toss, cooked for another minute, and removed them from the wok.  Over-stirring makes for gray meat, and that's a no-no.


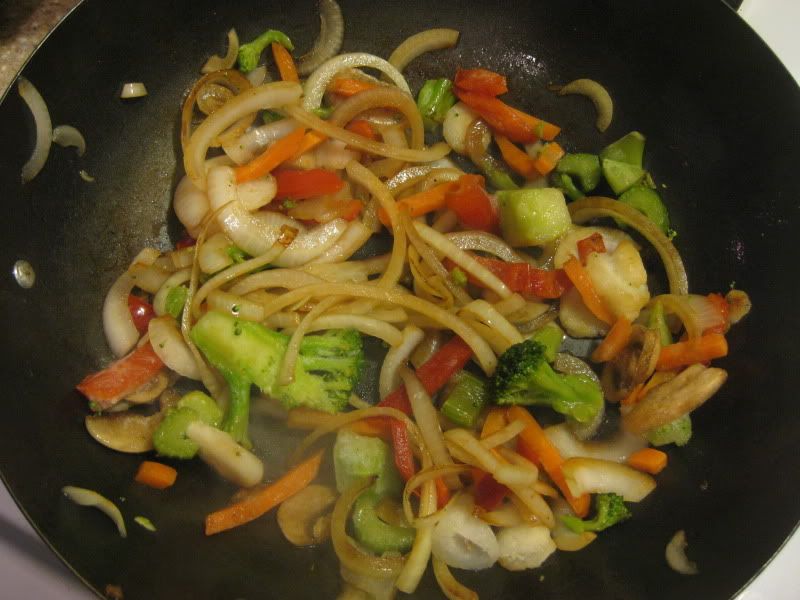
Next I added a teeny bit more oil and my onions, tossing them constantly until they were brown but not yet soft.  I threw in my frozen veggies (a blend of broccoli, mushrooms, water chestnut, carrots, and red bell pepper) and let them cook until they had thawed out and the wok was hot again.

Colorful veggies!

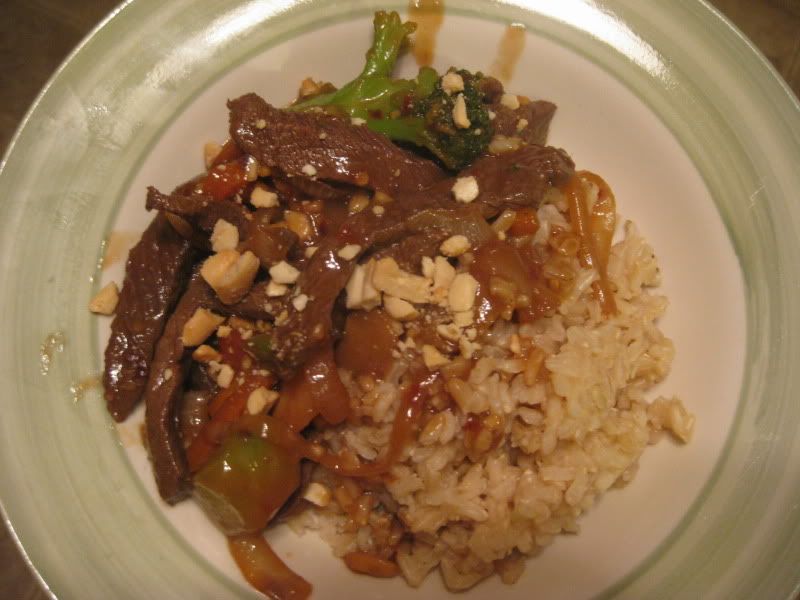
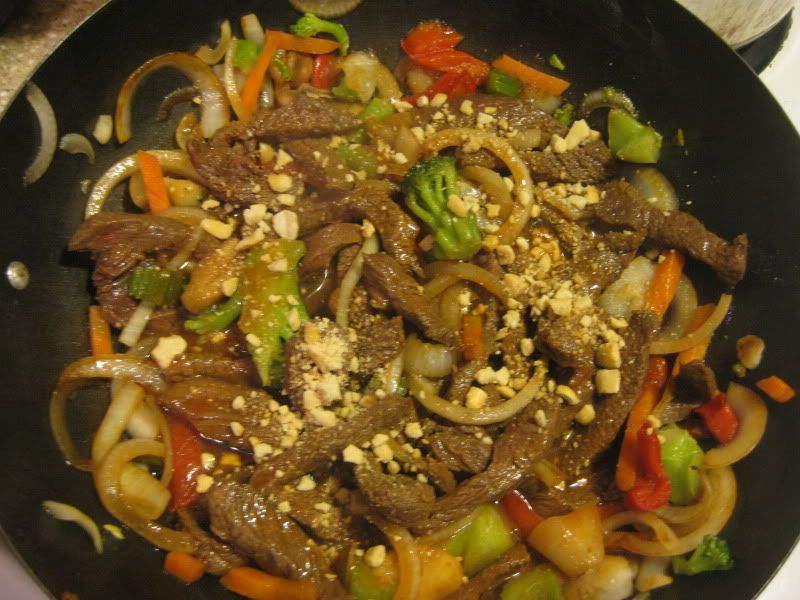
Then I added in my beef strips once more, stirred a teaspoon of flour in with the marinade, and tossed in the sauce.  I turned the heat down to low and let the sauce reduce until it was nice and thick.  I happened to have some chopped peanuts in the fridge, so I tossed them in, too, for a little crunch and flavor.


By this time, my rice was done, and it was time to eat!  I topped everything off with some chopped peanuts and red pepper flakes, and we were good to go.


For breakfast the next morning, I re-heated my stir-fry, scrambled some eggs, and rolled everything up in some flour tortillas for a quick and easy breakfast burrito, fusion-style.

Remember that you can make this with ANY kind of protein and ANY kind of crunchy veggies, so make it your way!

Printable Recipe

Wednesday, July 28, 2010

"Grilled" Shrimp Pad Thai

To celebrate many things, including (1) fixing my computer, (2) rediscovering the Asian market near my house, and (3) gorgeous summer weather that is just starting to cool a little bit after sundown, Scott and I decided to made Pad Thai for dinner last night AND remember to blog about it!


We wanted to make sure we used a very authentic recipe, so I scanned the internet and compared results to get what seemed like the best, most authentic, and most easily replicated recipe.  I wanted a good mix of items I could find at my local supermarket along with some more bizarre ingredients only found at the Asian market in cryptically designed packaging.  We also wanted to use a method of cooking we had seen on Good Eats with Alton Brown (one of our favorite shows), where Alton prepares his pad thai in a wok over an outdoor grill.  Here's the link to this episode on YouTube if you'd like to see how it's done.  (The recipe we found is also very similar to Alton's)

The most important thing to understand about pad thai is that it cooks very quickly.  You need to have all of your ingredients prepped and at hand so that the cooking process goes smoothly.  If you prepare in advance, the cooking time should be less than 10 minutes from wok to plate.  So, are you ready?  Here's how we did it!

Ingredients (to serve 4):
1/2 lb fresh raw shrimp, peeled and de-veined
1/2 lb rice noodles (or "rice stick")
4-5 cloves garlic, chopped
3 shallots, thinly sliced
1/3 cup tamarind concentrate *
1/3 cup fish sauce *
1/4 cup palm or cane sugar (gula jawa)*
1/4 cup dried shrimps (tom kho)*
1/4 cup sweet salted radish *
3 eggs
3 cups bean sprouts
1 cup green onions, chopped in 1" pieces
2/3 cup chopped peanuts
2-3 dried red chilies or 1 tbsp chili garlic sauce (to taste)
sesame or peanut oil for cooking

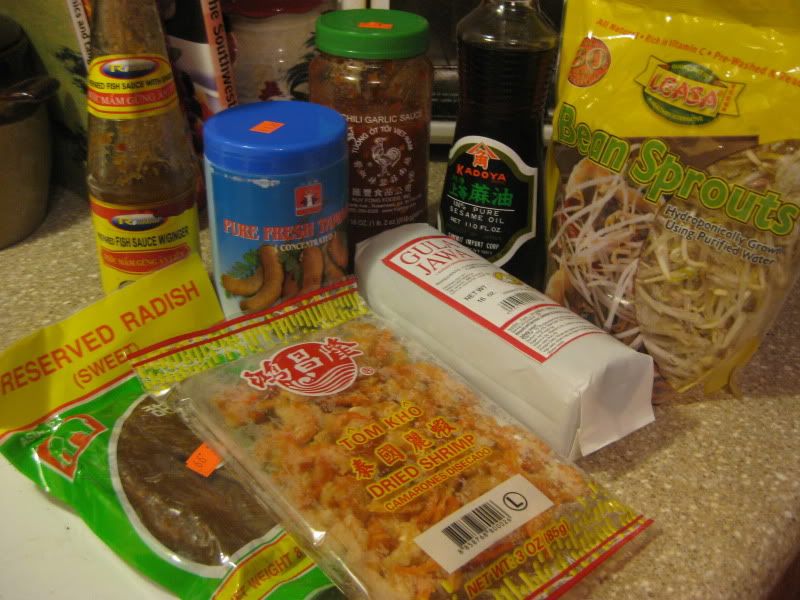
Some of the more unusual ingredients.  Clockwise from top left: Fish Sauce with ginger, Tamarind concentrate, Chili Garlic sauce, Sesame oil, Bean sprouts (from Publix), Gula Jawa (palm and coconut sugar), Dried shrimps, and Preserved sweet-salty radish.
*These ingredients are usually only found at your local Asian market.  If you live in Birmingham, definitely check out Super Oriental Market in Homewood.  That's the store I go to, and they have an amazing selection of pretty much any Asian food product you will ever need.

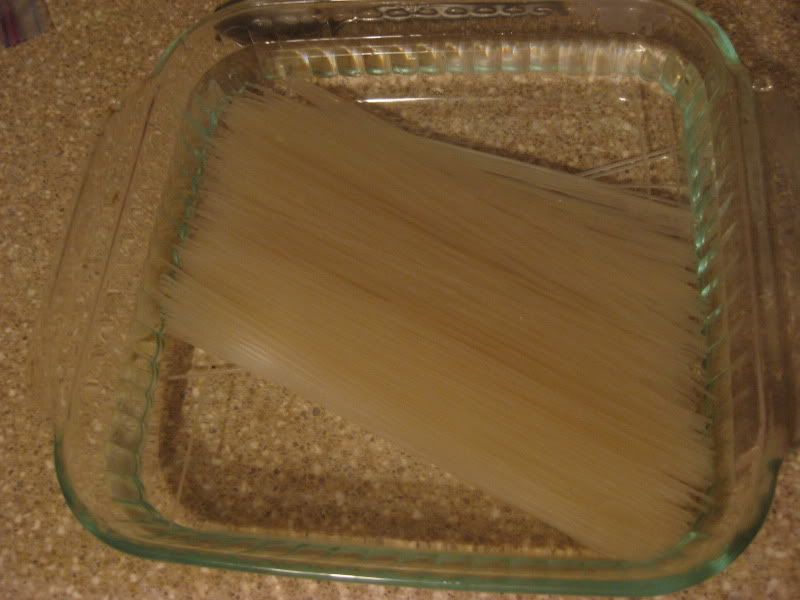
First, soak your noodles in lukewarm water for about 40 minutes or until they are flexible but not yet really soft.  I wasn't sure about this step at all, having never cooked rice noodles, but I found out that a good way to tell if they are ready is to try to wrap a noodle around your finger.  If it wraps without breaking, but gives some resistance, it's ready.  The noodles will finish cooking in the wok.

Rice Noodles, or "Rice Stick" soaking in lukewarm water

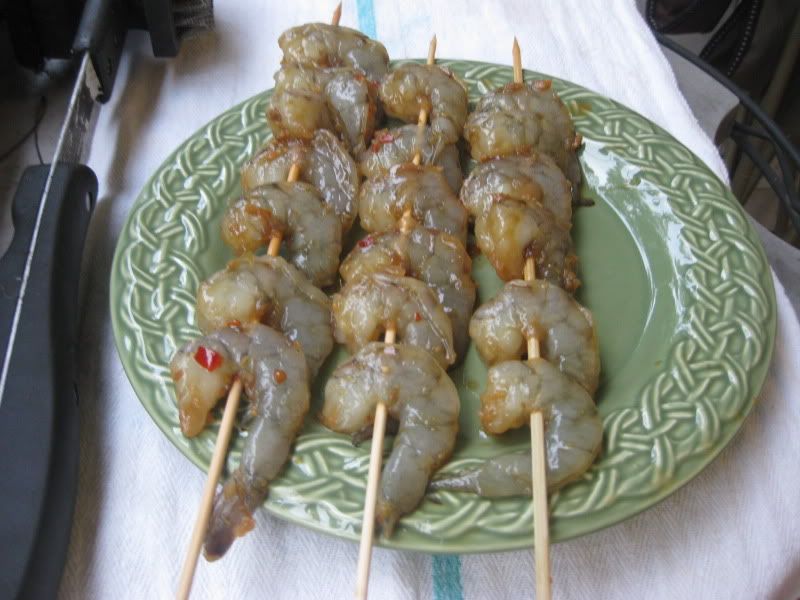
While the noodles are soaking, prepare and cook your shrimp.  I marinated ours in some fish sauce (the fish sauce I use is mixed with ginger.  If you use regular fish sauce, which should be clear and not cloudy, you might want to add some other ingredients to the marinade.) while the grill was heating up.


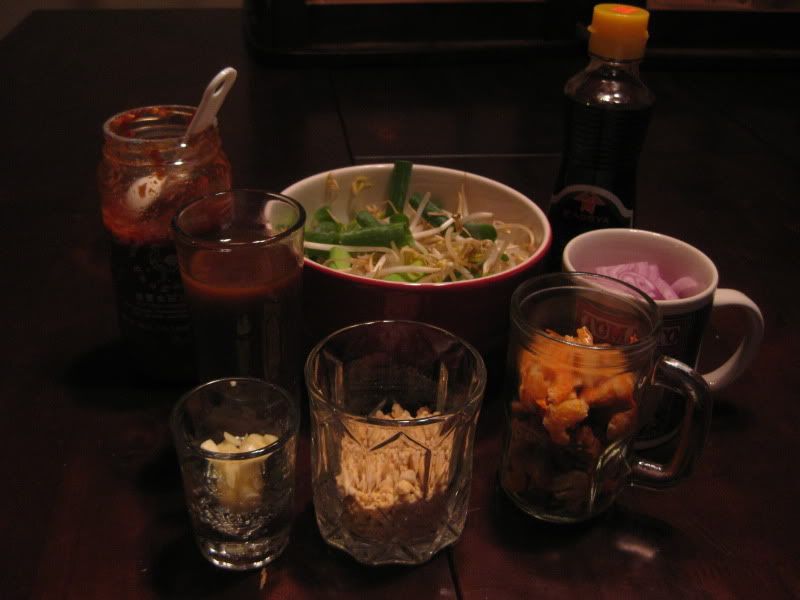
While Scott got the grill ready, I prepared the rest of the ingredients.  For the sauce, mix the tamarind concentrate, fish sauce, and sugar in a small bowl until the sugar is fully dissolved.  Then, chop up all your vegetables and place them all in separate small bowls or containers so that you can easily grab them and add them to the wok when it's time.  I arranged my ingredients in various bowls, coffee mugs, and shot glasses because no one has bought me a set of pinch bowls (yet).

Clockwise from top left: Chili Garlic Sauce, bean sprouts and green onions, sesame oil, sliced shallots, dried shrimps and chopped preserved radish, chopped peanuts, chopped garlic, and sweet-sour-salty sauce.

Once the grill was nice and hot, Scott skewered up the shrimp (remember to soak those skewers so they don't burn!) and cooked them for about 1-2 minutes per side.  You want them to be underdone, but just slightly.  There isn't much worse than rubbery, overcooked shrimp!

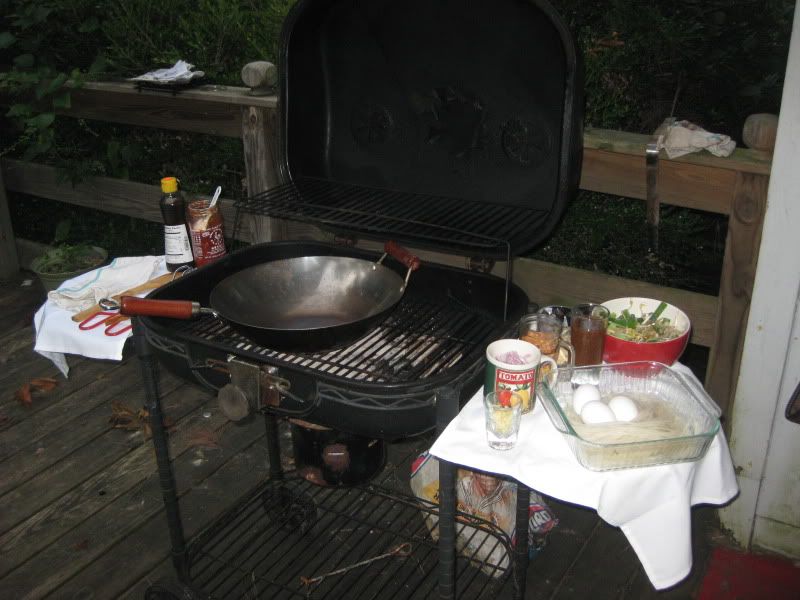
Now, make a checklist.  Are your noodles flexible?  Are your sauces and veggies prepped and handy?  Is your grill hot and your wok ready?  ARE YOU HUNGRY FOR SOME PAD THAI?  If you answered yes to ALL of these questions, you are ready to cook!  There is no going back at this point. 

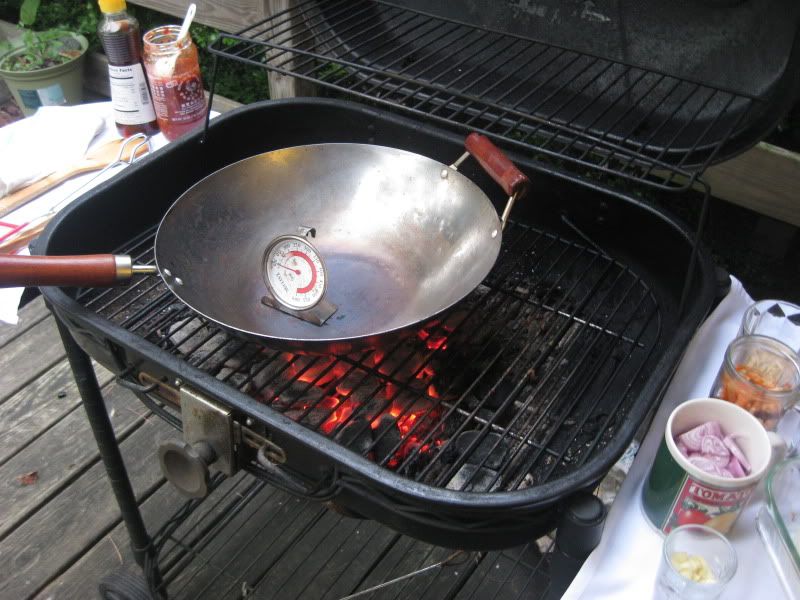
The grill set-up
Crazy-hot wok!
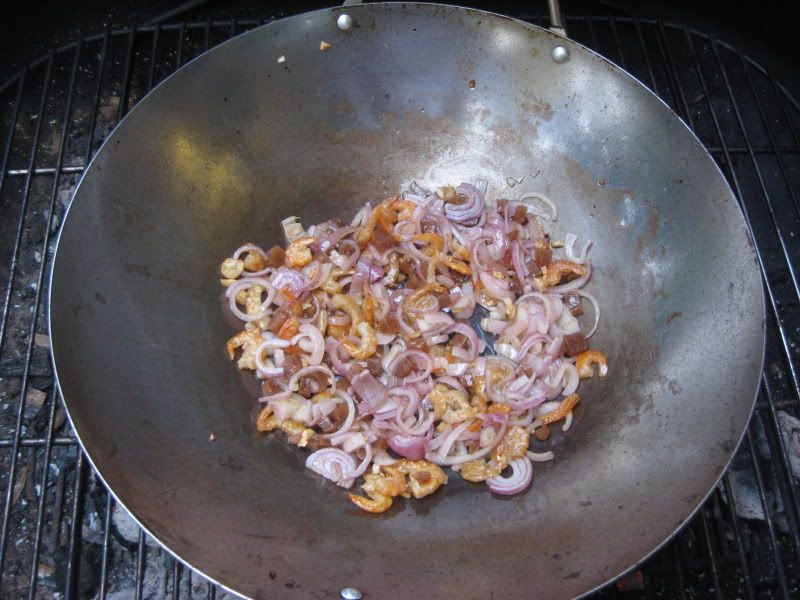
Your first step is to put the wok on the grill rack, right over the hottest area of coals.  Let it sit for about five minutes, or until it is screaming hot.  When it's crazy, hellfire hot, add about 2 tbsp of sesame or peanut oil and swirl it around the wok.  Now add your garlic, toss, and wait 15 seconds.  Quick, add your shallots, give it another toss, and wait another 15 seconds.  Now, add the dried shrimps and radish and cook through, about 1-2 minutes, tossing and stirring constantly.  
Garlic, shallots, dried shrimps, and preserved radish
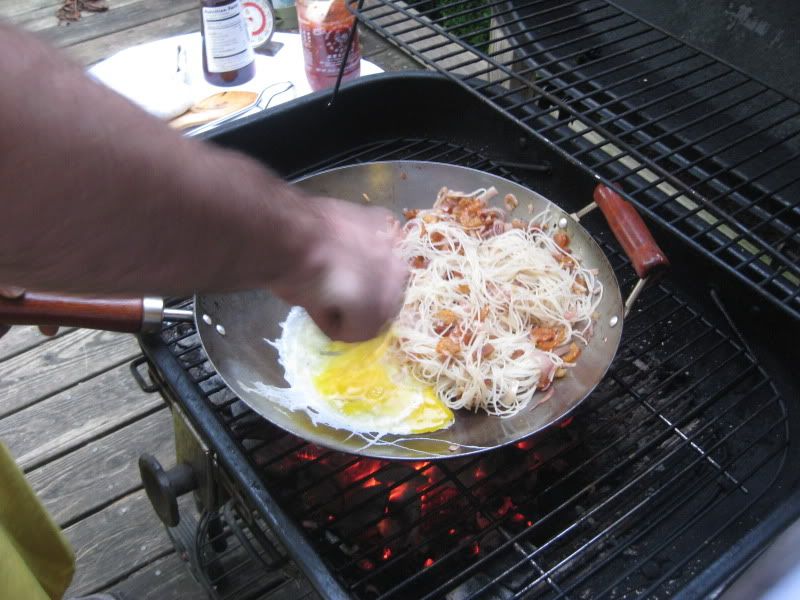
Next, add your noodles and toss to combine, cooking another 1-2 minutes.  Move the noodles to one side of the wok, add a little more oil to the pan, and quickly crack in 3 eggs, using some chopsticks or a wooden spoon to scramble lightly.  

Scrambling the eggs with the noodles and co. to the side

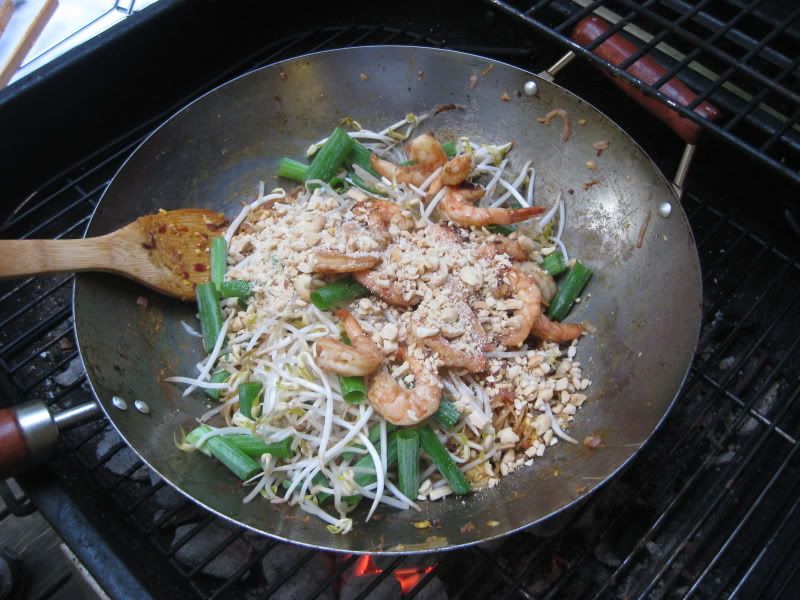
Once the eggs are set, toss them in with the noodles and add the fish-tamarind-sugar sauce, tossing to coat.  Cook for another 2 minutes or so, and test the noodles for doneness (only one way to do this, kids... slurp one up and taste it!).  They should be al dente.  When the noodles are done, add the bean sprouts, green onions, 1/2 of the peanuts, and the grilled shrimp.  Cook, stirring and tossing constantly, until the green onions are just wilted.

Everything's in the wok, we're on the final countdown to delicious!

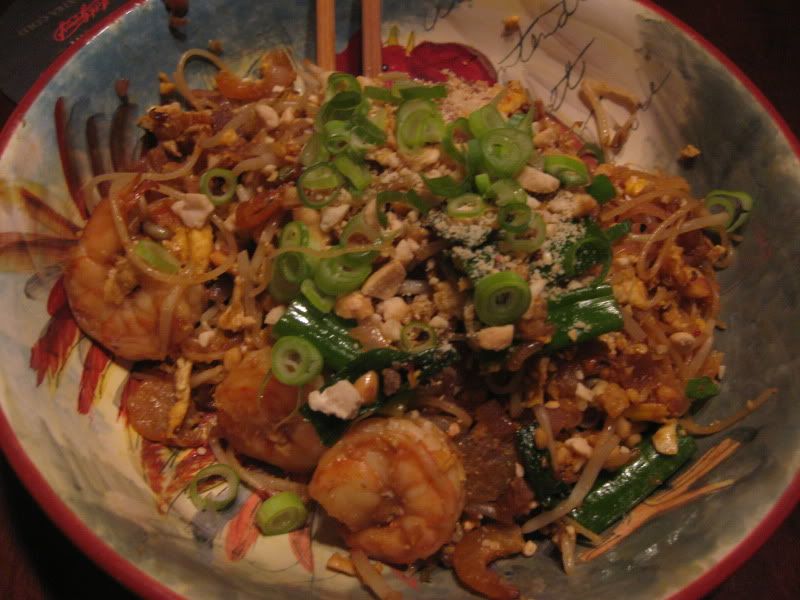
Plate up immediately, garnishing with the rest of the chopped peanuts, some thinly sliced green onion, and some cilantro and lime if you'd like (we were so excited to eat we forgot about those last two!). 


This recipe reflects an improvement we thought of but haven't tried yet... when we made it, it was quite dry and we wished for some more sauce.  We ended up adding some more fish sauce, but in the future we would have doubled our sweet-sour sauce.  The recipe I have given you is the one with the doubled sauce recipe, so no need to adjust the ingredients.  That said, pad thai is a very personal dish, and can be made any number of ways.  There isn't a definitive authentic version, so feel free to make additions, substitutions, and subtractions according to your own tastes.  This is one dish that we very much enjoyed making, and of course, eating... we will make it many times again!


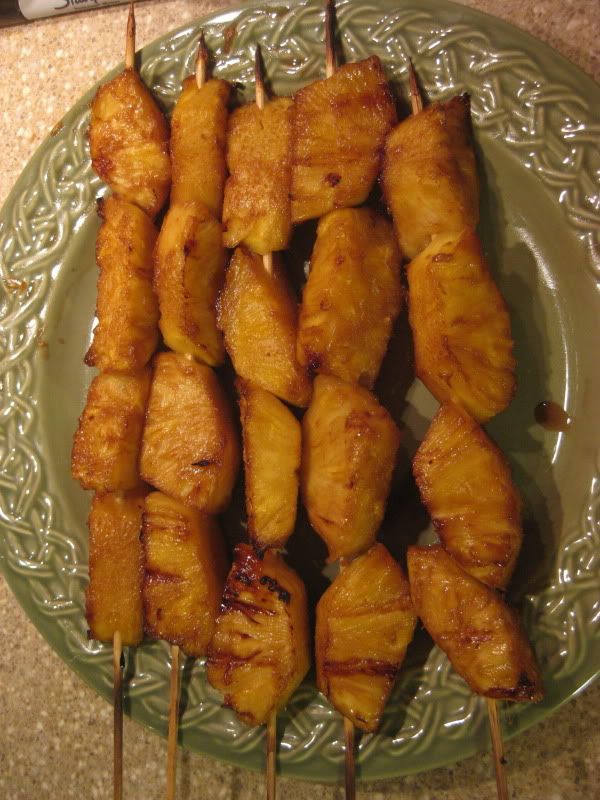
Oh, did I forget to mention dessert?  My bad!  Scott and I aren't big on sweets, but we LOVE fruit, so I got us a nice fresh pineapple, chopped it up, marinated it in some Dale's and brown sugar (yes, Dale's) and popped it on some skewers to grill later on.  I can't even tell you how delicious it was... I kinda wished I had some cool-whip or vanilla ice cream to go with it, but it was nearly perfect just on its own: a blend of salty and sweet and smoky that was the perfect end to a wonderful summer meal!

Friday, April 16, 2010

Clean-Out-Your-Fridge Lettuce Wraps

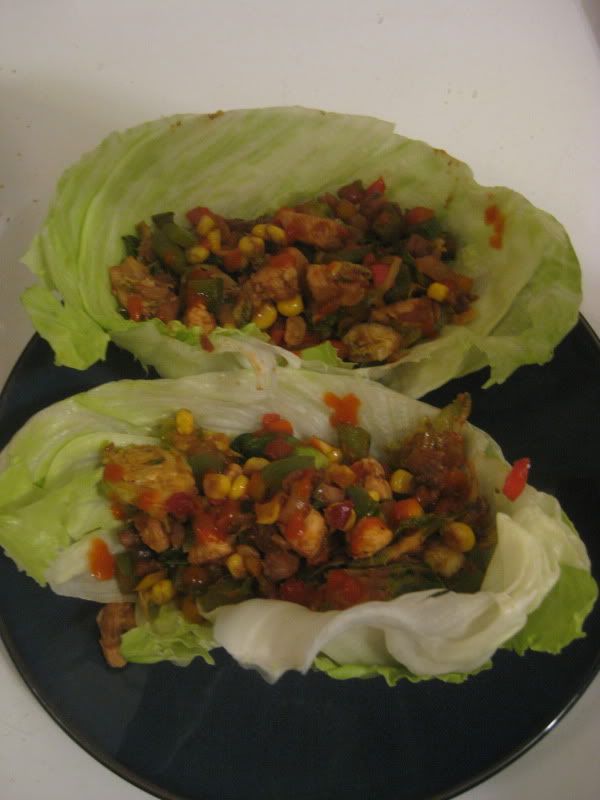
So, in the past few weeks I have been a little overzealous in my grocery shopping.  I bought lots of veggies with no specific plans as how to cook them, and now they are slowly withering away in silence in my refrigerator.  There can be only one solution to this waste of money:  A stir-fry.  Now, this is not a typical stir fry, and it is by no means authentic to any specific cuisine.  It's just a fast, easy, and delicious way to get rid of a lot of veggies that may be a little past their prime.


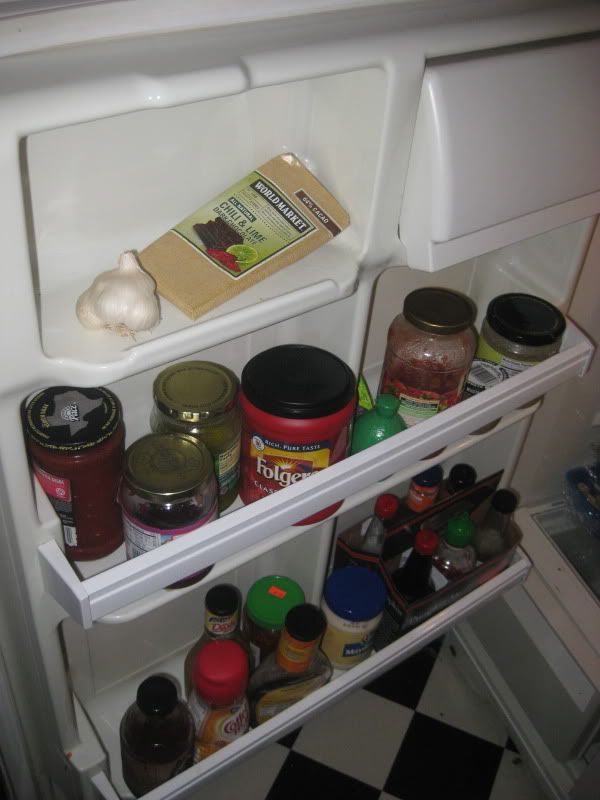
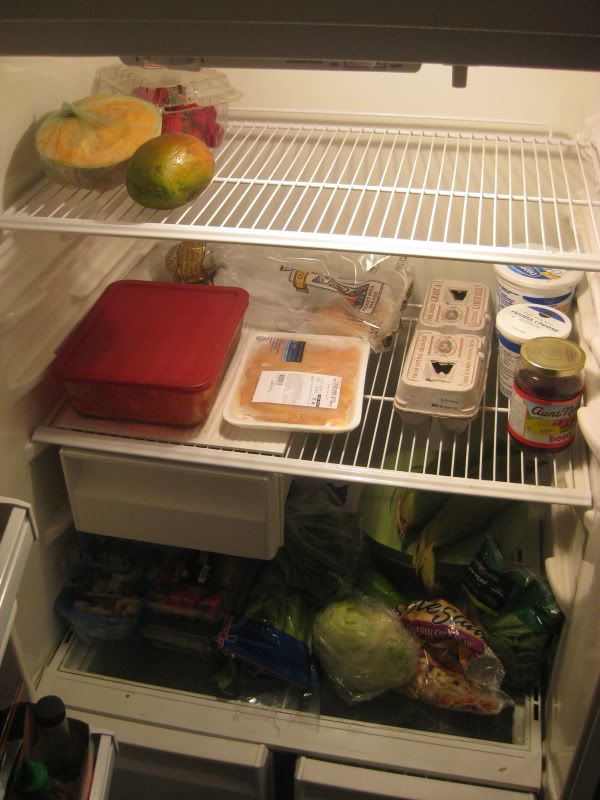
Now, I'm going to bare my soul a little bit here and let you see the inside of my fridge...


See that bottom shelf there?  Nothing but veggies that are slowly dying.  So, we're going to chop them up and put them out of their misery!

For this recipe, you can literally use anything you want.  Whatever you have left over is fine, even frozen veg will work.  I would definitely stay away from canned veggies, but those will last forever, anyway, so you're safe.  You can make this vegetarian, or you can add whatever kind of meat you have on hand.  I had some chicken strips, so I diced up 4 oz of chicken into the teeniest bits I could muster, threw them in a quick Mrs Dash marinade, and popped them in the fridge while I prepped my veg.

These guys are my favorite things in the world:


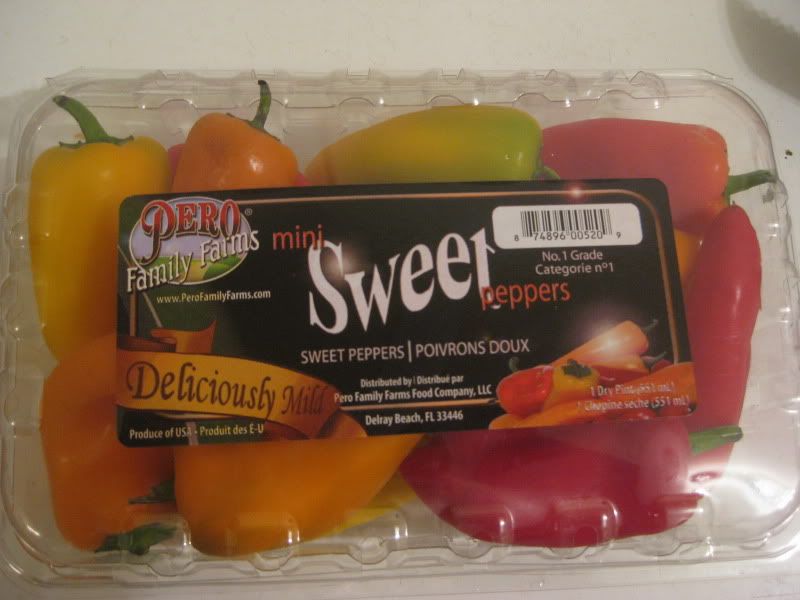
I put them in almost everything I cook, and they are SO delicious!  They will never go bad in my fridge.  I diced up 3 or 4 of them, one of each color.


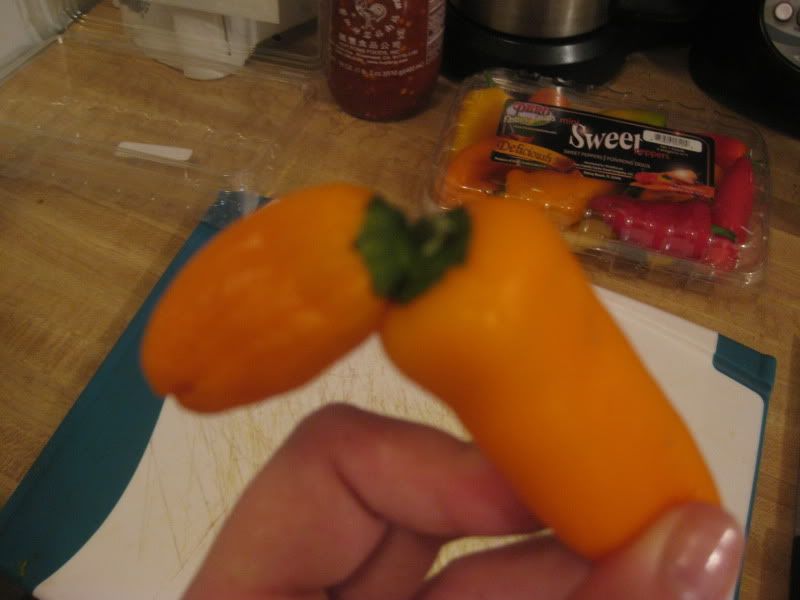
Even this FrankenChili didn't escape my knife!  I did spare his little mutated twin, though.  He was a bit shrivelled.


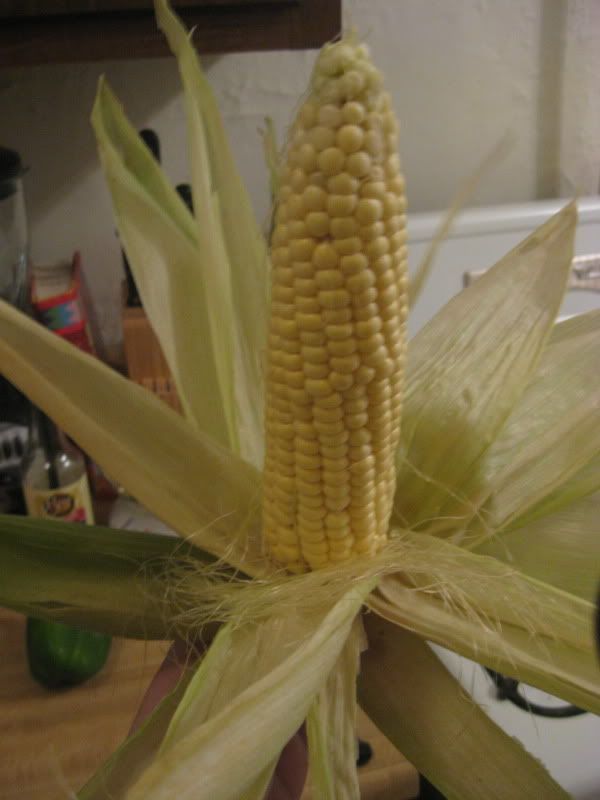
It may not be corn season yet, but I bought this guy on a whim and it's been about a week so I figure he's gotta go in the pot, too.  Now I have corn silk all over my kitchen.  Oh, and Nugget the Cat got hold of one of the husk leaves and it's her new favorite toy ever.  My cats are cheap dates.


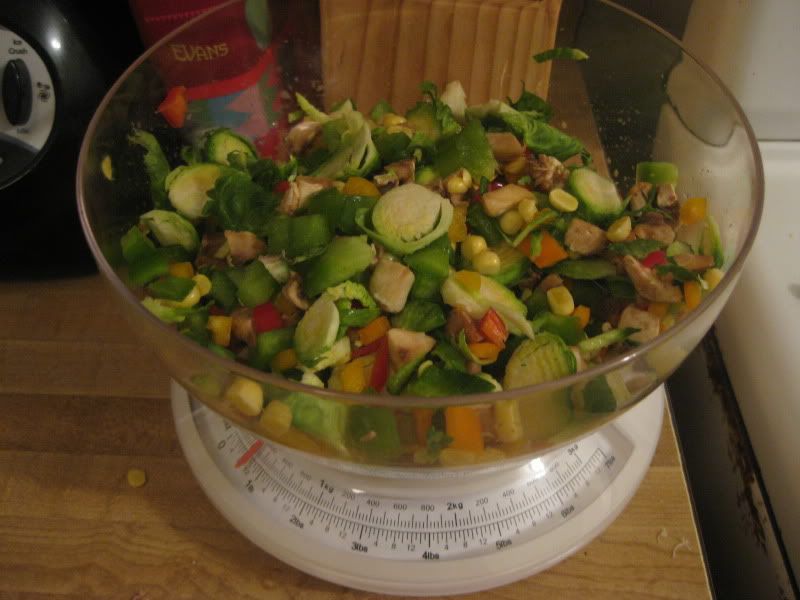
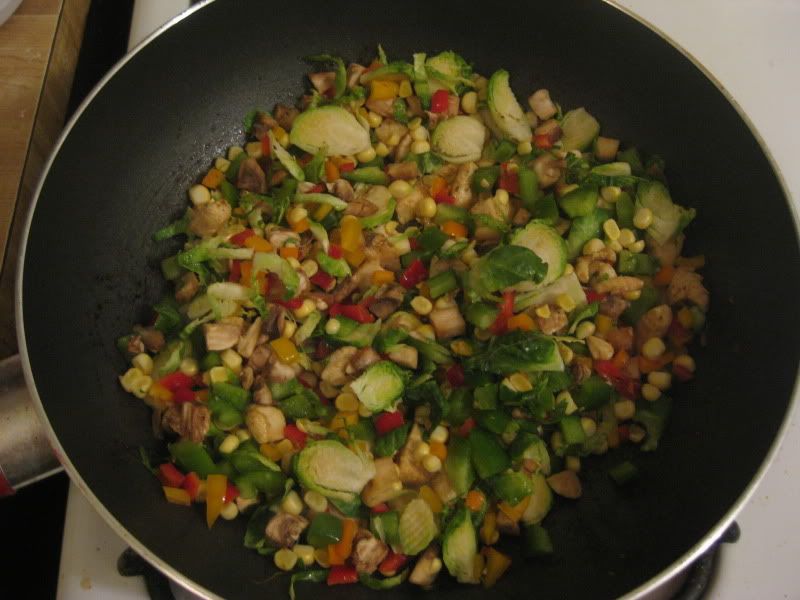
Here's all the veggies ready to go.  There are a handful of diced white mushrooms in here, about 4 stray brussels sprouts, an ear of corn, half a regular green bell pepper, and 3 or 4 small sweet peppers.  I would have added some shredded cabbage but I forgot, so it continues to wilt on the bottom shelf.

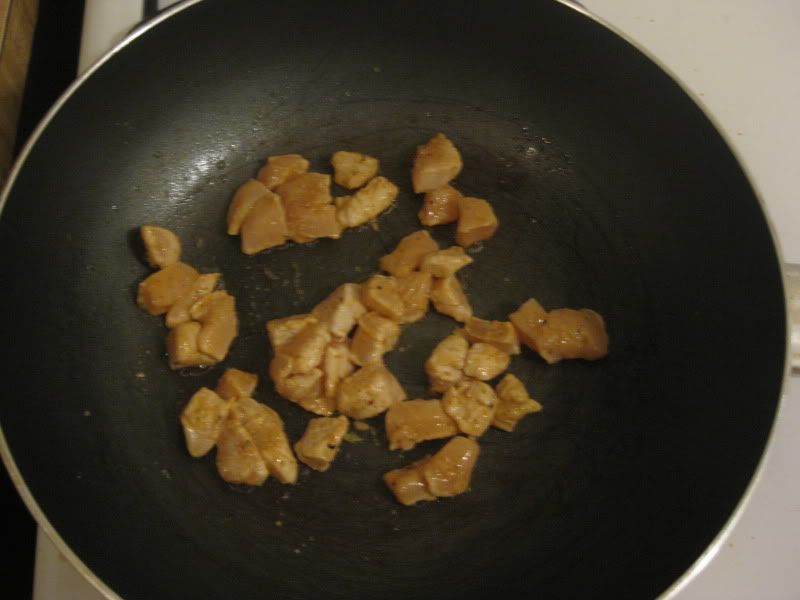
Now it's time to get cracking.  I turned my skillet to medium-high, sprayed some Pam (feel free to use oil, but I'm on a diet), and added my chicken.


When the chicken had a nice sear going on, but before it was done cooking, I added my veggies.  Now, in a traditional stir-fry, you'll add your veggies in order of how long they take to cook.  But remember, I warned you that this was not traditional.


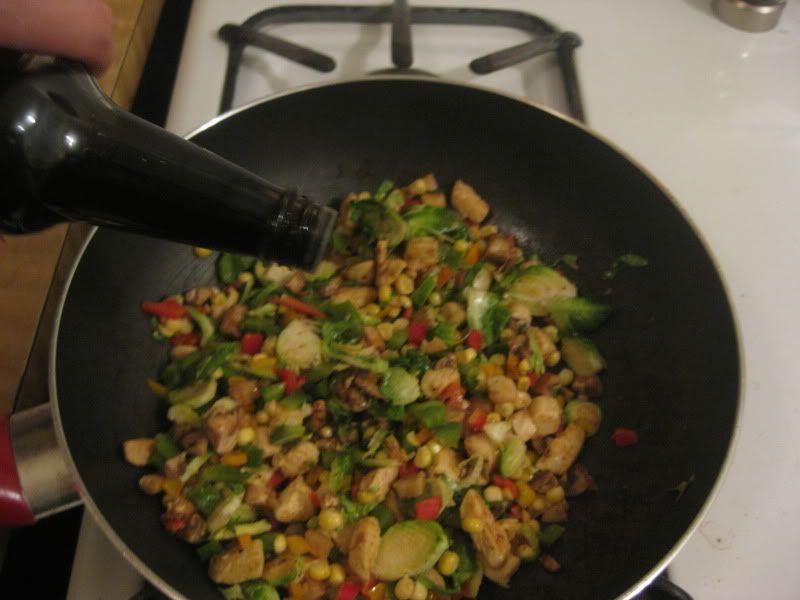
Now add some soy sauce, about 1-2 tsps (3 good shakes).


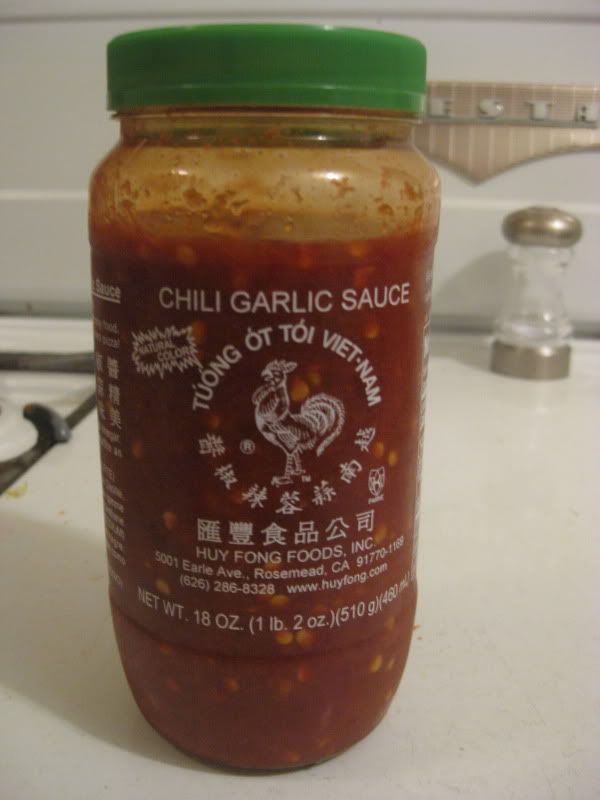
Now, if you like things spicy, this is the way to go.  You can find this stuff at any Asian market, and I've seen it at World Market, but I'm not sure about supermarket availability.  But trust me, it's worth an extra trip.  Chili Garlic sauce, and it's so crazy spicy it should be illegal!


This one forkful proved to be a bit much.  I liked it, but I am insane.  If you're not a fan of crying through your meals, maybe cut this down by half, or omit altogether.

Now for my secret weapon:


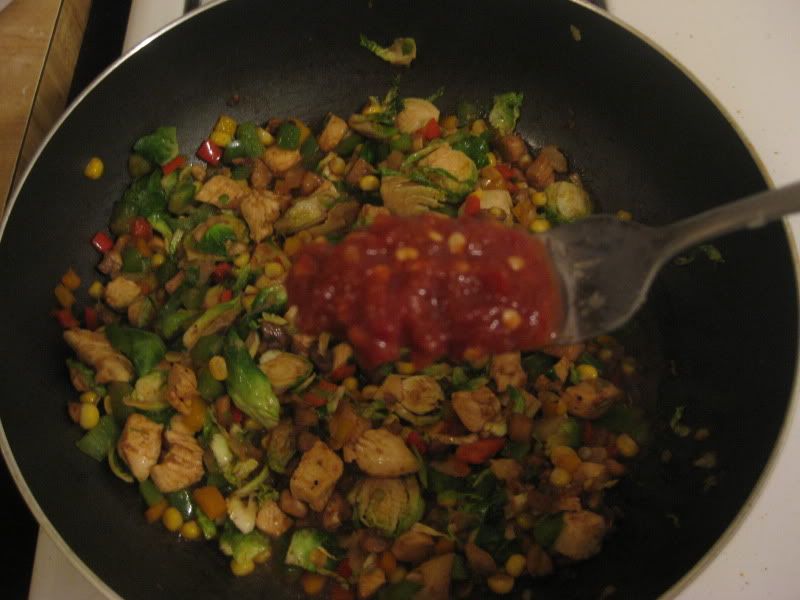
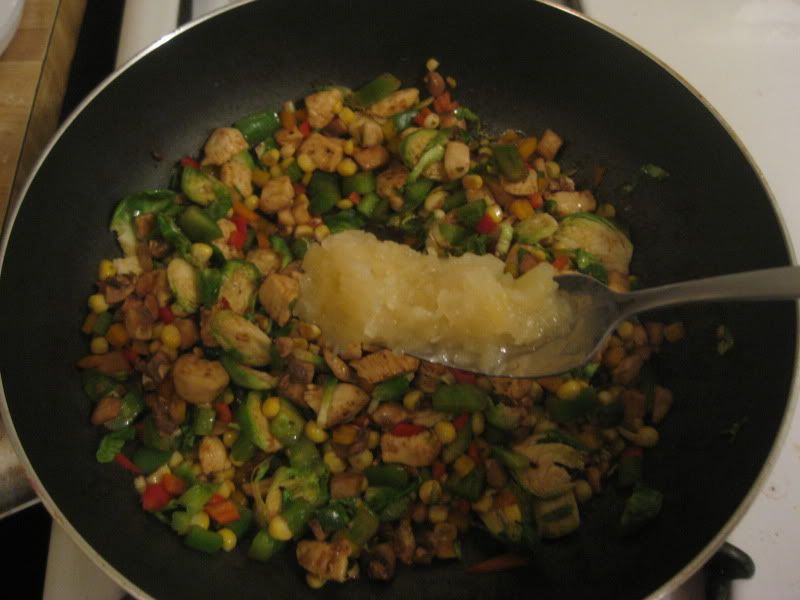
Yes, it's crushed pineapple.  I put it in all of my stir-frys.  Some people use honey as a sweetener, but I like the pineapple.  It's not too sweet, it's all natural, and it's a great texture for this kind of dish.  I added three forkfuls.  (I'm using a fork instead of a spoon for this stuff because I'm trying to avoid adding too much liquid, which will only steam the veggies and not let them stay crisp.)

Keep stirring for a few minutes, or until all of the liquid (from the soy sauce and the liquid released from some of the veggies) is gone.  It's best to let this cool down a bit, as the heat will somewhat wilt the lettuce, but I was hungry so I went ahead and plated up.

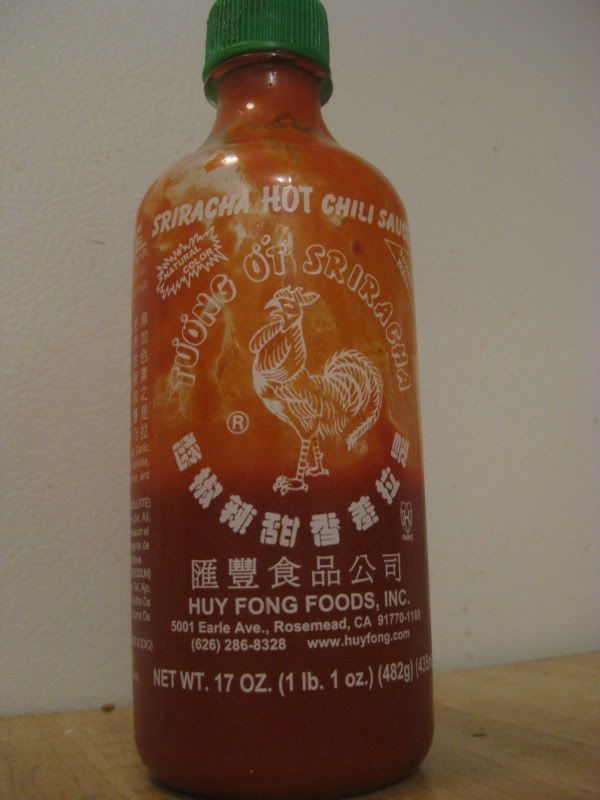
Add a few spoonfuls to a double-thick leaf of iceberg lettuce and roll up like a taco to eat.  But not before adding my very best friend, Mister Sriracha Sauce!


I've had this bottle for a month and it's more than halfway gone.  I would sprinkle this stuff on my cereal, it's so good!  Again, if you can't take the heat, stay far away.


That's it!  Fridge cleaned out, belly full, sinuses clear (ew).  This should have served two, but I was hungry, so  I ate both pieces and there was a little less than half the veggie mix left over.  It'll go great in an omelette!  But the whole entire pan of stuff only clocks in at 400 calories, so eat to your heart's content!

Friday, April 9, 2010

Palak Paneer

I made palak paneer a few weeks ago, but it's still one of my favorite culinary accomplishments, so I'd like to share the recipe with you.  It may seem a bit adventurous, and it's definitely time consuming, but it's a whole lot of fun and it's actually very easy to make!
For those of you unaccustomed to Indian food, palak paneer is a very common vegetarian dish.  It can be a side dish or an entrée, depending on serving size, and the flavors are mild enough to be appealing to just about everyone.  Palak is a kind of homemade cheese, and paneer is spinach, so this dish is very similar to a creamed spinach with cheese that should be somewhat familiar to all palates.
To begin, I made the paneer from scratch, but if your time is limited, you can buy it pre-made from your local Asian market.  I definitely recommend making it yourself, though, as it's fun and easy and you'll forever after be able to say that you made cheese from scratch in your own kitchen!

To make the paneer:


For this recipe, I used a half-gallon of whole milk.  Pour it into a large stock pot and heat at medium-high until nearly boiling.


Just before the milk comes to a complete boil, turn the heat down to low and add 1-2 tsps of lemon juice or vinegar.  I used lemon juice, but I doubt there's much of a difference.  Stir the milk and eventually, curds will appear.


You may have to stir for quite a while.  I misread the recipe I was following, so I ended up stirring my milk for nearly half an hour, but if you do it right (do not remove the pot from the heat source!), your curds and whey will eventually separate.  When they whey (the watery stuff) is completely clear and no longer looks like milk, you're ready to go.  The whey will take on a greenish tint and look like water, and the curds will resemble cottage cheese.


When the curds and whey are completely separated, pour the lot into a bowl lined with a cheesecloth doubled over several times.  Let it drain for a while, then when it's cool enough, start to squeeze the liquid from the cheesecloth.  When you've squeezed all you can, hold the curds under a running faucet and rinse, squeezing the cheesecloth often.  Your goal is to rinse the curds while eliminating as much moisture as you can.  After a few minutes of rinsing, your curds are ready to be formed into cheese.


The next step is to form the cheese into a block and apply weight.  I molded this into a rectangle, but you can make a wheel or pretty much any shape you'd like.  At this point, it's the consistency of Play-Doh so it's pretty easy to mold.  You can also add any spices or seasonings you'd like at this stage.  I left mine plain, but feel free to experiment.  Once you've molded the cheese, you need to add some weight and let it sit at room temperature to let the last bit of that stubborn whey drain out.  I put my cheese between two plates and set a pot on top that was filled with water.


Let this sit for 2-3 hours or until the cheese is very firm.  When it's done, unwrap the cheesecloth and cut into 1" cubes.  Hey, guess what?  You just made cheese!  In your very own kitchen!

To make the Palak Paneer:

In a large skillet, melt some butter (ghee, if you have it) and add the cubes of paneer.  Fry on all sides until just golden brown and remove from heat.


Next, add some more butter or ghee to the pan and sauté one white onion, finely diced, until tender.


Next, add your spinach.  I suppose you could use frozen or canned whole leaf spinach, but if you've already gone to the trouble of making your own paneer, you might as well use fresh!  I used two bags of baby spinach, and added one bag at a time to the pan.  Spinach wilts very quickly, so I added one bag, removed the wilted spinach from the heat, and then added the second bag to make sure everything was cooked evenly.


When the spinach is all melted down, you'll add your spices.  I used cumin, garam masala, and turmeric, about a teaspoon each, but use your judgement here.  I really hate measuring spices, as it all depends on my mood how much I put in of each.  I'm a big fan of tasting as you go, and add spices accordingly.  Remember to add salt and pepper to taste as well.  I also added one large diced tomato, mainly for color.


Here comes the sinful bit... add 1/2 cup Half and Half.  Sure, you could use yogurt or even skim milk if you're watching calories, but the Half and Half really gives this dish its creamy texture.


Now add the fried paneer cubes back to the spinach mix and simmer on low heat for about ten minutes.


And you're done!  Serve alone or over basmati or jasmine rice, as a side or as a main dish.  This is creamed spinach to the max!  If this is your first experience with Indian food, it's a great starter, and if you have grown up with Indian food, this is a great comfort dish.  It may be time consuming, but it's well worth the effort.  Make it with someone you love, and enjoy the bonding experience!