Showing posts with label Low-Cal. Show all posts

Friday, October 22, 2010

Tilapia Fish Tacos


Today after school, Scott told me that he was craving tacos (this is not news... that boy is always craving tacos).  I reminded him that I was on a diet and I'd rather not be tempted by eating at a Mexican restaurant, where I knew I'd order the wrong thing or overeat.  Besides, we just went grocery shopping and we have tons of food left over.  But he couldn't get the taco bug out of his brain, so I finally convinced him to make tacos at home.  I wasn't going to have any, but I went to the grocery store with him to get tortillas and ground beef, which is where I saw some fresh tilapia on sale.  I'm no dummy... I know that when fish goes on sale, that it's probably not as fresh as it could be, or that it is nearing its expiration date.  But I figured if I used it to make fish tacos today, it would probably be just fine.  And BOY am I glad I made the decision to buy it!


My favorite fish tacos are at Ragtime Cafe, where the fish is well-seasoned and topped with some home-made cole slaw, nothing else.  I didn't have any cole slaw or cabbage at home, but I could improvise.

I seasoned the tipalia filets with a spice blend I made that I thought best replicated their recipe: 1/2 teaspoon of each: cumin, cayenne pepper, garlic powder and chili powder, 1 1/2 teaspoons of no-salt seasoning, and a pinch of salt.  Then I got a small frying pan searing hot and cooked the filets about 1-2 minutes on each side (it doesn't take long to cook tilapia!).  I warmed up some 6" tortillas and shredded some romaine lettuce, which I tossed with just a smidge of my favorite salad dressing: Ken's Steakhouse Light Sweet Vidalia Onion.  That's all I needed... tortilla, fish, salad, and a squeeze of fresh lime.  They were almost exactly like my favorite tacos from Ragtime, but much cheaper and probably a lot healthier!  They clock in at just about 300 calories for two tacos, which was plenty enough to fill me up, and I was HONGRY.


I have some leftover tilapia, so I will probably make these again for lunch tomorrow... quick and easy!

Wednesday, October 20, 2010

Chicken and Roasted Broccoli Alfredo

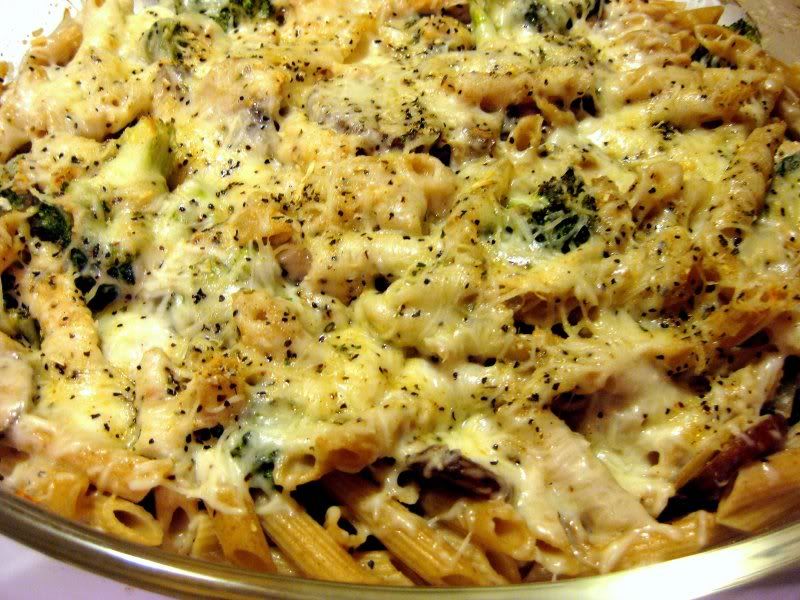
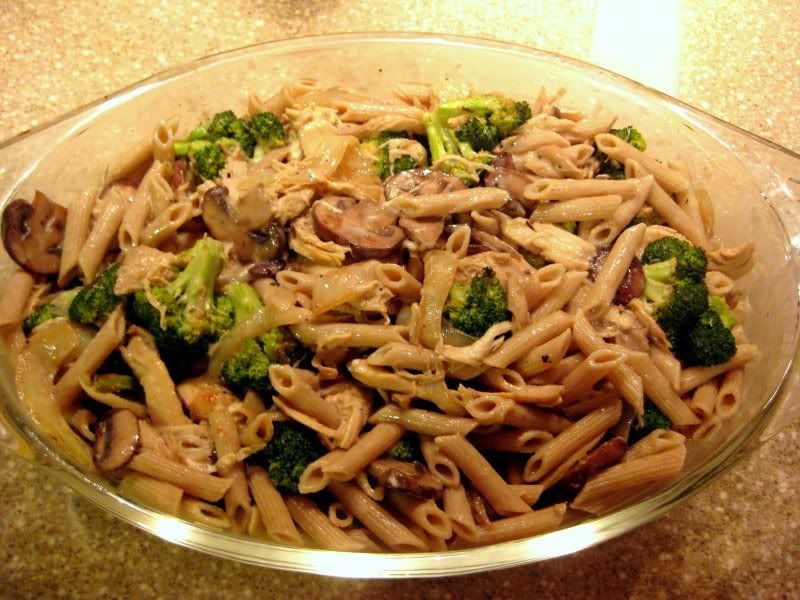
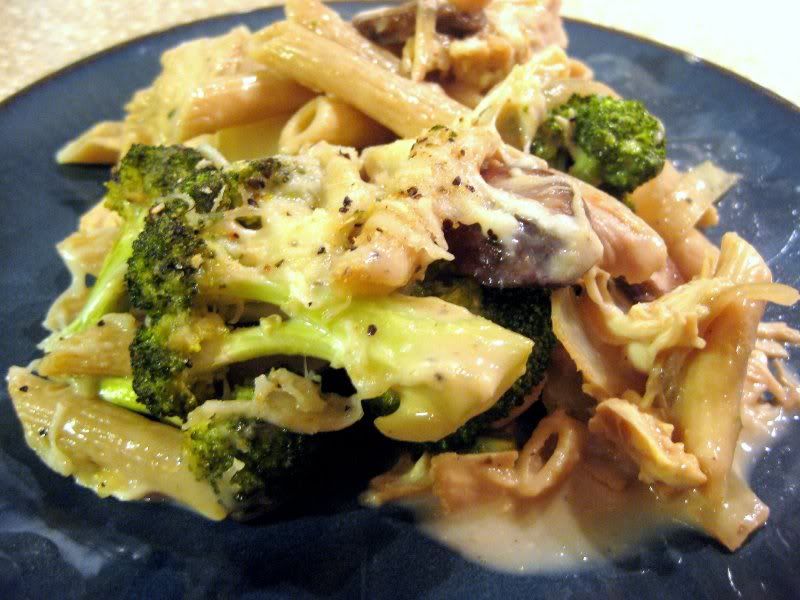
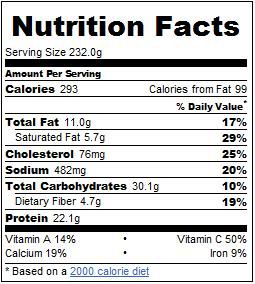
If you're the sort of person to see the word "alfredo" and click away immediately, before the mere thought of a cream-based sauce widens your hips, fear not!  Today, I have made the impossible possible!  What I have for you here is a rich, creamy, hearty, flavorful pasta casserole that will fill you up while actually trimming you down! Never again will you brave your grocer's freezer aisle in search of measly frozen dinners because you want pasta but can't afford the calories of a home-made dish!  Folks, this casserole clocks in at under 300 calories per serving, and the serving size is more than enough to fill you up.  Behold, the miracle secret-weight-loss pasta:


The best part is, I didn't use any "fake" low-calorie ingredients to make this.  No fat-free cheese, no reduced-calorie alfredo sauce, no low-carb pasta... everything is full-fat and boyfriend-friendly.  Let us begin!

To start, I seasoned some broccoli florets with my trusty no-salt seasoning blend, using non-stick cooking spray instead of oil to get the spice to adhere.  I popped the broc in an oven set to 400 degrees to roast while I got the rest of the ingredients ready.


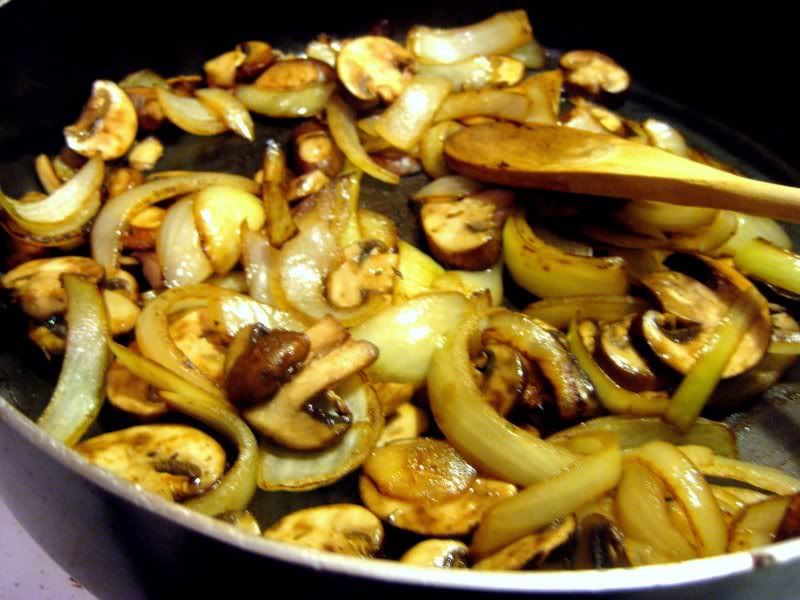
 In a large pot, I boiled half a box of Ronzelli Whole-Grain penne pasta until al dente.  In a large (large!) skillet, I cooked one yellow onion, cut into large chunks, with some more of the miracle non-stick spray.  When they were cooked til just tender, I added a whole container of pre-sliced, pre-washed baby portabello mushrooms.


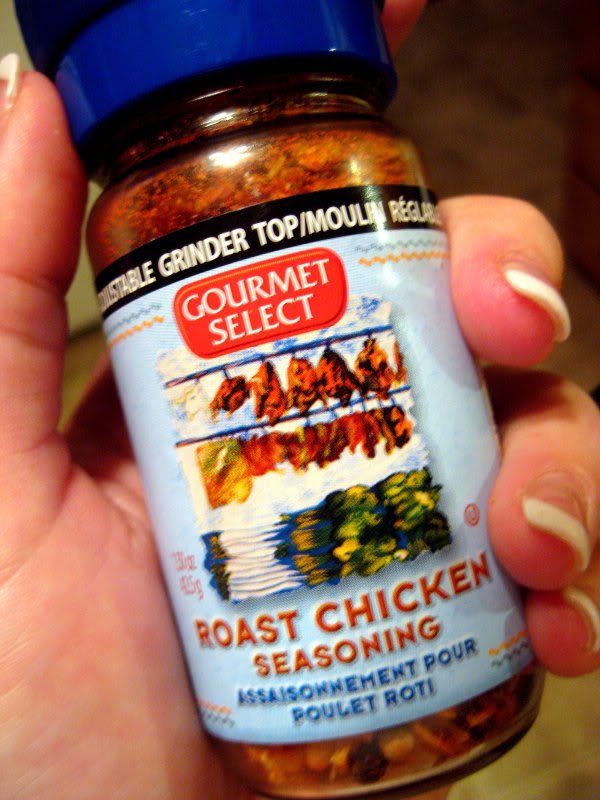
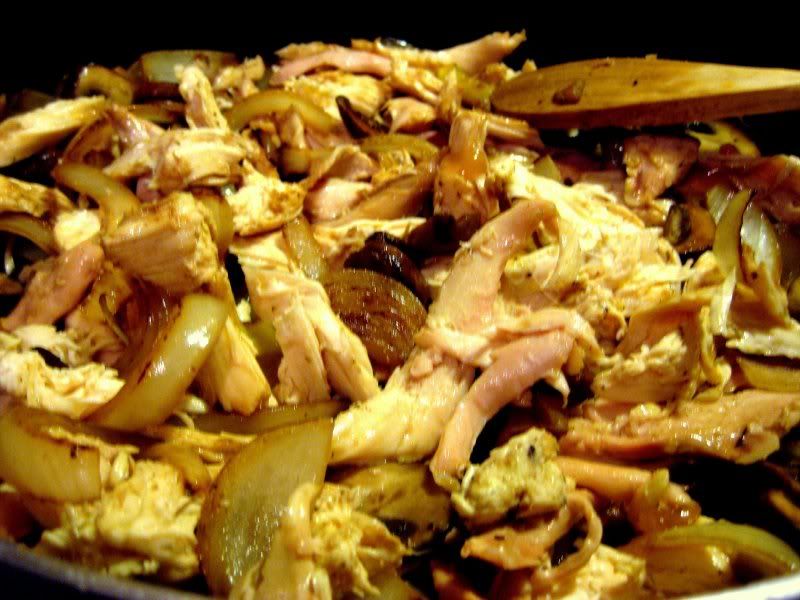
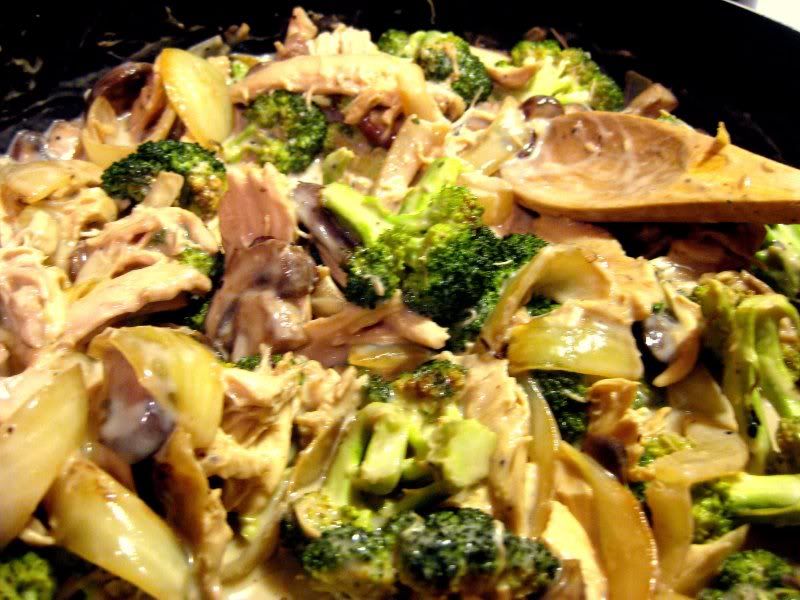
Once the mushrooms were tender, I added two cups of shredded chicken that I had left over from last night's dinner (rotisserie chicken works great, or any sort of pre-cooked chicken you may have on hand) along with a generous sprinkling of my favorite chicken seasoning.


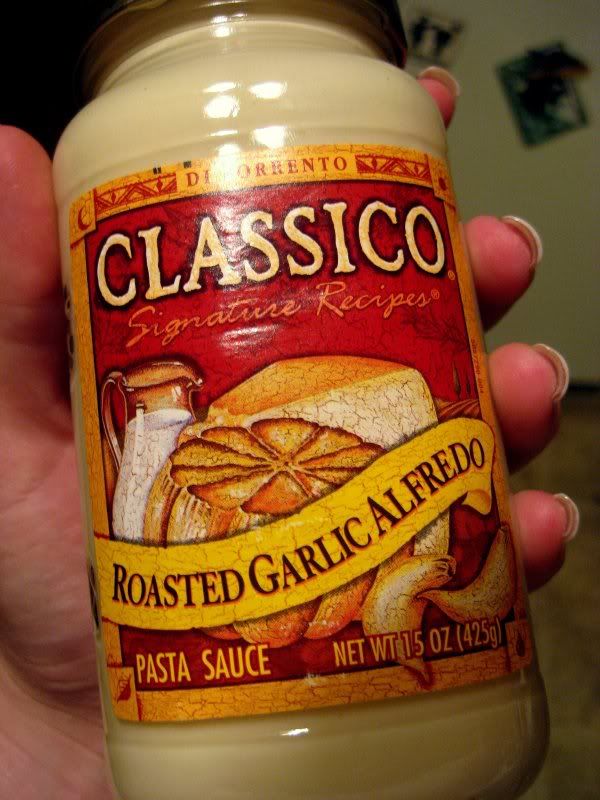
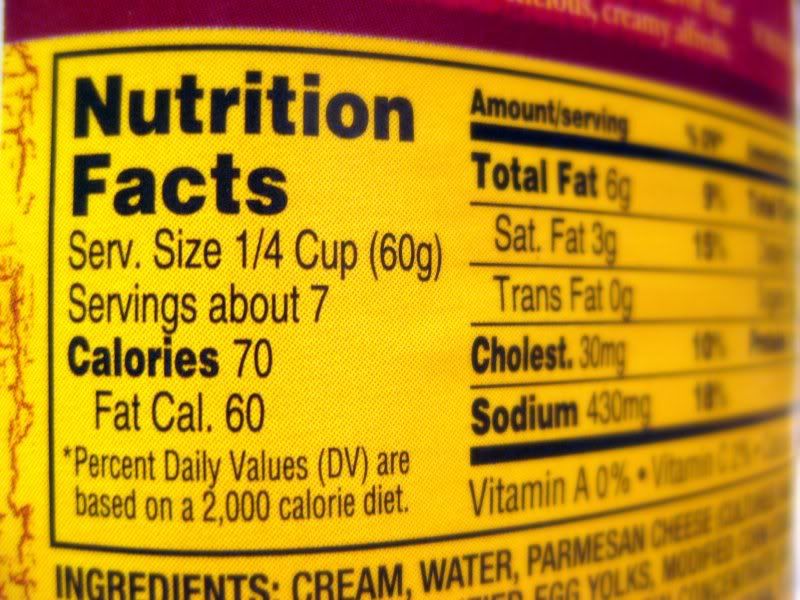
At this point, my broccoli was ready (fork-tender, but still packing a bite), so I added it to the pan, too.  When the chicken was warmed through, I added my alfredo sauce.  To tell the truth, I haven't cooked or eaten anything having to do with alfredo in years, simply because I'm scared of the calories.  But I saw this at the grocery store and was actually amazed at how "light" it was, despite not having any sort of "low-calorie" labeling.


Once the sauce was warmed through, I realized I didn't have enough sauce for all the stuff I was cooking, and there was still quite a bit of sauce sticking to the sides of the jar.  I poured in about half a cup of milk (I used 2%), closed the lid, and shook the jar to thin out the remaining sauce and poured the whole thing into my skillet, stirring to combine.


By this time, my pasta was done, so I drained and rinsed it, and mixed it with my other ingredients, and poured the whole shebang into a large casserole dish.


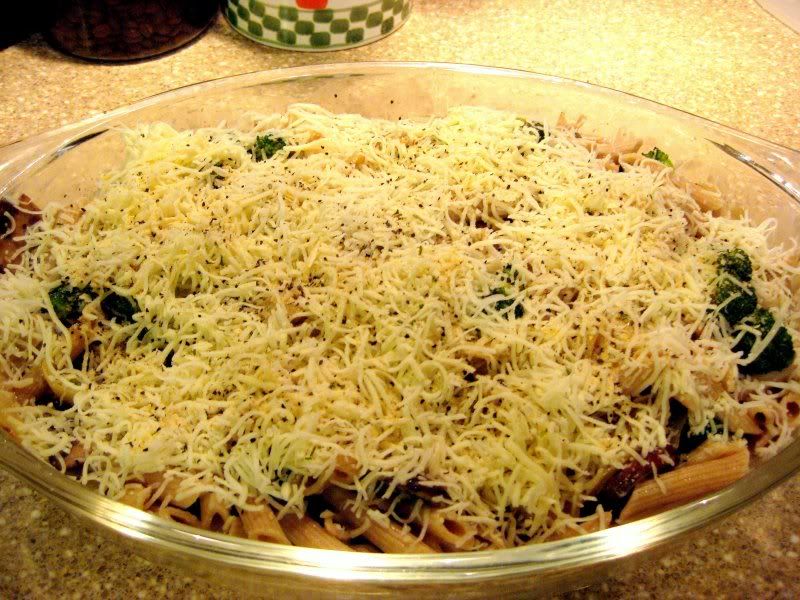
I topped the casserole with one cup of shredded mixed Italian cheese (mozzarella, parmesan, asiago, romano, and god-knows-what-else) and another heavy sprinkling of my no-salt seasoning.


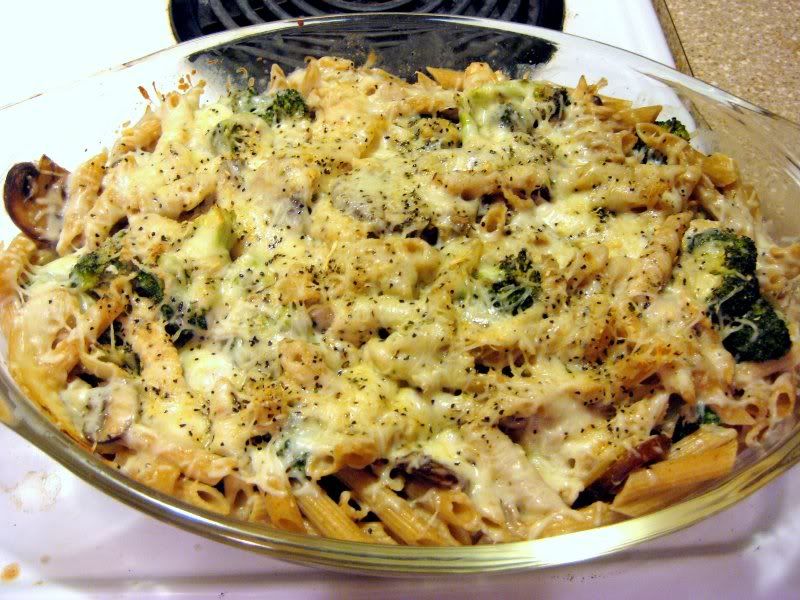
The oven was still set to 400 degrees, so I popped the dish in for about ten minutes, and it came out looking like this:


Amazing!  Truthfully, no one will ever know how healthy this is.  The whole wheat pasta was better than most I have tried, and in a blind taste test, you'd never know it wasn't the evil white stuff.  There wasn't very much sauce, but it honestly didn't need any more than it had.  The seasoning blend plus the cheese added more than enough flavor, and my favorite part was the roasted broccoli... really something amazing!


This makes seven servings, so it would be a great family dinner (just add a side salad and you're done), but if you're just cooking for two, like I am, it makes for great leftovers for the rest of the week.  Hope you enjoy it, folks... this may be my very favorite recipe here on Kelly's Noms, so give it a try and let me know what you think!

Friday, October 15, 2010

Insanely Healthy Chili

So, as some of you may know, I have been watching my calories and my nutrition levels, trying to lose some weight and get healthier.  AND, fall is here in full swing, which means fall foods, which are some of my favorite foods of all!  Chili is probably my favorite one-dish meal, no matter what time of year, but chili can often be very high in sodium and calories, depending on how you make it, and what you top it with.

Pretty?  No.  Healthy?  YES!

Well, after playing around with some recipe analyzers online, I came up with the perfect chili recipe that is absolutely packed with great vitamins and minerals, while keeping the calories and sodium very low.  This chili provides more than 100% of your Vitamin A and Vitamin C needs for the day, as well as nearly 40% of each protein and fiber.  Plus, it doesn't taste like cardboard!

Notice the large serving size... you may not eat that much!

I didn't take any method shots of this one, mostly because chili is a very, very ugly thing, and I don't have the photography skills to make it look any better, but you'll have to trust me that this chili is amazing.  Okay, it might not be the best chili I've ever had (made with sirloin tips and topped with a mountain of shredded cheddar and sour cream), but as far as "health food" goes, it's up there.

Ingredients
1 lb ground turkey (I used 85/15, but you can use breast meat if you want to cut even more calories)
2 yellow onions
2 medium sweet potatoes, washed and cubed
1/2 a medium butternut squash, peeled and cubed
1 large can diced tomatoes (by "large" I mean bigger than a Rotel-sized can)
2 cups chicken stock OR water OR lager (keeping in mind that lager ups the calories)
1 tbsp cumin
1 tsp paprika
1/2 tsp cinnamon (or 1 cinnamon stick)
1 tsp cayenne chili powder
2 chipotle peppers in adobo sauce, chopped (SERIOUSLY spicy. Omit these if you can't take the heat)
1 cup edamame (I used frozen)
1 cup corn (again, frozen)
1/2 cup black beans
8 cloves garlic, finely minced

Method
In a large stock pot, brown the turkey until cooked through, remove from pot and drain.
Add onions and a little bit of cooking oil to the pot and cook til soft, about 5-7 minutes.  Add spices and garlic and cook another 1-2 minutes.
Add diced tomatoes and liquid (stock, water, or beer) and bring to a boil.  Once boiling, reduce heat and return turkey to the pot, cover, and simmer for 30 minutes.
Add sweet potatoes and butternut squash and simmer for another 30-45 minutes, covered, or until sweet potatoes are tender.  I discovered this by accident, but you'll know it's right when the squash seems to have disappeared from the pot.  It cooks faster than the sweet potatoes, and will melt right in with the liquid, thickening the chili.
Add frozen veg and beans and crank up the heat to medium-high and let bubble away for another 5-10 minutes, uncovered, until everything is nice and hot and the chili has thickened.

That's it!  It was crazy spicy, so I added a dollop of fat-free sour cream (you could also use yogurt or ranch dressing) to calm it down a bit.  A small bowl is more than enough, as all the veggies make it super filling.  I haven't measured, but this recipe assumes 8 servings, though I may get even more out of it.  The nutrition facts are applicable to a 2-cup serving, so you might get closer to 10-12 servings.  I will be eating chili all week long... welcome, fall!

Wednesday, October 6, 2010

Spiced Pork Tenderloin with Roasted Veg

So I've had this pork tenderloin in the fridge for almost a week, and tonight was probably the only time I ever would have had to make a proper dinner.  Between work, school, and moving apartments, I've spent too much time and money eating out or just eating crap instead of actually cooking.  So tonight at around 8:30, I decided I was hungry, remembered the pork loin, and immediately started to freak out because I didn't think I had time to cook it properly.

Wrong I was.

This pork loin tastes like you've been marinating it for hours, but it takes only about 40 minutes to cook, from start to finish.  The secret is in the spice, a thick rub that seals in the juices, flavors the meat, and magically transforms into a juicy sauce in the oven, perfect for drizzling.

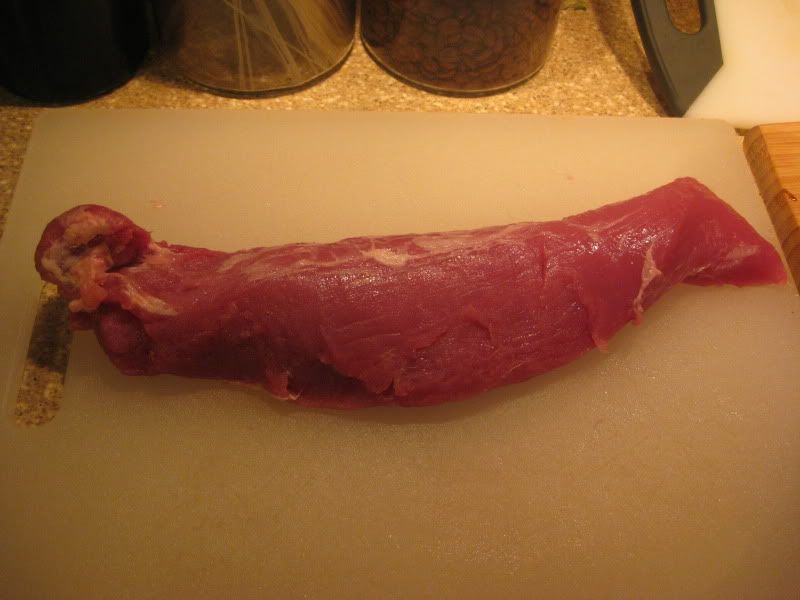
I started by trimming the pork loin.  The tenderloin that I bought was a little over 2 lbs, but when I took it out of the plastic wrap, I found that the butcher had cut it in half down the middle, so I actually had two 1-lb loins.  Bummer.  But no worries, I just wrapped one of them up (after trimming the fat and silverskin) and popped it in the freezer for later.  I knew I wouldn't have leftovers, but I didn't really want to microwave a perfectly cooked pork loin the next day, either.


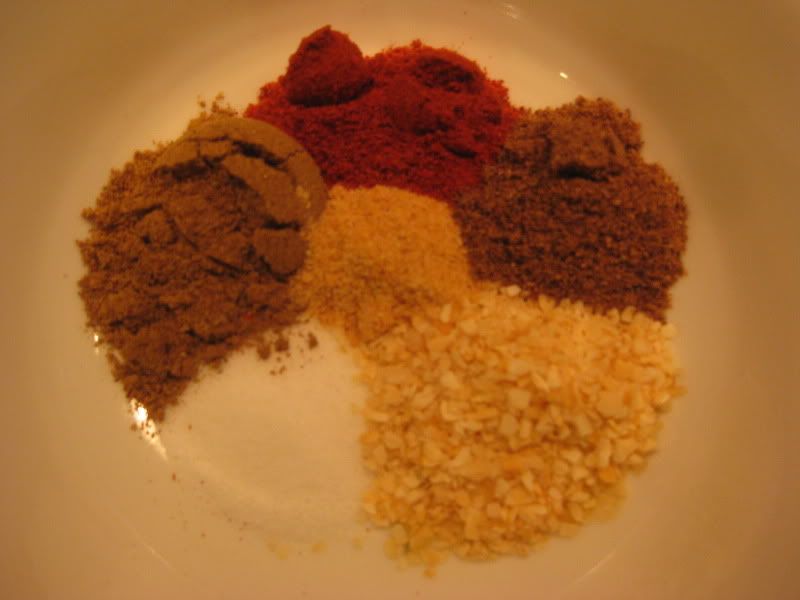
Next, I made the rub.  I've said it before, and I'll say it again... I don't like recipes.  Especially for spice rubs.  For this one, I just opened my well-stocked spice cabinet and grabbed a little of this and a little of that.  I ended up using a teaspoon of each: sea salt, minced onion, garlic powder, garam masala, cumin, and paprika. I also have this badass spice grinder that I found in a discount store... it's Chinese Five-Spice, which is one of my favorite seasonings, but all the components are whole, so you can freshly grind as much as you need, when you need it.  I ground a little of this into my spice mix (I didn't measure, I just grinded until my elbow was sore) and mixed up the whole shebang.  I will say this: when experimenting with a spice blend, it can't hurt to taste a little bit on a wet fingertip.  You know when you finish a bag of potato chips and you stick your finger into the corner to get the last of the seasoning?  It will taste like that, a little potent, but not unpalatable.  If it tastes like you'd like to have it on potato chips, you've made it right.

Clockwise from the salt: cumin, paprika, garam masala, minced onion, and garlic

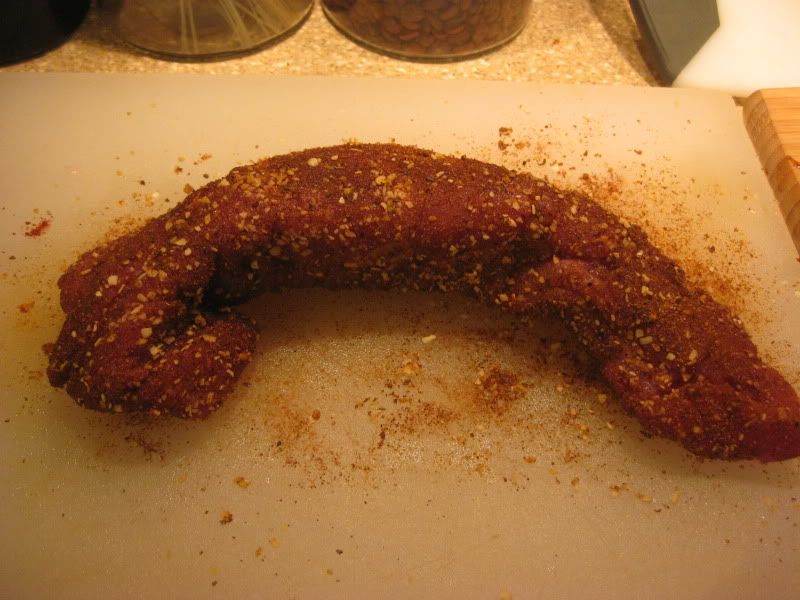
I rubbed the pork loin with some olive oil (roll up your sleeves and really massage that baby) and sprinkled all sides with my spice rub, patting it in and making sure the loin was totally covered, with no meat showing through.


I wanted to get a good sear in a pan first, to seal in the juices, so I lubed up a large skillet at high heat and I cooked the loin for 2 minutes on each side (there being 4 sides and not only 2... we are working in 3-D, people).

Nice and crusty

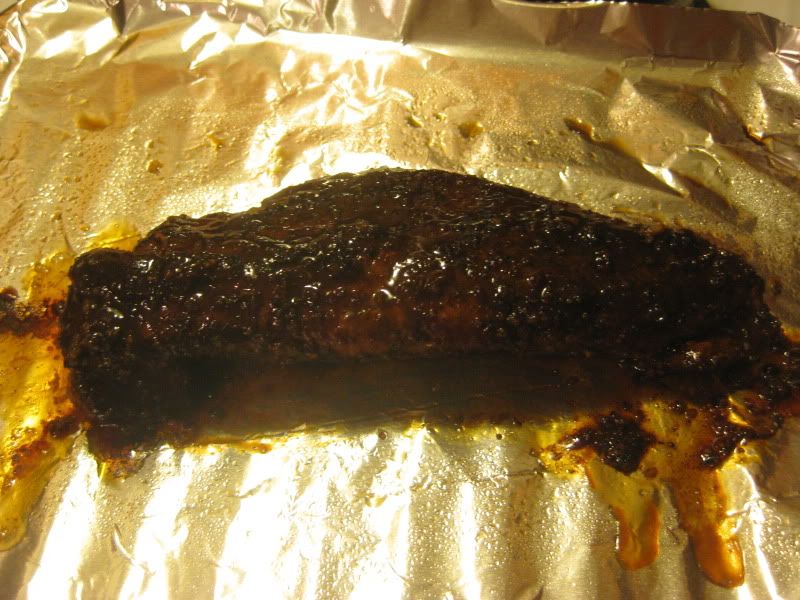
Next, I placed the loin on a foil-lined roasting pan and roasted at 450 degrees for about 15 minutes, or until the temperature reads 155 degrees on a meat thermometer.  (Really, folks, I feel like the food police will come and get me if I say this, but I only cooked mine to 130 degrees.  I don't want to hear anything about what temperature meat should be cooked to, because no matter what, I believe that it's better to undercook than overcook anything.  And that includes poultry.  But if you like rubber pork, go ahead and cook it to 155.)


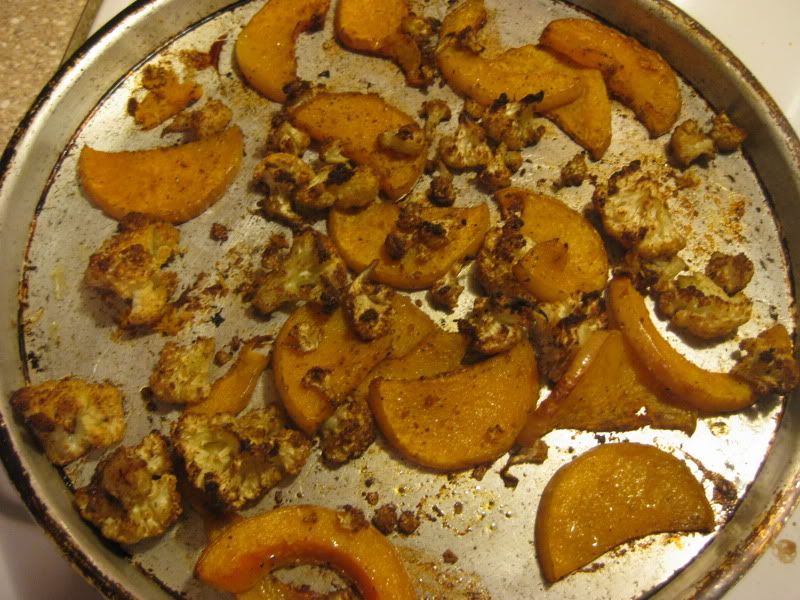
Meanwhile, I sliced up some butternut squash and cut some cauliflower florets (okay, I did the prep yesterday, but I won't count that extra time), tossed them with some olive oil and leftover spice blend, and spread them out in a single layer on a baking sheet.  The pork and the veg go in the oven at the same time.  When the pork was done, I left the veggies in the oven and pulled the pork loin out of the oven, and basted it.  Basted.

Baste:  Did I ever tell you that I make my own chicken broth?  Well, I do.  All the time.  Every time I cook a chicken in the crock pot, I always return the skin and bones to the pot and add about 5 cups of water.  I cook that baby on high for about 8-10 hours, or until the bones are bleached, strain it, and freeze it in ice cube trays.  I use that broth to make soup, rice, mashed potatoes, what have you.  I also use it to baste pork.

Take about 20 broth-ice-cubes and throw them in your skillet, the one you cooked the pork in.  You should have left it on high.  Whisk that melted broth for about 10 minutes on high, and you should have a gorgeous reduced fake semi glace.  It's too strong to use as a sauce at this point, but it can be used to....


Baste.  Baste and cover immediately with tin foil and set aside to rest for 10 minutes.  While your pork rests, your veggies begin to caramelize (which is a magic moment), and by the time the pork is cool enough to touch (but just!), your veggies are ready to pull out of the oven.  Slice the pork loin into medallions and top with sauce from the bottom of the foil pouch.  Serve while veggies are piping hot.

When the cauliflower is nice and brown, it's done

I served this to my boyfriend, our roommate, and a friend of ours, and every last bite was devoured gleefully within seconds.  The pork was unbelievably moist and juicy, and the flavor was out of this world... nothing like so many bland pork loins I've had previously.  The roasted veggies, seasoning with the same as I used to spice the pork, complemented the meat perfectly, and were creamy and crispy at the same time... like roasted marshmallows!  (If marshmallows were good for you)

Anyway, now I'm totally excited about that leftover loin that I froze... I might make this tomorrow.  Or tonight, while sleepwalking.  Because this pork is dreamy.

Wednesday, September 1, 2010

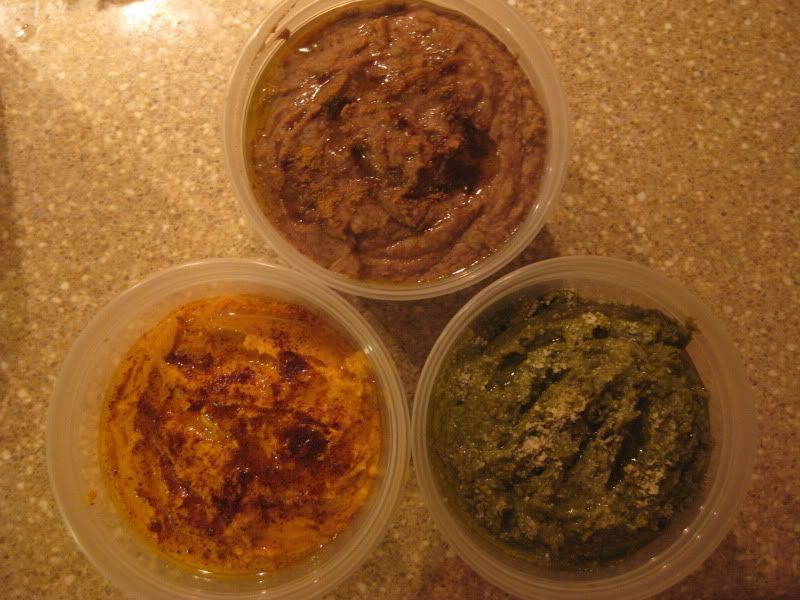
Hummus Trio

What's better than hummus?  Three different flavors of homemade hummus!  Scott and I are huge hummus fans... we order it at restaurants whenever it's available, and our favorite brand of store-bought hummus is Sabra, of which we always have a container or two in the fridge.  The other day, however, I tried my hand at making some from scratch, and it was amazing!  Truly and honestly, it was better than any store-bought hummus I've ever had, and easily beats most restaurant versions, too.  This came as a surprise to me, because I've actually made hummus once before... and it sucked.  I don't know what I did wrong, but it was awful, and it took about a year for me to pluck up the courage to try again.


Today I have three different flavors of hummus, along with a very basic hummus recipe so you can try your own varieties.  You will be shocked at how easy and inexpensive it is to make.  If you have a food processor or blender, and five minutes to spare, you're in business!  (The hummus business, that is)

Basic Hummus Recipe
I don't have any pictures for this guy, because once you realize how many wonderful flavor combinations there are, basic hummus is just too boring.  Here are the step-by-step instructions:

  1. Drain one can of chickpeas (also called garbanzo beans), but save the water in another container.  Dump the chickpeas into your food processor or blender, and blend on high speed until the beans form a paste.  Once they won't break down any more, add a little bit of the reserved water, a teaspoon at a time, until your hummus is nice and creamy.

  2. Add 1-2 tablespoons of tahini.  Tahini is a paste made from sesame seeds and has a texture and flavor not unlike natural peanut butter.  You can find tahini in the ethnic section of the supermarket, or in a pinch, you can even use natural peanut butter, as long as it really is natural (ingredients: peanuts, salt).
  3. Add a little olive oil, salt, and lemon juice.  For the olive oil, I just make a quick ring around the food processor bowl.  Add the salt and lemon juice to taste.  Basic hummus also benefits from a little dash of cumin and ground coriander if you have it on hand.
  4. Blend until creamy and thoroughly mixed, and guess what?  You have hummus!  Eat it right away, or for best flavor, put it in a container, top it with a drizzle of olive oil, and put it in the fridge for a couple of hours to let the flavors marry.
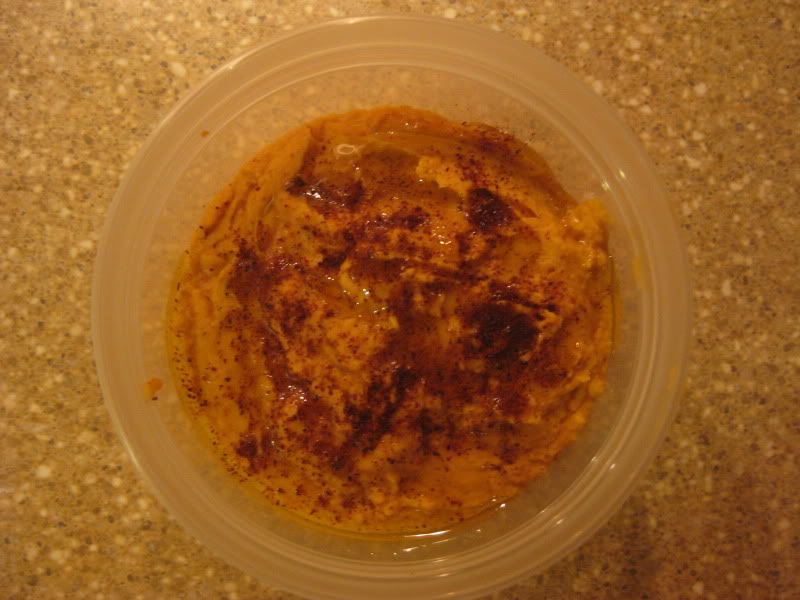
Spicy Sriracha Hummus
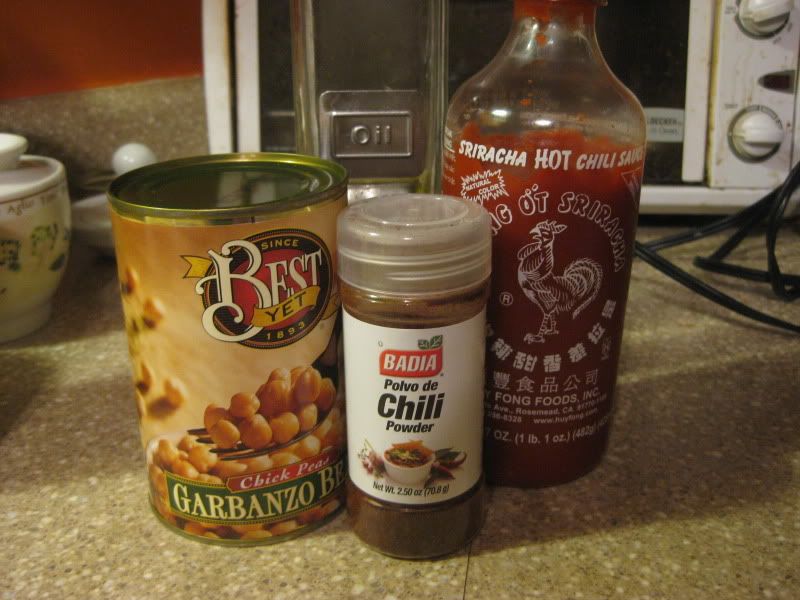
Not pictured: Tahini

For this variety, simply omit the lemon juice and add a tablespoon of chili powder and a healthy squirt of srirachi sauce.  Top with a drizzle of olive oil and a sprinkle of chili powder.


Spinach and Artichoke Hummus

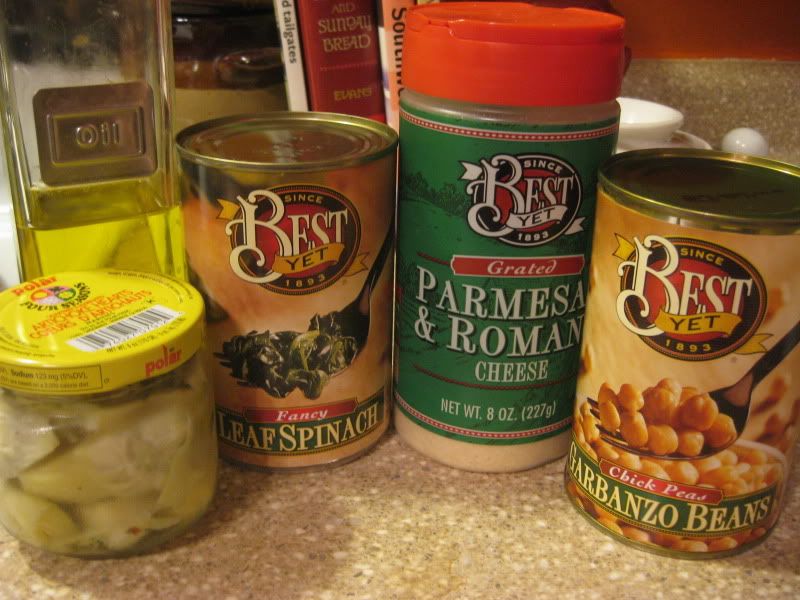
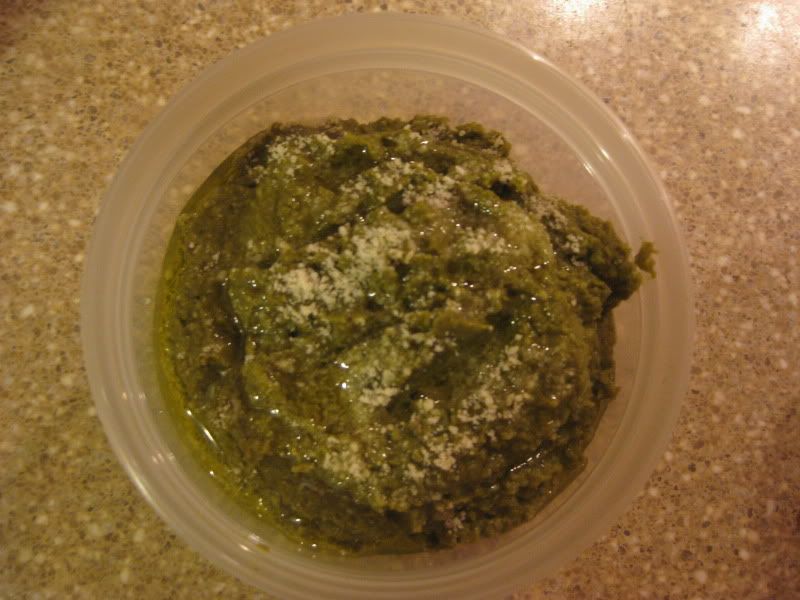
For this variety, add 1/4 cup chopped cooked spinach (I used canned), 1/4 cup of marinated artichoke hearts, and a healthy helping of parmesan cheese (the green can is just fine).  Top with a drizzle of olive oil and a sprinkle of parmesan cheese.


Black Bean Hummus

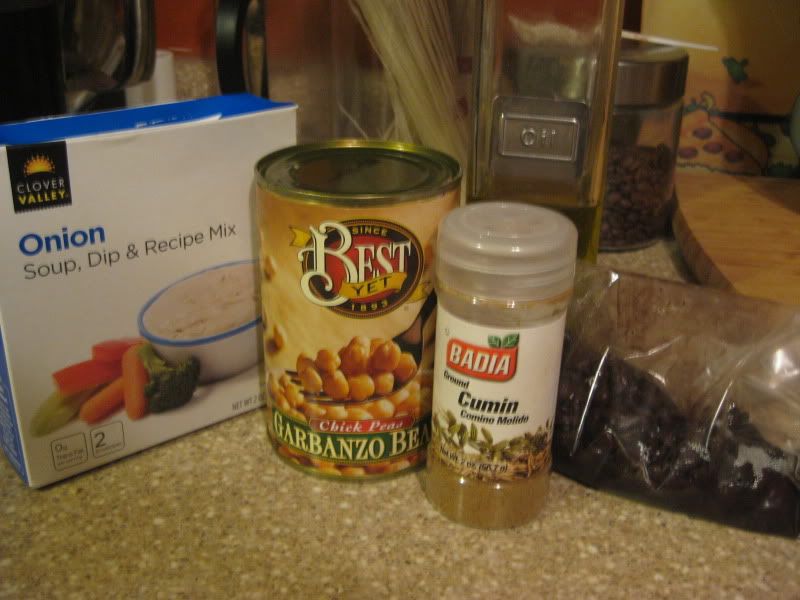
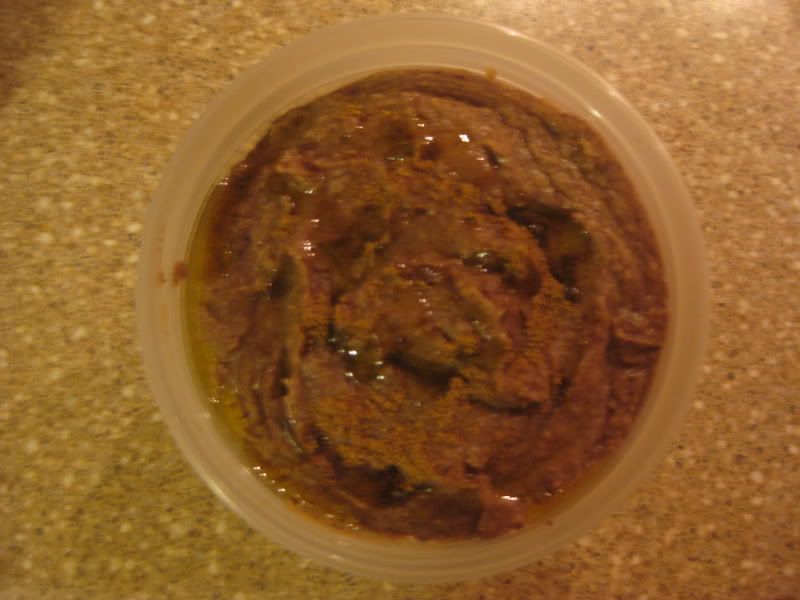
For this variety, add 1/2 can of drained black beans, 1/3 packet of onion soup mix, go a little heavy on the cumin, and omit the salt entirely (there is plenty of salt in the onion soup mix).  Top with a drizzle of olive oil and a sprinkle of cumin.


Now, how do you eat this hummus you've just made?  Well, it goes great with some pita slices, fresh veggies (Scott and I like cucumber, grape tomatoes, and celery), on a sandwich instead of mayo, in a wrap, on a salad, on slices of toasted french bread with a dollop of diced tomatoes, and sometimes right out of the jar with a spoon.

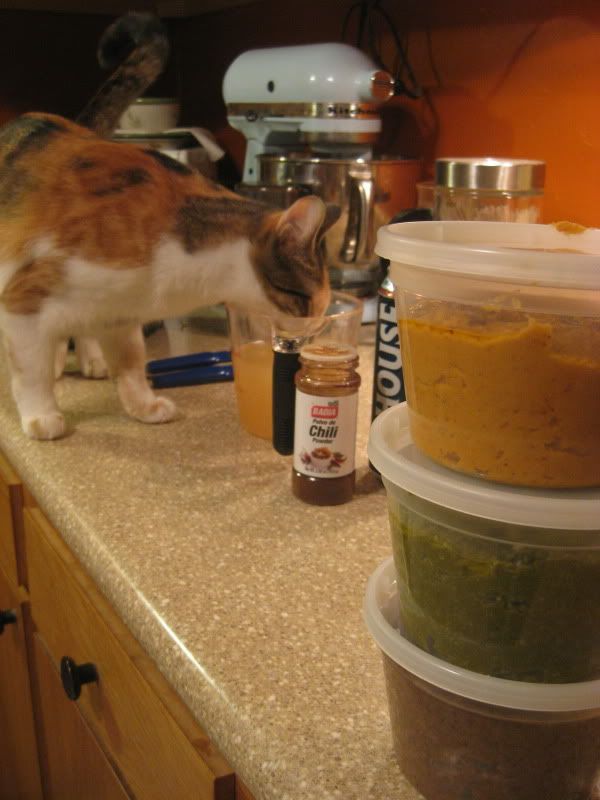
Nugget the infamous monster-cat was roaming the kitchen counter after I had made all the hummus, and she seemed particularly fond of the reserved chickpea water.  That lady is strange.

Thanks for helping, Nuggs.

Friday, July 30, 2010

Summer Breakfast

Not enough people eat breakfast every day.  I used to be a staunch anti-breakfaster, but lately I've been waking up earlier, getting hungry, and starting to think about what to eat.  Through a long process of trial and error, I have found a breakfast so perfect and delicious, so filling and nutritionally balanced, that I don't know if I'll ever switch it up to something different.  The thing is, it's really only perfect for summer.  When the mornings start getting colder, I know I'll turn to my old tried and true oatmeal (and boy do I have some oatmeal recipes for you!), but right now, when berries are cheap, is the perfect time for this breakfast.

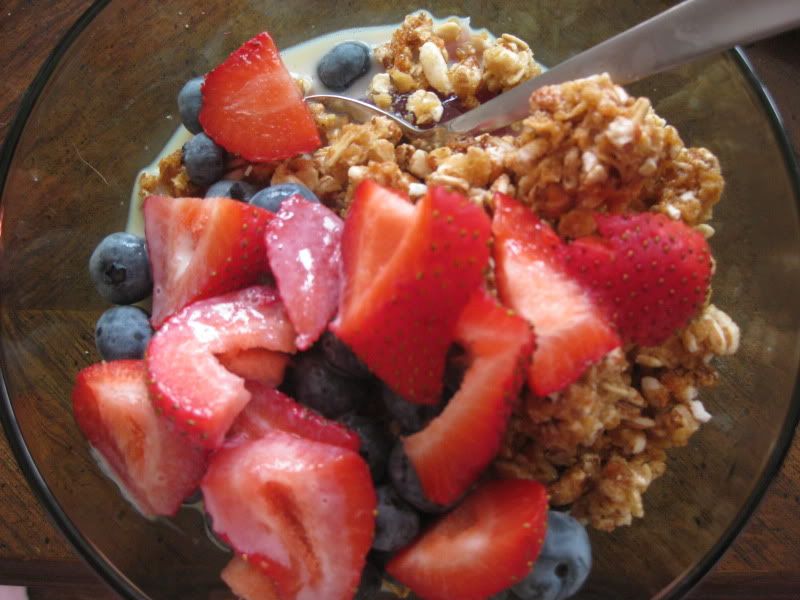
You can't see the yogurt, but I promise it's lurking in there somewhere!

It doesn't have a name, because it's not actually a recipe.  All I do is dump one container of Chobani Greek yogurt into a bowl, add a handful of muesli or granola (right now I'm using Kashi GoLean Crunch because I got it on sale and it's delicious, but last week I was using muesli from Whole Foods), a handful of blueberries, and a handful of sliced strawberries.  Then I hit it with a splash of soy milk (I don't handle regular milk very well, though for some reason, cheese and yogurt are never a problem).  The soy milk cuts down the thickness, because you know how thick that Greek yogurt is, and then I give it a good stir and scarf it all down in about 8 seconds, because that's just how good it is.  Fiber, protein, calcium, vitamins, all in one very tasty, low-fat package!  It doesn't get much better, folks.