To celebrate many things, including (1) fixing my computer, (2) rediscovering the Asian market near my house, and (3) gorgeous summer weather that is just starting to cool a little bit after sundown, Scott and I decided to made Pad Thai for dinner last night AND remember to blog about it!
We wanted to make sure we used a very authentic recipe, so I scanned the internet and compared results to get what seemed like the best, most authentic, and most easily replicated recipe. I wanted a good mix of items I could find at my local supermarket along with some more bizarre ingredients only found at the Asian market in cryptically designed packaging. We also wanted to use a method of cooking we had seen on Good Eats with Alton Brown (one of our favorite shows), where Alton prepares his pad thai in a wok over an outdoor grill. Here's the link to this episode on YouTube if you'd like to see how it's done. (The recipe we found is also very similar to Alton's)
The most important thing to understand about pad thai is that it cooks very quickly. You need to have all of your ingredients prepped and at hand so that the cooking process goes smoothly. If you prepare in advance, the cooking time should be less than 10 minutes from wok to plate. So, are you ready? Here's how we did it!
Ingredients (to serve 4):
1/2 lb fresh raw shrimp, peeled and de-veined
1/2 lb rice noodles (or "rice stick")
4-5 cloves garlic, chopped
3 shallots, thinly sliced
1/3 cup tamarind concentrate *
1/3 cup fish sauce *
1/4 cup palm or cane sugar (gula jawa)*
1/4 cup dried shrimps (tom kho)*
1/4 cup sweet salted radish *
3 eggs
3 cups bean sprouts
1 cup green onions, chopped in 1" pieces
2/3 cup chopped peanuts
2-3 dried red chilies or 1 tbsp chili garlic sauce (to taste)
sesame or peanut oil for cooking
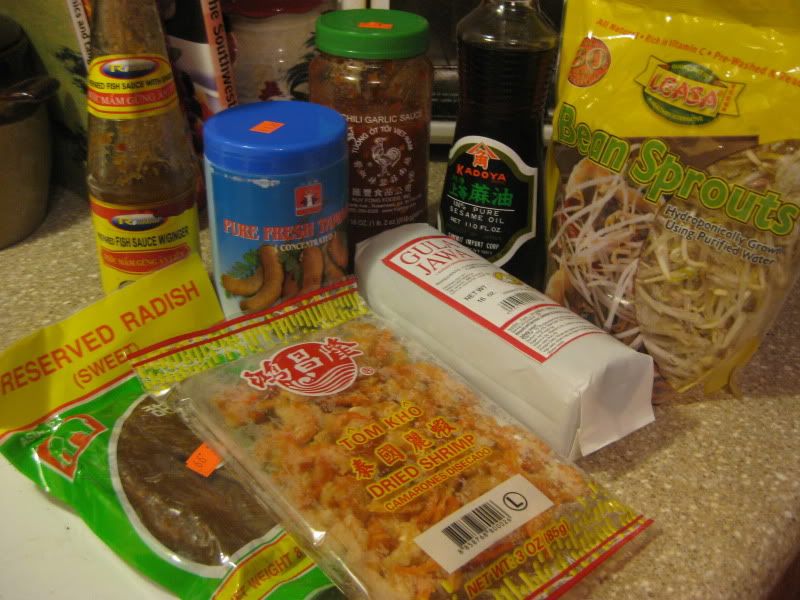 |
| Some of the more unusual ingredients. Clockwise from top left: Fish Sauce with ginger, Tamarind concentrate, Chili Garlic sauce, Sesame oil, Bean sprouts (from Publix), Gula Jawa (palm and coconut sugar), Dried shrimps, and Preserved sweet-salty radish. |
*These ingredients are usually only found at your local Asian market. If you live in Birmingham, definitely check out Super Oriental Market in Homewood. That's the store I go to, and they have an amazing selection of pretty much any Asian food product you will ever need.
First, soak your noodles in lukewarm water for about 40 minutes or until they are flexible but not yet really soft. I wasn't sure about this step at all, having never cooked rice noodles, but I found out that a good way to tell if they are ready is to try to wrap a noodle around your finger. If it wraps without breaking, but gives some resistance, it's ready. The noodles will finish cooking in the wok.
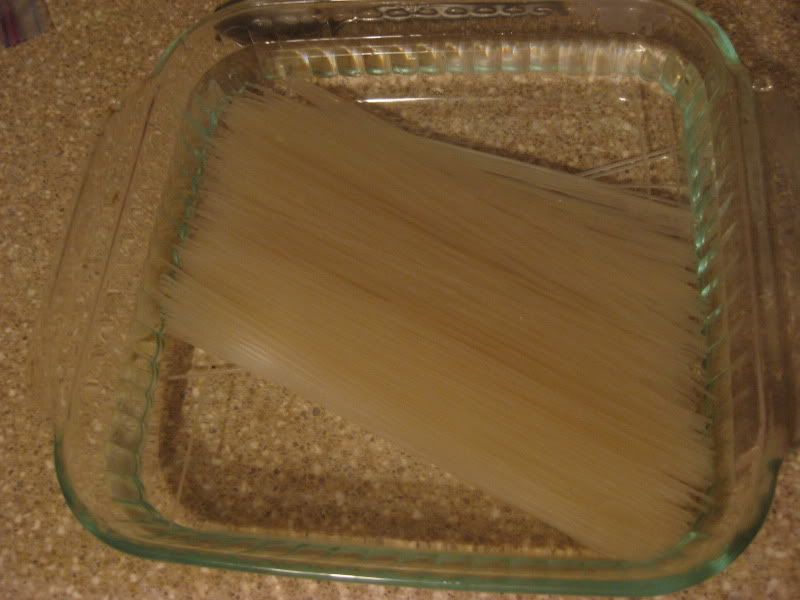 |
| Rice Noodles, or "Rice Stick" soaking in lukewarm water |
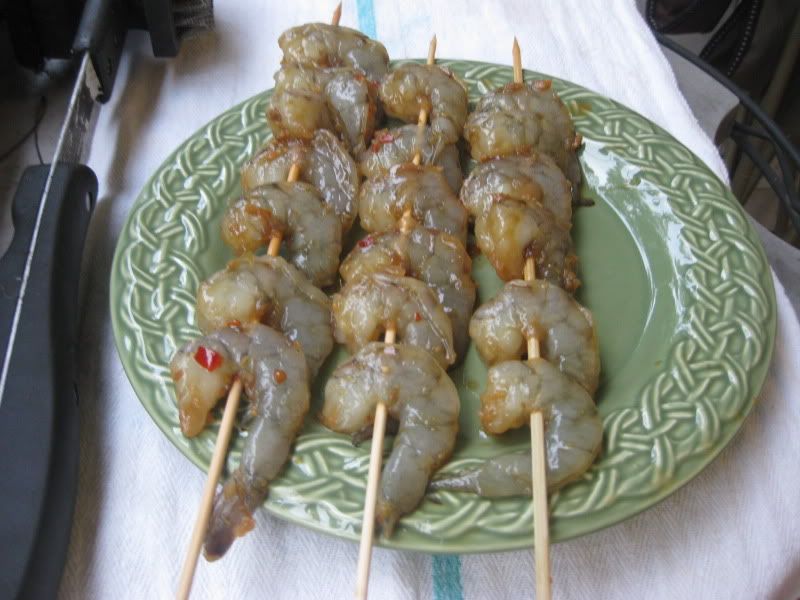
While the noodles are soaking, prepare and cook your shrimp. I marinated ours in some fish sauce (the fish sauce I use is mixed with ginger. If you use regular fish sauce, which should be clear and not cloudy, you might want to add some other ingredients to the marinade.) while the grill was heating up.
While Scott got the grill ready, I prepared the rest of the ingredients. For the sauce, mix the tamarind concentrate, fish sauce, and sugar in a small bowl until the sugar is fully dissolved. Then, chop up all your vegetables and place them all in separate small bowls or containers so that you can easily grab them and add them to the wok when it's time. I arranged my ingredients in various bowls, coffee mugs, and shot glasses because no one has bought me a set of pinch bowls (yet).
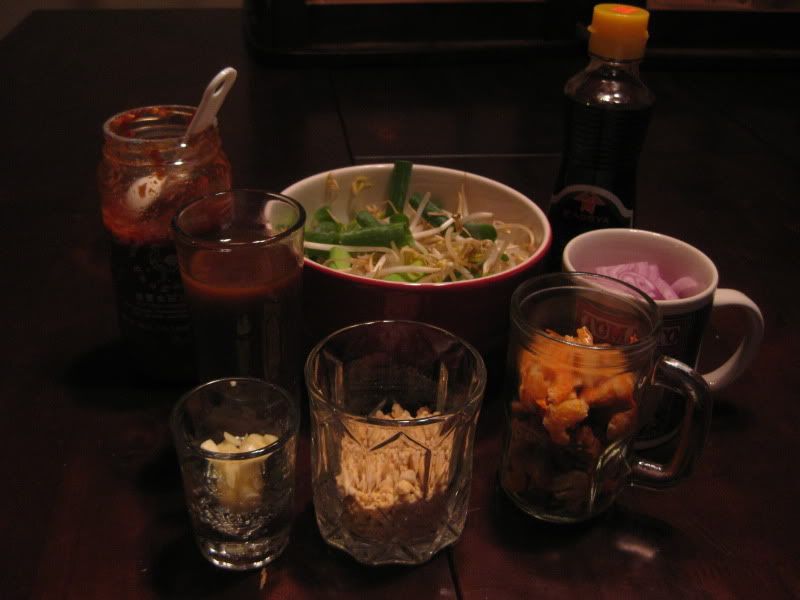 |
| Clockwise from top left: Chili Garlic Sauce, bean sprouts and green onions, sesame oil, sliced shallots, dried shrimps and chopped preserved radish, chopped peanuts, chopped garlic, and sweet-sour-salty sauce. |
Once the grill was nice and hot, Scott skewered up the shrimp (remember to soak those skewers so they don't burn!) and cooked them for about 1-2 minutes per side. You want them to be underdone, but just slightly. There isn't much worse than rubbery, overcooked shrimp!
Now, make a checklist. Are your noodles flexible? Are your sauces and veggies prepped and handy? Is your grill hot and your wok ready? ARE YOU HUNGRY FOR SOME PAD THAI? If you answered yes to ALL of these questions, you are ready to cook! There is no going back at this point.
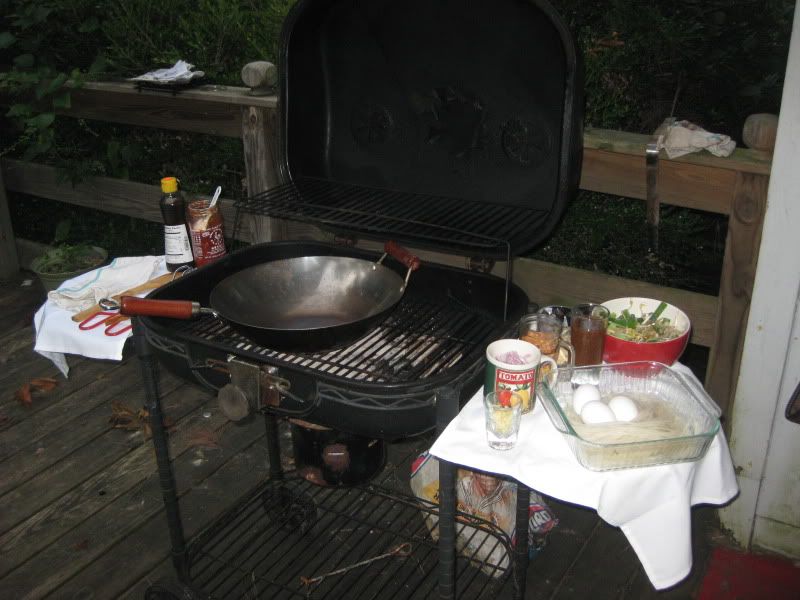 |
| The grill set-up |
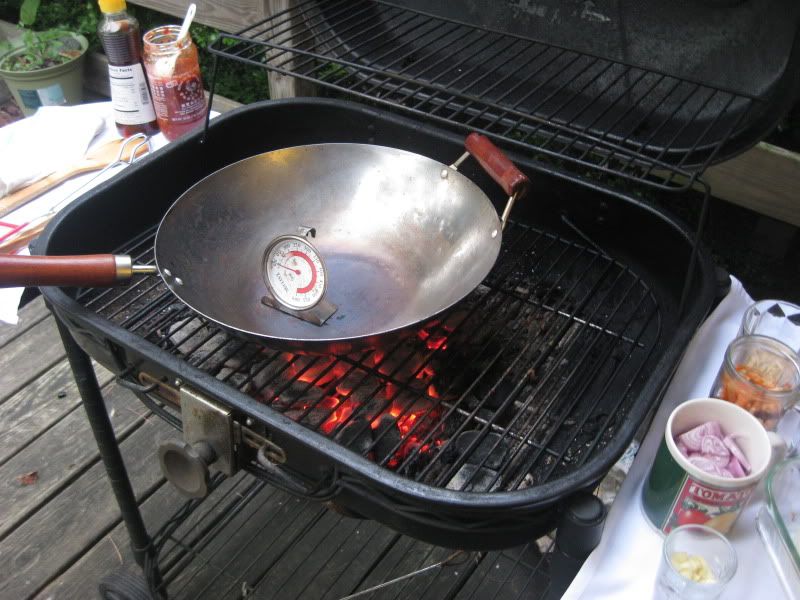 |
| Crazy-hot wok! |
Your first step is to put the wok on the grill rack, right over the hottest area of coals. Let it sit for about five minutes, or until it is screaming hot. When it's crazy, hellfire hot, add about 2 tbsp of sesame or peanut oil and swirl it around the wok. Now add your garlic, toss, and wait 15 seconds. Quick, add your shallots, give it another toss, and wait another 15 seconds. Now, add the dried shrimps and radish and cook through, about 1-2 minutes, tossing and stirring constantly.
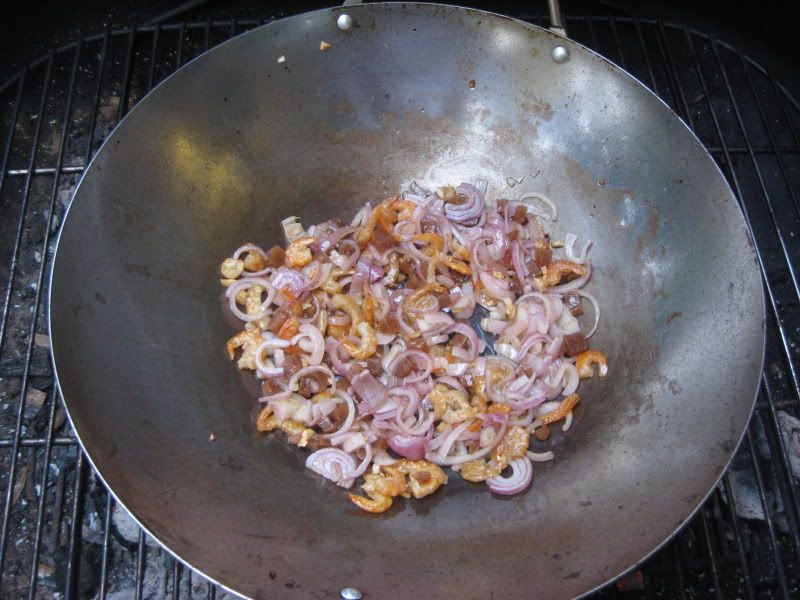 |
| Garlic, shallots, dried shrimps, and preserved radish |
Next, add your noodles and toss to combine, cooking another 1-2 minutes. Move the noodles to one side of the wok, add a little more oil to the pan, and quickly crack in 3 eggs, using some chopsticks or a wooden spoon to scramble lightly.
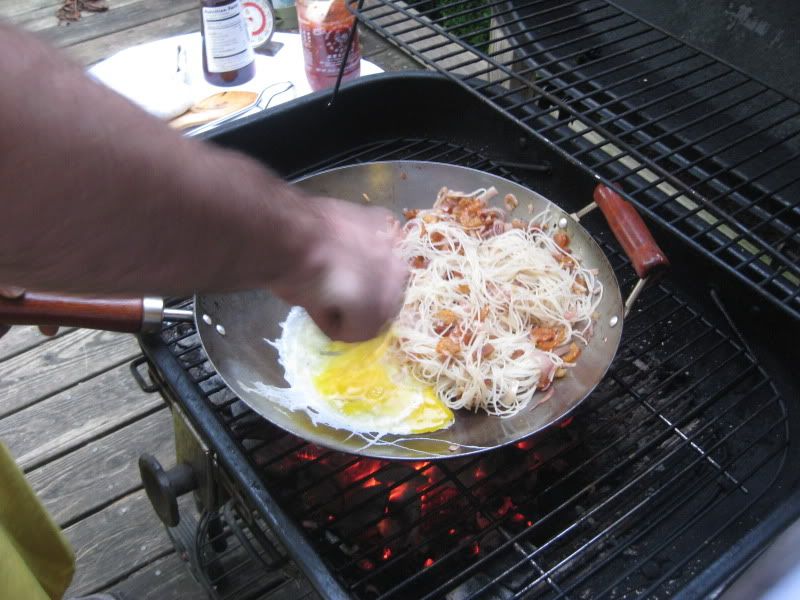 |
| Scrambling the eggs with the noodles and co. to the side |
Once the eggs are set, toss them in with the noodles and add the fish-tamarind-sugar sauce, tossing to coat. Cook for another 2 minutes or so, and test the noodles for doneness (only one way to do this, kids... slurp one up and taste it!). They should be al dente. When the noodles are done, add the bean sprouts, green onions, 1/2 of the peanuts, and the grilled shrimp. Cook, stirring and tossing constantly, until the green onions are just wilted.
 |
| Everything's in the wok, we're on the final countdown to delicious! |
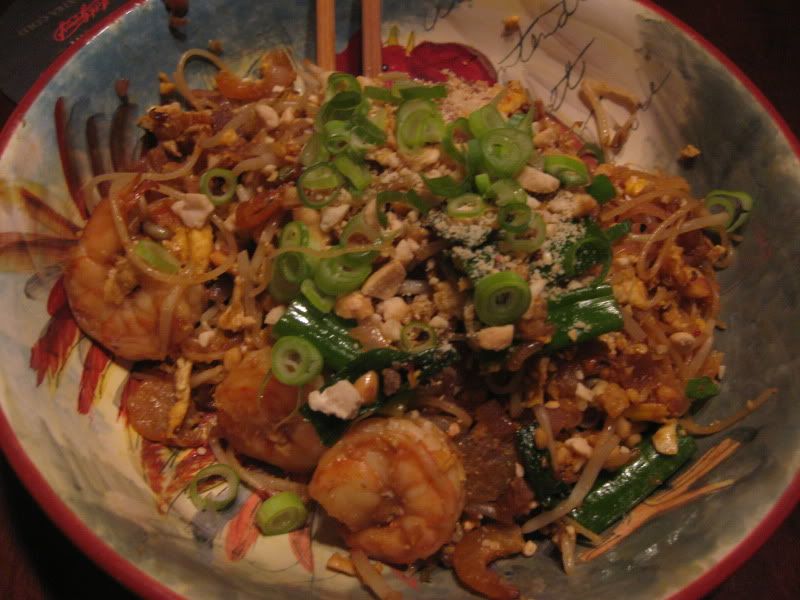
Plate up immediately, garnishing with the rest of the chopped peanuts, some thinly sliced green onion, and some cilantro and lime if you'd like (we were so excited to eat we forgot about those last two!).
This recipe reflects an improvement we thought of but haven't tried yet... when we made it, it was quite dry and we wished for some more sauce. We ended up adding some more fish sauce, but in the future we would have doubled our sweet-sour sauce. The recipe I have given you is the one with the doubled sauce recipe, so no need to adjust the ingredients. That said, pad thai is a very personal dish, and can be made any number of ways. There isn't a definitive authentic version, so feel free to make additions, substitutions, and subtractions according to your own tastes. This is one dish that we very much enjoyed making, and of course, eating... we will make it many times again!
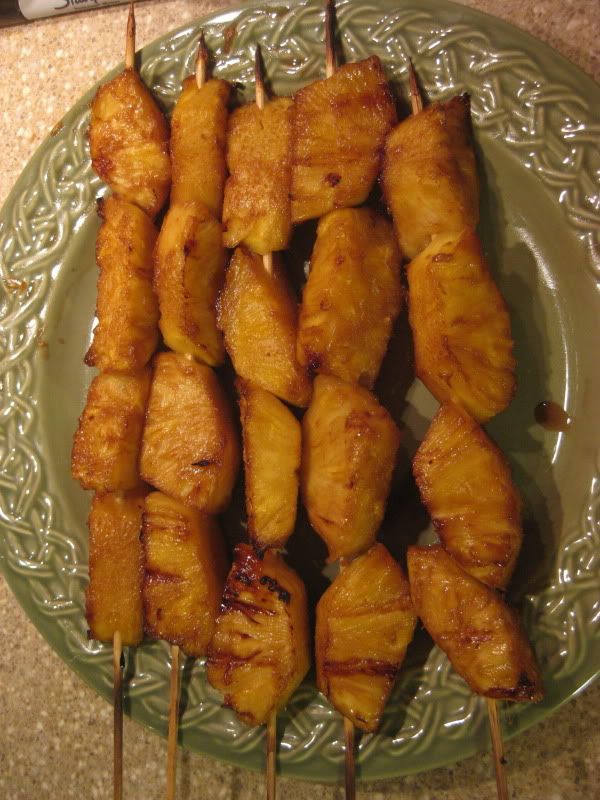
Oh, did I forget to mention dessert? My bad! Scott and I aren't big on sweets, but we LOVE fruit, so I got us a nice fresh pineapple, chopped it up, marinated it in some Dale's and brown sugar (yes, Dale's) and popped it on some skewers to grill later on. I can't even tell you how delicious it was... I kinda wished I had some cool-whip or vanilla ice cream to go with it, but it was nearly perfect just on its own: a blend of salty and sweet and smoky that was the perfect end to a wonderful summer meal!