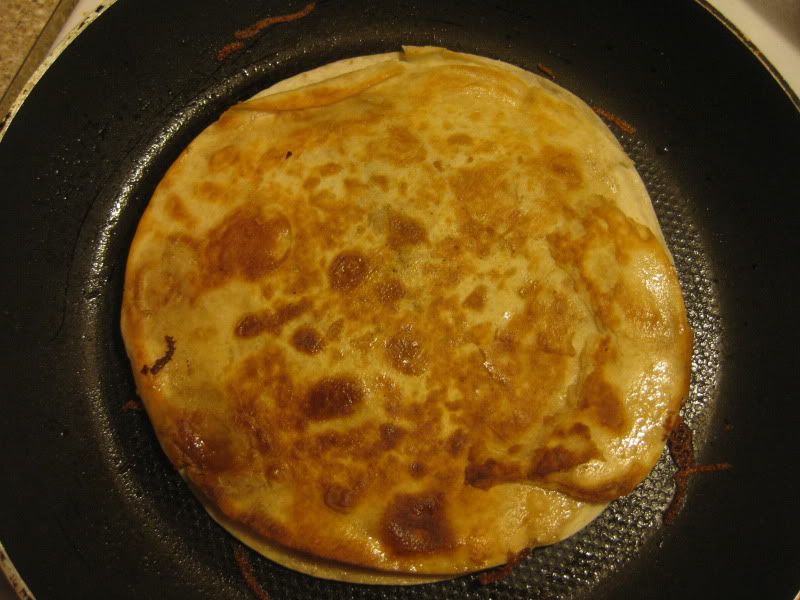
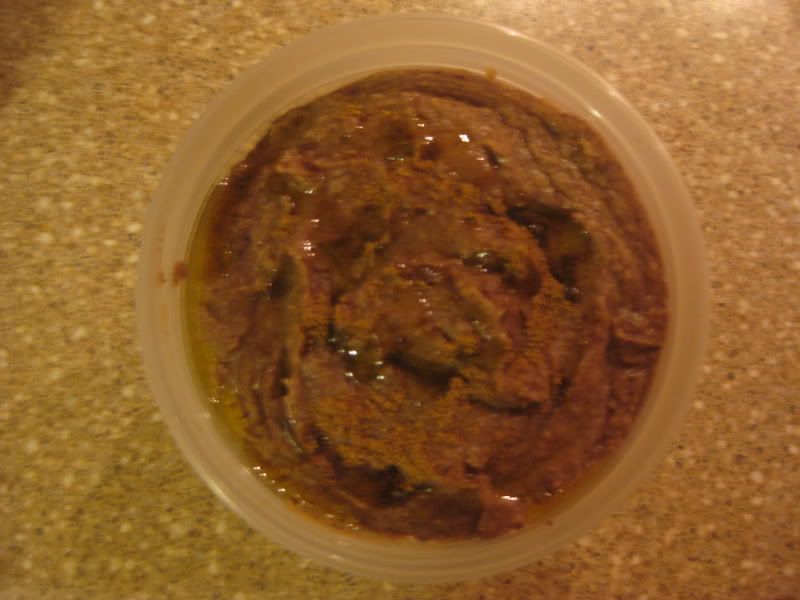
Tuesday, September 21, 2010

Kimchi Spring Roll - FAIL!

Yes, this was a fail.  So why am I still blogging about it?  Because the flavors were all there... sesame oil, kimchi, chili paste, fish sauce, etc... there was just a massive execution mishap.  I will tell you exactly how I made these in the hopes that you can learn from my mistake and never make spring rolls this way, ever.  I'll also tell you how I would do it next time, so hopefully there is still a salvageable recipe buried in here somewhere.
Fail.

To be honest, these might have turned out okay if I had changed just one little ingredient: the wrapper.  I sent Scott off to the Asian market today to pick up supplies, and I even provided him with a shopping list.  My error was that I did not make a detailed enough list for him.  When I asked for spring roll wrappers, I meant for him to get the kind that are flour-based, square, and either refrigerated or frozen.  I can't possibly blame him, because what he brought home was clearly marked "Spring Roll Wrappers", only they were Vietnamese-style rice paper wrappers.


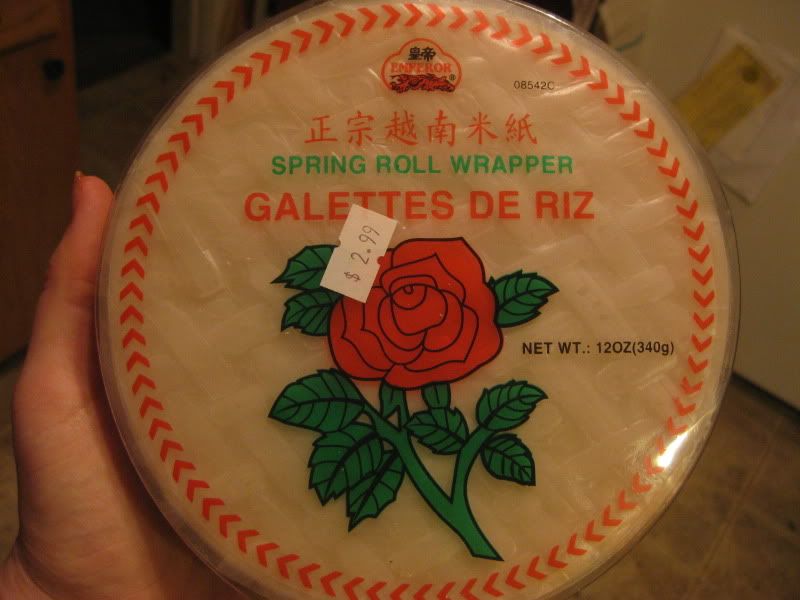
Totally different.  I figured I could either run down to the grocery store (the Asian market is too far away for a last minute trip) and pick up some phyllo dough, or I could just see what happens with the rice paper.  I hate, hate, hate phyllo dough (to cook with, not to eat... that stuff is delicious), so we decided we would just figure out how to work with the rice paper.

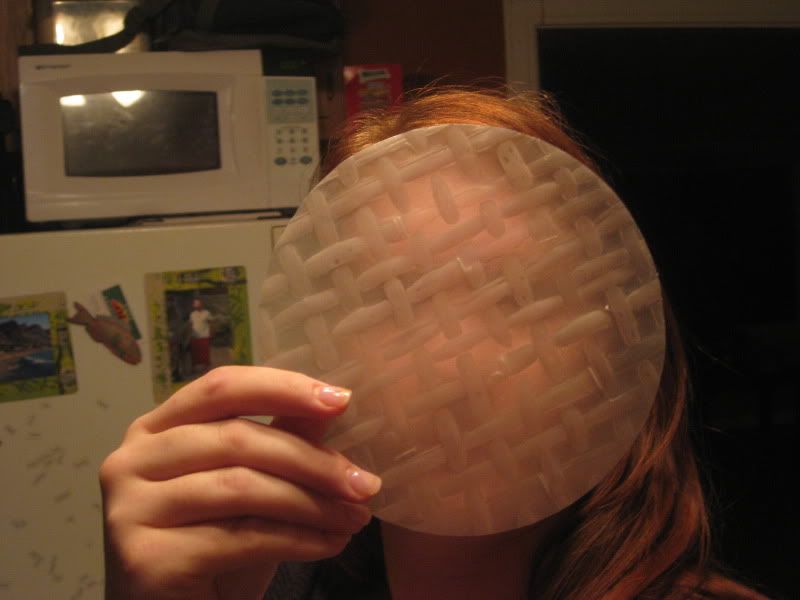
Sort of see-through... weeeird!

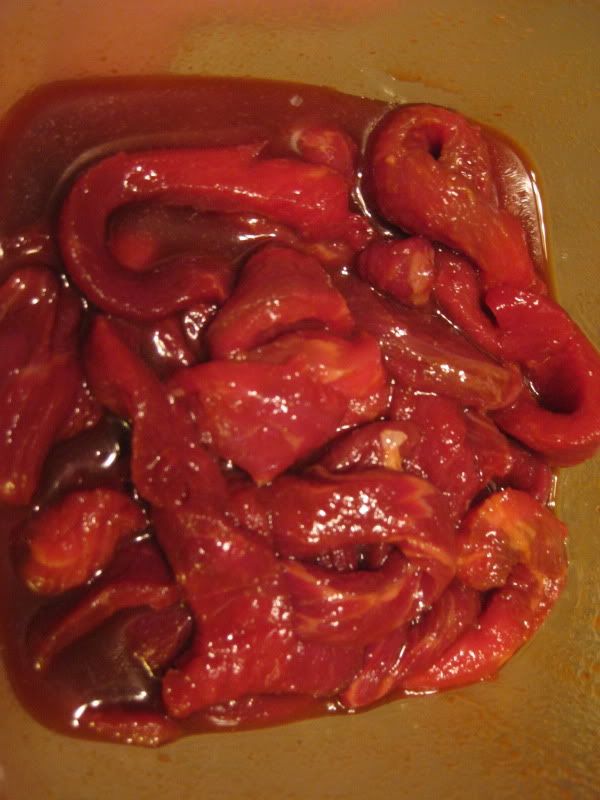
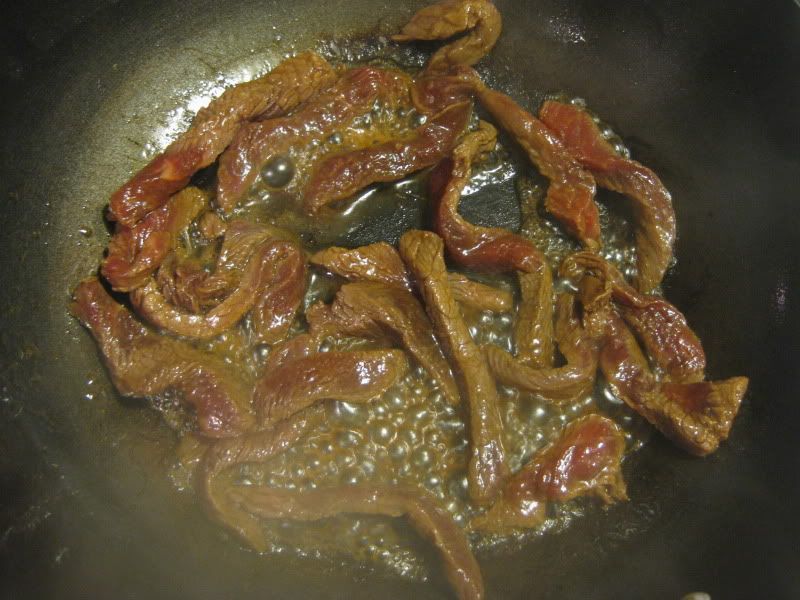
From there, I just made everything as normal.  I browned some ground pork in a skillet with some sesame oil, minced ginger, and julienned carrots (I use the terms "minced" and "julienned" loosely, as my knife skills are sorely lacking) marinated in a blend of soy sauce, mirin, fish sauce, brown sugar, and chili-garlic paste.


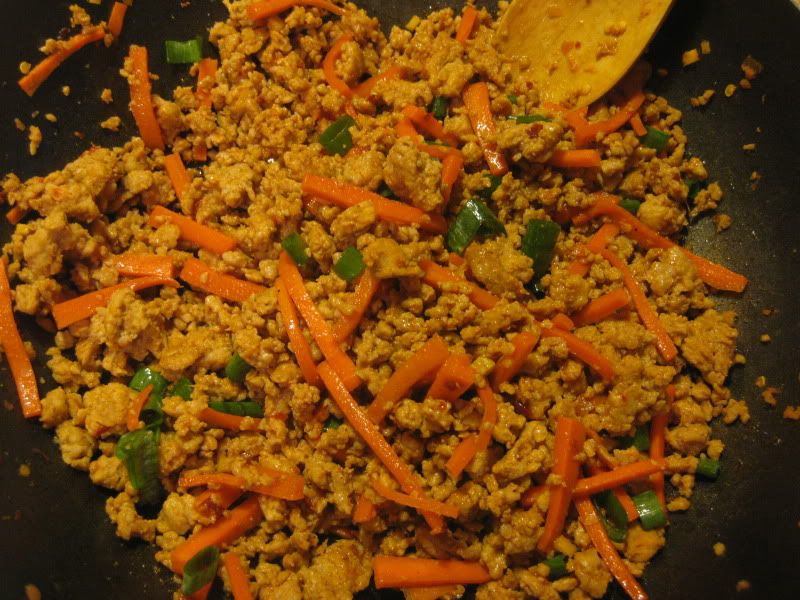
 A word on fish sauce, for those who have never cooked with it before: the flavor is essential to most Asian dishes, so you really can't substitute.  It's typically made from anchovies, water, and sometimes some salt and sugar.  It tastes delicious.  I promise.  Here's the thing, though... when you open up the bottle and take a whiff, it straight up smells like sweaty underwear.  It is a most pungent, unpleasant, and gag-inducing aroma, but please don't let that deter you.  Something magical happens when you cook with it, and it makes all Asian food taste like manna from heaven.  Strange but true.

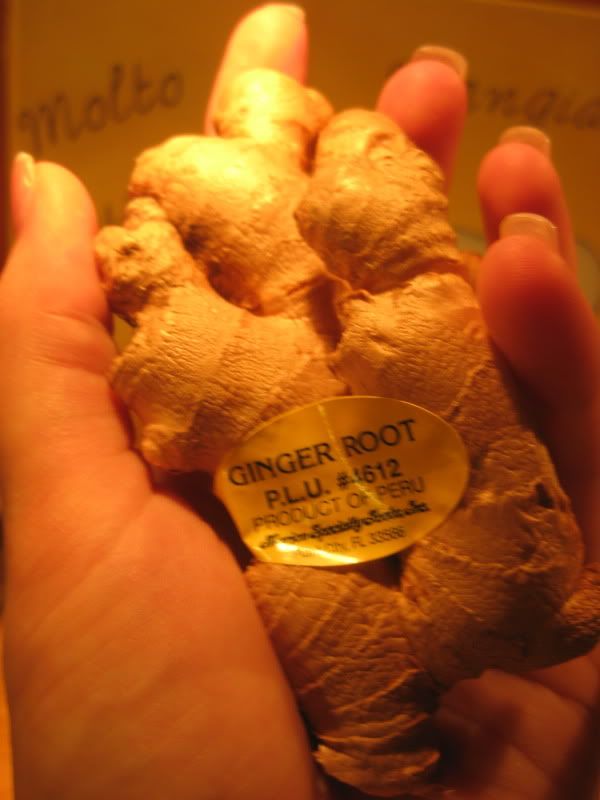
My first time working with actual ginger. True story.

Meanwhile, I chopped up some kimchi that Scott also picked up from the Asian market.  By the way, this kimchi was made fresh just for us... all the store had were giant, restaurant-sized jars of kimchi, so when Scott asked if they had anything smaller, the shopkeeper told him, "Fifteen minute!  You shop!", and before Scott had gathered everything from my list, the guy presented him with a half-gallon sized jar of freshly-made kimchi.  Nice!

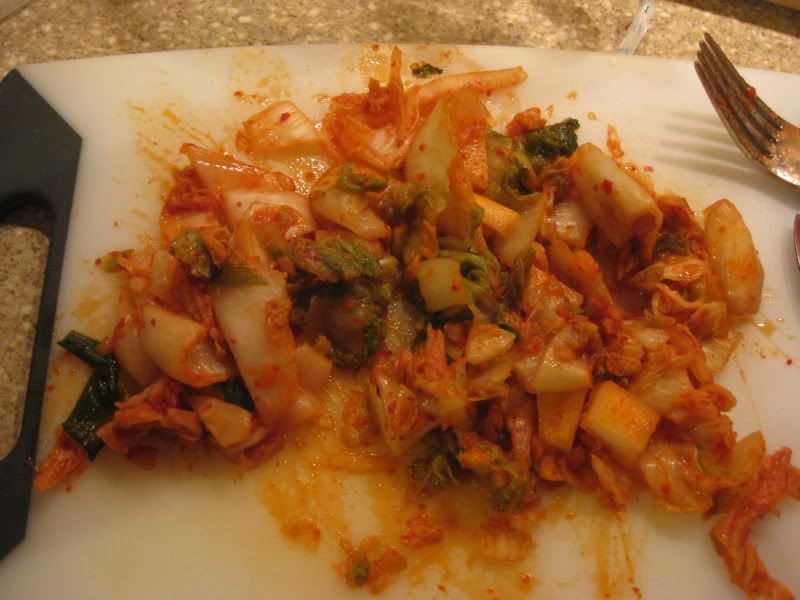
A hot mess of chopped kimchi.

Now to deal with these rice paper wrappers... I filled a bowl with some hot water and wrapped a cutting board with a wet kitchen towel.  I had all my fillers at the ready, and I had my oven pre-heating to 425 degrees.  I also had a small bowl with equal amounts of sesame and canola oil to brush over the spring rolls, to prevent them from getting too crunchy in the oven.

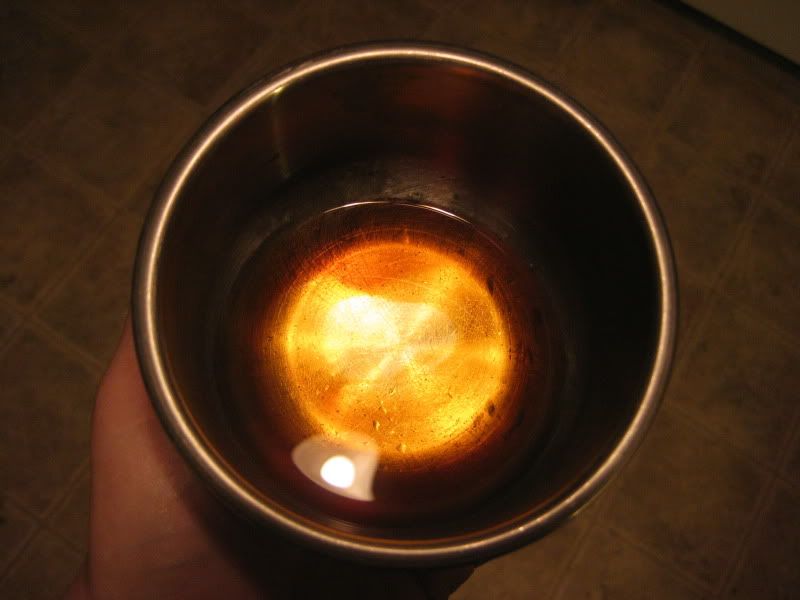
Sesame oil is one of my favorite smells

One at a time, I dipped a sheet of rice paper in the hot water for about 5 seconds, then laid it out on my cutting board.  I placed a tablespoon of the pork mixture and a tablespoon of kimchi in the center of each one, then rolled them up like a taco.  It was fast and easy work, and in about 5 minutes, I had made 8 of them and was ready to be done.  I had originally planned to made a whole bunch of spring rolls for freezing, but I didn't think these would turn out well, so I stopped at a dinner-for-two sized amount.

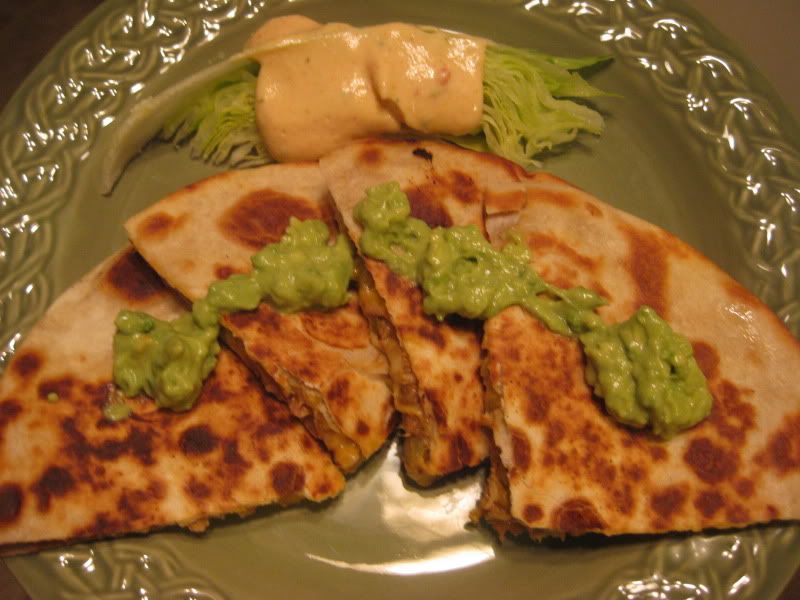
You can only barely see the wrapper in this shot


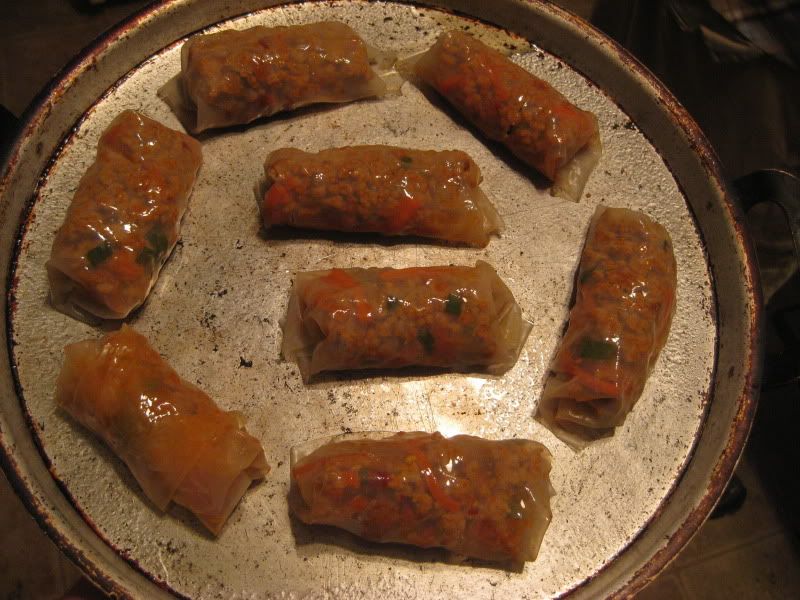
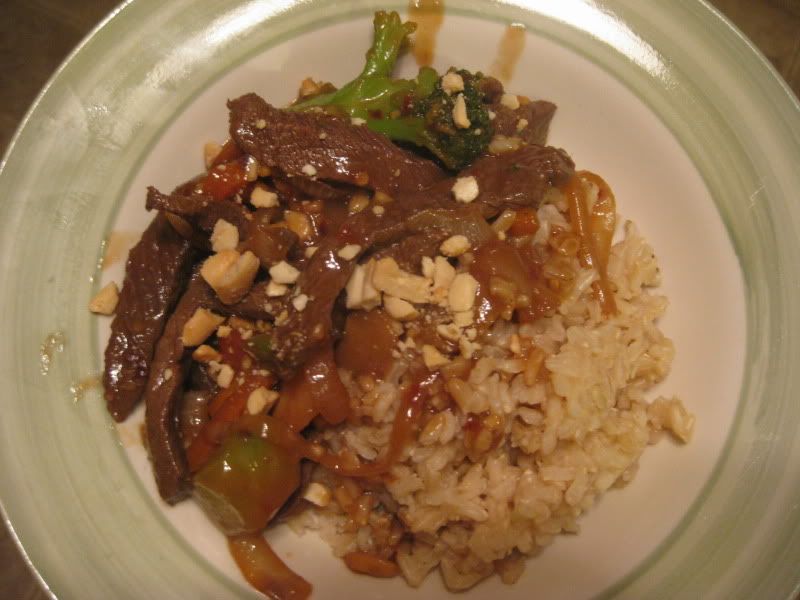
After brushing them lightly with oil, I baked them for about 10-15 minutes, until they were getting brown on top and the fillings were starting to think about oozing out, and let them cool until they were almost at room temperature.  (Trust me, I tried digging in when they were cool to the touch, and the steam that came out of the spring roll nearly burned off my face)  I served them with the Pioneer Woman's sesame noodles, topped the whole thing with some spring onions, and grumbled through my whole meal.


Okay, next time, I would do things exactly the same way, except that I would use flour-based wrappers instead of rice paper.  Don't get me wrong, the rice paper is good, but it's meant to make summer rolls, chilled or room-temperature rolls filled with vegetables.  It just didn't work for this kind of filling.  I do have a lot of pork and kimchi left over, so I will be making fried rice sometime in the near future.  All in all, dinner wasn't terrible, and Scott even said it was good, but it's not something I would ever serve to guests.

Friday, September 17, 2010

It's Diet Time, Folks

As I've been writing this blog, I've been much more focused on foods that taste good and are relatively easy to make, but I haven't paid much attention to nutrition and calorie content.  That needs to change.  Since I've been writing this blog, I've gained weight, and so has Scott, and with our upcoming vacation in December (Cape Town, South Africa!!!), we need to start paying more attention to what we eat.

All recipes in the future (okay, not all, but most) will have nutrition information included, and I will try to make everything much healthier than I have in the past.  That said, I will not sacrifice flavor.  I believe that food should be something pleasurable, and even if you're on a diet, you should be able to enjoy your meals.  There will be no poached-chicken-and-steamed-broccoli meals on this site, ever.  In fact, I am going to try to make all the stuff I would normally make, but find creative ways to cut the calories and boost the nutrients wherever possible.

So if you enjoy my blog for all the yummy recipes, but you don't need to lose any weight (I am looking at YOU, Crystal!), still come by and check it out, and I'm sure my recipes will cater to you skinny-minnies as well as we curvaceous more-to-love folks as well!

Thursday, September 16, 2010

Tuna Melt Quesadillas

The title of this post alone is enough to make post readers turn away and never come back... but wait!  I promise I have delicious noms in store for you!  In fact, I had to make Scott wait in the other room while I was making these, because I knew that if he found out I was putting tuna in quesadillas, he'd never eat it.  Well, he ate it, and when I asked him to rate his dinner on a scale of 1 to 5, 1 being totally grody and 5 being super awesome good, he gave it a 10.5.  Which is a good thing, since this was such a cheap-o meal, I can make it over and over again.


Let it be known that I do not like tuna melts.  I also don't much like tuna noodle casserole, or any other combination of foods where the tuna is hot and mixed with cheese.  But for some strange reason, I have always loved tuna quesadillas, and I think it might just be because my love for quesadillas trumps my hatred of hot tuna. For this recipe, we will do all we can to hide the flavor of the tuna, and mask its fishiness.

See that tuna quesadilla? Not as good as mine.

I start by mixing one pouch of Starkist hickory flavor tuna (or whatever flavor you like... those things are awesome!) and one can of diced mild green chiles.  Sure, you can dice your own mild green chiles, but for this dish, I like the canned variety because they're nice and soft and I can't be bothered to cook them down from fresh.  For the flavoring, I'll add a dash of sriracha, some leftover meatloaf glaze, and some salt and pepper.


Then I start my quesadillas... some butter in a frying pan on medium-high heat, add a tortilla, add some cheese, add my tuna mix, some more cheese, another tortilla, and done!  Let it sit undisturbed until the cheese on the bottom half is melted, then flip with a wide spatula and cook on the other side until all the cheese is melted and the tortillas are nicely browned.


While the quesadillas were cooking, I mashed up half a ripe avocado with some spicy ranch dressing and a little salt, for a creamy dipping sauce.  Slice the quesadillas up and serve with a simple salad: a wedge of iceberg lettuce drizzled with some more spicy ranch dressing.

One of my favorite foods... behold the Delicious Avocado!

I promise, even if you don't like hot tuna or tuna melts, you will love this dish!  And it's so simple and inexpensive, it's a perfect weeknight meal, and a great meal to make if you're only cooking for one or two people!


Wednesday, September 15, 2010

Weeknight Beef Stir-Fry

A stir-fry is one of the quickest and easiest meals to throw together when you just don't have time to cook.  Aside from the rice, you can have a hot, delicious meal in about ten minutes from start to finish.  Take that, Rachael Ray!

I didn't feel up to cooking last night, but I didn't want to settle for a PB&J for dinner, so I poked around in the fridge, grabbed a few handfuls of this and that, and made a wonderful spicy beef stir fry for two, with leftovers for breakfast burritos in the morning!


There is literally no recipe for this meal, only a method, so it is endlessly customizable, and I guarantee that no matter what's in your fridge right now, you can pull a great stir-fry out of it!  All you need is a good sauce, some veggies, and some protein (and the protein is optional).  You can serve it over rice, noodles, scrambled eggs, mashed potatoes, or even just on a plate by itself!  The secret is in the way that you cook, not what you cook.

I started by marinating about 3/4 of a pound of beef sirloin strips in my homemade sauce.  I cheated and got the strips pre-cut at the grocery store, but whatever protein you're using (chicken, shrimp, pork, tofu, and firm fish are all really good options), make sure to slice them into uniform, bite-sized pieces.

Beef strips in marinade... yum!

For the sauce, I combined about 1/4 cup soy sauce, 2-3 tbsp each rice wine vinegar and sriracha, and about a tsp each of ground ginger and honey.  Since there was so much soy sauce, there's no need for any more salt in the dish.  I mixed it up in a tupperware, tossed it with the beef strips, and let it sit on the countertop while I made the rice.

Speaking of rice, here's my tried-and-true, foolproof rice cooking method: 1 part water, 1 part homemade chicken stock (that's another post), and 1 part brown rice.  Add everything to a pot, bring it to a boil, and as soon as it starts a heavy roll, put on a TIGHT fitting lid (if your lid does not fit snugly, or has holes in it, cover with a piece of tin foil first), and turn the heat to low (number 2 on my electric range).  After 25 minutes (15 for white rice), turn the heat completely off.  DO NOT take off the lid!  Let the pot sit on the burner for another 15 minutes, then remove the lid and fluff with a fork.  Perfect every time!

When I had turned the heat off for the rice, I started my stir-fry.  I heated a dry wok on high while I chopped my veggies.  This time, I was low on veg, so I just sliced up some yellow onion and had a pack of frozen stir-fry veggies on hand to bulk it up.  Then I added 1 tbsp canola oil to the wok, gave it a stir, and added my beef (just the meat, please... the sauce comes later).  I let the beef strips cook for about a minute, then I gave them a toss, cooked for another minute, and removed them from the wok.  Over-stirring makes for gray meat, and that's a no-no.


Next I added a teeny bit more oil and my onions, tossing them constantly until they were brown but not yet soft.  I threw in my frozen veggies (a blend of broccoli, mushrooms, water chestnut, carrots, and red bell pepper) and let them cook until they had thawed out and the wok was hot again.

Colorful veggies!

Then I added in my beef strips once more, stirred a teaspoon of flour in with the marinade, and tossed in the sauce.  I turned the heat down to low and let the sauce reduce until it was nice and thick.  I happened to have some chopped peanuts in the fridge, so I tossed them in, too, for a little crunch and flavor.


By this time, my rice was done, and it was time to eat!  I topped everything off with some chopped peanuts and red pepper flakes, and we were good to go.


For breakfast the next morning, I re-heated my stir-fry, scrambled some eggs, and rolled everything up in some flour tortillas for a quick and easy breakfast burrito, fusion-style.

Remember that you can make this with ANY kind of protein and ANY kind of crunchy veggies, so make it your way!

Printable Recipe

Monday, September 13, 2010

Tres Leches Cake for the Lazy Man

I'm not much of a dessert fan, but the other night while watching Alton Brown whip up a tres leches cake on Good Eats, I had such a burst of inspiration that I went to the store first thing in the morning to pick up the ingredients.  Maybe I'd like desserts better if I knew how to make them, but sadly, this is not the case.  I have quite the black thumb when it comes to anything involving exact measurements, and baking is a very unforgivable art.  I knew I didn't want to ruin my tres leches experience by mucking up the cake, so I bought a box of yellow cake mix, some condensed milk and evaporated milk, and tried to sit on my hands until I actually had occasion to make this sweet milky goodness.

You want this.  You want this now...

The end result wasn't absolute perfection, but it was far from a let-down, and it's something I'll definitely store in my recipe box to make again (and again!)  If you've never had tres leches cake, like me, it's essentially a sponge cake over which you pour a blend of three different kinds of milk ("tres leches" is Spanish for "three milks"), allowing the cake to soak up the liquid overnight.  It's very rich and sweet, yet is light enough for a warm summer evening, and is simple enough to complement almost any meal.  Best of all, if you make it the lazy way, it takes almost no effort at all and even the worst of bakers (points to self) can pull it off easily!

I started by baking a yellow cake in a 9x13" pan, according to the directions on the box.  When the cake was done, I used a couple of skewers to poke it full of tiny holes, which will allow the milk blend to soak in.

Crater-cake
In a mixing bowl, I whisked together one can of evaporated milk, one can of sweetened condensed milk, and one cup of almond milk.  Alton Brown's recipe calls for one cup of half and half, but I didn't have any on hand, and I love the light, slightly sweet flavor of almond milk, which is also quite rich, so I thought it would be a suitable replacement (it was!)

I want this over my cereal.  For reals.
Pour the milk mixture SLOWLY over the perforated cake.  If the cake seems like it doesn't want to hold any more liquid, come back to it in a few minutes and you will be able to pour the rest.  Move the cake, uncovered, into the fridge to sit overnight or for at least 3-4 hours.  The cake will be so saturated that it won't be able to dry up... mine was in the fridge for nearly 18 hours before I came back to it and it was perfect.

Now comes the question of a topping.  The "proper" way to top this cake would be with some fresh, homemade whipped cream, possibly with a little tot of rum blended in, but remember that this is the lazy man's version... and the lazy man (or woman) uses Cool Whip.  Would I use Cool Whip again?  It depends on how much time I had, but probably not.  It melts too easily and has a tendency to want to join its brothers and seep into the cake.  Ideally, I would leave the cake unfrosted and simply top each individual serving with a dollop of whipped cream.


To jazz the cake up a little bit, give it a little pizzazz, I decided to drizzle a little dulce de leche over the top.  Dulce de leche, or "milk candy" is nothing more than caramelized sweetened condensed milk, and it is utterly divine over whatever the heck you can think to put it on.  The way my mother used to make it was to put an unopened can of condensed milk into a pot, cover it with water, and slowly boil it for about three hours.  Then she would let it cool naturally, without removing it from the water, until it was room temperature, at which point she would open the can, and the condensed milk would have magically transformed into a thick caramel.  This method can be dangerous, because if you forget about the pot and let the water boil away, the can could explode, leaving a sticky mess all over your kitchen ceiling.  Kitchen ceilings are about the only thing that are not made better by a blob of dulce de leche.

I was a bit pressed for time, so I did a little googling, and I came upon a post by Lydia over at The Perfect Pantry about how to microwave dulce de leche.  Whaaaat? It was a total life-saver!  Anyway, I followed her method, as described here, and she was kind enough to e-mail me with some modifications I might try in order to make a drizzly sauce out of this rather thick confection.  After I had made the dulce, I poured it (or rather, globbed it) into a squeeze bottle, added about 2 tbsp of almond milk (having no cream or even regular milk in the house), nuked it for about 10 seconds, and shook it like a shake weight for about three minutes.  Besides a decent workout, I got a nice, drizzly-yet-firm sauce that made perfect little swirls over the top of my cake.  Perfection!

Much thanks to Wanda for her help in preparing these shots, by the way!

I brought the cake to Scott's parents' house for dessert and everyone enjoyed it, even though I have traumatized them more than once with my less-than-edible desserts in the past.  I'll call this one a win, and let me know if you'd like a try, because BOY do I have some leftoveeeeeers!

Printable Recipe

Thursday, September 9, 2010

Beefcakes!

When is a cupcake not a cupcake?  When it's a beefcake!


Okay, there is a little backstory to this one.  Fun fact about Kelly:  I read a lot of food blogs.  A LOT.  I read them to drool over fatty sugary things I would never allow myself to eat, I read them to discover new flavors, I read them for inspiration for my own blog, and of course, I read them to find good recipes.  One of my favorite websites is tastespotting.com, where you simply scroll through gorgeous pictures of delicious food, and if you find something you like, clickety-click, there's the recipe!  The only problem I have with tastespotting is that there is an abundance of sweets and baked goods that I have no interest in.  I mean, sure, I like cake and cookies as much as the next guy, but I don't like them enough to actually make them.  The hottest trend right now, it seems, is cupcakes, and while some of them are very unique and very pretty, I simply can't picture myself whipping up a batch of cupcakes that will ultimately sit in the back of my fridge until they mold.  I was discussing this with my boyfriend (who, incidentally, asked for a meat cake for his birthday), and presto!  The beefcake was invented.

I definitely can't claim the beefcake as my original idea.  Sure, I thought of it on my own, but after doing some research, I found that I am by no means the first one to make them.  To be true to myself, though, I didn't read any recipes... I only looked at pictures for my inspiration, to make sure the recipe was all my own.

The concept is simple:  a meatloaf shaped like a cupcake and "frosted" with mashed potatoes.  They are cute, and they make portioning very easy, not to mention cutting down the cooking time.

For my basic meatloaf, I mixed some ground beef with chopped onions, an egg, Dale's marinade (because I can't make ground beef without it), panko and Italian breadcrumbs, and my extra-special blend of meatloaf seasonings.  I can't give you an exact recipe for my spice blend, because there really isn't one.  I basically just reach into my spice cabinet and sprinkle a little of this and a little of that until I think it's right.  For this meatloaf, I used minced onions, garlic powder, chile powder, salt and pepper, and cocoa-chile blend.

Don't worry.  It may be ugly now, but the transformation is just beginning!

Once the meat was mixed well (by hand, of course), I rolled it into several small meatballs.  I pressed the meatballs into the cups of a muffin pan, forming the bottom and the sides of the "cupcake", leaving a well in the middle for my secret ingredient: cheese!  I shredded some cheddar cheese and pressed a little bit into each well, then topped each "cupcake" with another meatball, pressing along the sides to seal the cheese in the middle.


A word about forming your beefcakes: They will not rise the way cupcakes do in the oven, and in fact will shrink when cooked, so make sure to form a nice mound on top, and make them look the way fully cooked cupcakes do.

I popped the beefcakes in the oven at 350 degrees and started on my mashed potatoes.  Time was of the essence, so I peeled and quartered about 5 potatoes and threw them into some salted water to boil.  Cutting the potatoes up drastically reduces the time they need to cook, and they were fork-tender in about 15 minutes.  I drained them and let them cool for just a minute while I prepared my beefcake glaze.


For the glaze, I mixed some ketchup with some more Dale's, some Sriracha, some honey barbecue sauce, and some brown sugar.  The end result tasted like a thick, sweet and spicy barbecue sauce, and actually would have been delicious on some ribs, but that's another post...  I took the beefcakes out of the oven and drained them (a LOT of fat pools up in those muffin cups!), then spooned on a generous portion of glaze and popped them back in the oven while I made my mashed potatoes.

Cheesy, fatty, oozy goodness, pre-glaze

I wanted the potatoes to be super creamy, so I put them in the food processor with some milk, butter, sour cream, salt, and pepper (Paula Deen would be proud) and blended until they were smooth, then I added some more shredded cheddar and blended again until everything was nice and creamy.  I made a little brown gravy from a store-bought mix (shame!) and put the gravy and the remaining glaze in two separate squeeze bottles, for decorating my beefcakes.

Waiting for them to cool is the hardest part
By this time, the beefcakes were done, so I took them out of the oven and let them cool for about ten minutes (though I probably should have waited a little longer).  I scooped the mashed potatoes into a ziplock bag and snipped off one corner to make a piping bag, then "frosted" the beefcakes and topped with fried onions, glaze, and gravy.


Okay, so they didn't look as pretty as I had hoped... but man, were they delicious!  The meatloaf was moist and had a great flavor, the cheese was oozy and gooey, the potatoes were creamy and cheesy, and the onions provided a nice crispiness.  Scott and I are definitely planning to make this again soon, and experiment a little with the presentation aspect so they look more like cupcakes.  Try them at home, and let me know how they turn out!


Wednesday, September 1, 2010

Hummus Trio

What's better than hummus?  Three different flavors of homemade hummus!  Scott and I are huge hummus fans... we order it at restaurants whenever it's available, and our favorite brand of store-bought hummus is Sabra, of which we always have a container or two in the fridge.  The other day, however, I tried my hand at making some from scratch, and it was amazing!  Truly and honestly, it was better than any store-bought hummus I've ever had, and easily beats most restaurant versions, too.  This came as a surprise to me, because I've actually made hummus once before... and it sucked.  I don't know what I did wrong, but it was awful, and it took about a year for me to pluck up the courage to try again.


Today I have three different flavors of hummus, along with a very basic hummus recipe so you can try your own varieties.  You will be shocked at how easy and inexpensive it is to make.  If you have a food processor or blender, and five minutes to spare, you're in business!  (The hummus business, that is)

Basic Hummus Recipe
I don't have any pictures for this guy, because once you realize how many wonderful flavor combinations there are, basic hummus is just too boring.  Here are the step-by-step instructions:

  1. Drain one can of chickpeas (also called garbanzo beans), but save the water in another container.  Dump the chickpeas into your food processor or blender, and blend on high speed until the beans form a paste.  Once they won't break down any more, add a little bit of the reserved water, a teaspoon at a time, until your hummus is nice and creamy.
  2. Add 1-2 tablespoons of tahini.  Tahini is a paste made from sesame seeds and has a texture and flavor not unlike natural peanut butter.  You can find tahini in the ethnic section of the supermarket, or in a pinch, you can even use natural peanut butter, as long as it really is natural (ingredients: peanuts, salt).
  3. Add a little olive oil, salt, and lemon juice.  For the olive oil, I just make a quick ring around the food processor bowl.  Add the salt and lemon juice to taste.  Basic hummus also benefits from a little dash of cumin and ground coriander if you have it on hand.
  4. Blend until creamy and thoroughly mixed, and guess what?  You have hummus!  Eat it right away, or for best flavor, put it in a container, top it with a drizzle of olive oil, and put it in the fridge for a couple of hours to let the flavors marry.
Spicy Sriracha Hummus
Not pictured: Tahini

For this variety, simply omit the lemon juice and add a tablespoon of chili powder and a healthy squirt of srirachi sauce.  Top with a drizzle of olive oil and a sprinkle of chili powder.


Spinach and Artichoke Hummus

For this variety, add 1/4 cup chopped cooked spinach (I used canned), 1/4 cup of marinated artichoke hearts, and a healthy helping of parmesan cheese (the green can is just fine).  Top with a drizzle of olive oil and a sprinkle of parmesan cheese.


Black Bean Hummus

For this variety, add 1/2 can of drained black beans, 1/3 packet of onion soup mix, go a little heavy on the cumin, and omit the salt entirely (there is plenty of salt in the onion soup mix).  Top with a drizzle of olive oil and a sprinkle of cumin.


Now, how do you eat this hummus you've just made?  Well, it goes great with some pita slices, fresh veggies (Scott and I like cucumber, grape tomatoes, and celery), on a sandwich instead of mayo, in a wrap, on a salad, on slices of toasted french bread with a dollop of diced tomatoes, and sometimes right out of the jar with a spoon.

Nugget the infamous monster-cat was roaming the kitchen counter after I had made all the hummus, and she seemed particularly fond of the reserved chickpea water.  That lady is strange.

Thanks for helping, Nuggs.