Showing posts with label Tex-Mex. Show all posts

Friday, October 22, 2010

Tilapia Fish Tacos


Today after school, Scott told me that he was craving tacos (this is not news... that boy is always craving tacos).  I reminded him that I was on a diet and I'd rather not be tempted by eating at a Mexican restaurant, where I knew I'd order the wrong thing or overeat.  Besides, we just went grocery shopping and we have tons of food left over.  But he couldn't get the taco bug out of his brain, so I finally convinced him to make tacos at home.  I wasn't going to have any, but I went to the grocery store with him to get tortillas and ground beef, which is where I saw some fresh tilapia on sale.  I'm no dummy... I know that when fish goes on sale, that it's probably not as fresh as it could be, or that it is nearing its expiration date.  But I figured if I used it to make fish tacos today, it would probably be just fine.  And BOY am I glad I made the decision to buy it!


My favorite fish tacos are at Ragtime Cafe, where the fish is well-seasoned and topped with some home-made cole slaw, nothing else.  I didn't have any cole slaw or cabbage at home, but I could improvise.

I seasoned the tipalia filets with a spice blend I made that I thought best replicated their recipe: 1/2 teaspoon of each: cumin, cayenne pepper, garlic powder and chili powder, 1 1/2 teaspoons of no-salt seasoning, and a pinch of salt.  Then I got a small frying pan searing hot and cooked the filets about 1-2 minutes on each side (it doesn't take long to cook tilapia!).  I warmed up some 6" tortillas and shredded some romaine lettuce, which I tossed with just a smidge of my favorite salad dressing: Ken's Steakhouse Light Sweet Vidalia Onion.  That's all I needed... tortilla, fish, salad, and a squeeze of fresh lime.  They were almost exactly like my favorite tacos from Ragtime, but much cheaper and probably a lot healthier!  They clock in at just about 300 calories for two tacos, which was plenty enough to fill me up, and I was HONGRY.


I have some leftover tilapia, so I will probably make these again for lunch tomorrow... quick and easy!

Thursday, September 16, 2010

Tuna Melt Quesadillas

The title of this post alone is enough to make post readers turn away and never come back... but wait!  I promise I have delicious noms in store for you!  In fact, I had to make Scott wait in the other room while I was making these, because I knew that if he found out I was putting tuna in quesadillas, he'd never eat it.  Well, he ate it, and when I asked him to rate his dinner on a scale of 1 to 5, 1 being totally grody and 5 being super awesome good, he gave it a 10.5.  Which is a good thing, since this was such a cheap-o meal, I can make it over and over again.


Let it be known that I do not like tuna melts.  I also don't much like tuna noodle casserole, or any other combination of foods where the tuna is hot and mixed with cheese.  But for some strange reason, I have always loved tuna quesadillas, and I think it might just be because my love for quesadillas trumps my hatred of hot tuna. For this recipe, we will do all we can to hide the flavor of the tuna, and mask its fishiness.

See that tuna quesadilla? Not as good as mine.

I start by mixing one pouch of Starkist hickory flavor tuna (or whatever flavor you like... those things are awesome!) and one can of diced mild green chiles.  Sure, you can dice your own mild green chiles, but for this dish, I like the canned variety because they're nice and soft and I can't be bothered to cook them down from fresh.  For the flavoring, I'll add a dash of sriracha, some leftover meatloaf glaze, and some salt and pepper.


Then I start my quesadillas... some butter in a frying pan on medium-high heat, add a tortilla, add some cheese, add my tuna mix, some more cheese, another tortilla, and done!  Let it sit undisturbed until the cheese on the bottom half is melted, then flip with a wide spatula and cook on the other side until all the cheese is melted and the tortillas are nicely browned.


While the quesadillas were cooking, I mashed up half a ripe avocado with some spicy ranch dressing and a little salt, for a creamy dipping sauce.  Slice the quesadillas up and serve with a simple salad: a wedge of iceberg lettuce drizzled with some more spicy ranch dressing.

One of my favorite foods... behold the Delicious Avocado!

I promise, even if you don't like hot tuna or tuna melts, you will love this dish!  And it's so simple and inexpensive, it's a perfect weeknight meal, and a great meal to make if you're only cooking for one or two people!


Thursday, August 5, 2010

Enchilada Party!

So, Monday night Scott and I had our friend Natalie over for a quick and easy cooking lesson.  We used my enchilada recipe because it was so foolproof, and because Nat and I had been talking about making enchiladas for years and years before we finally made this happen.

Nat had to work that day and was planning to come by afterwards, so I did a bit of prep before she came over. I went shopping for ingredients (cheap, remember?), cooked the chicken in the crockpot (3 bone-in breasts with about half a cup of salsa and just a tad of barbecue sauce on high for 6 hours), and cut up the bell peppers.
This is actually a fairly good example of what my usual shopping list looks like, enchiladas or not.
When Nat came over, we put her to work, cooking the onions, peppers, and chicken in the saute pan while Scott and I fiddled with the avocado fries.

Watch out, Rachael Ray!
Then we made an assembly line to get the enchiladas from skillet to pan, and taught Natalie the finer points in tortilla folding technique.


Finally, after some temperature adjustments to the oven (an electric; I will SORELY miss my gas oven after I move), we had two batches of enchiladas ready to serve: one for Natalie to take home, and one to take to Scott's parents for dinner the following evening.  Remember, folks: enchiladas, much like soup and chili, get better and better each day after they're made.  They're perfect leftovers-food, so don't be scared to make way more than you think you need!

Natalie's first batch of scratch-made enchiladas!


Thursday, July 29, 2010

Fake Enchiladas!

They're not really fake.  But I'm not proud of how I made them.  Don't worry, though, they turned out to literally be the best enchiladas I've ever eaten in my entire life.  And I never, ever, ever use hyperbole to stress a point.  Ever.


Okay, so to justify my use of the word "fake": enchiladas are a beautiful thing.  The sauce should be made lovingly and the meat and vegetables should be prepared in such a way as to make them tender, juicy, and flavorful.  You should always use fresh ingredients, and avoid canned and pre-packaged foods at all cost.  But sometimes you are pressed for time and you're broke and you're hungry, so you make enchiladas the way I did today.  And you love every minute of it.
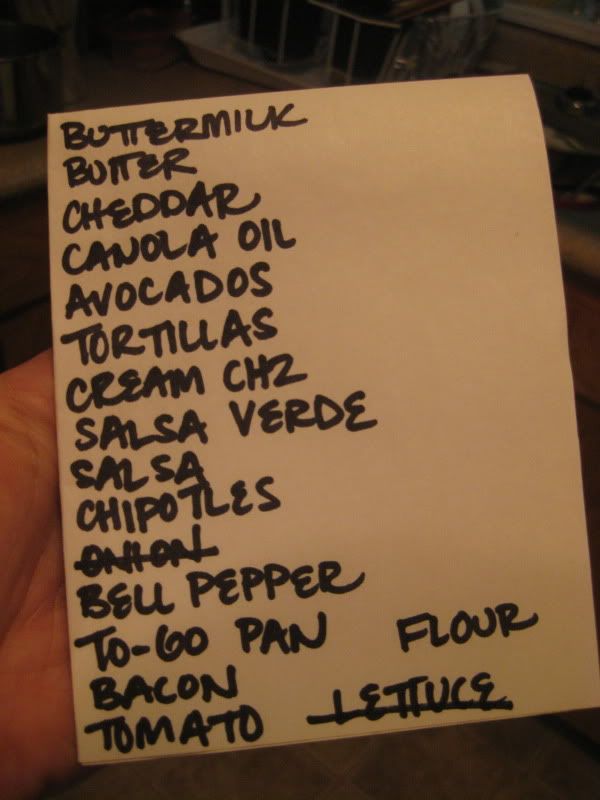
Ingredients:
1 large chicken breast, chopped into 1" cubes ($1.00 if you cut it yourself)
1/4 each of a large red, green, and yellow bell pepper, sliced into strips (I got a pre-sliced mix for $3.11)
1/2 yellow onion, sliced (already had it at home)
1/2 tub of onion and chive cream cheese ($0.45 on sale)
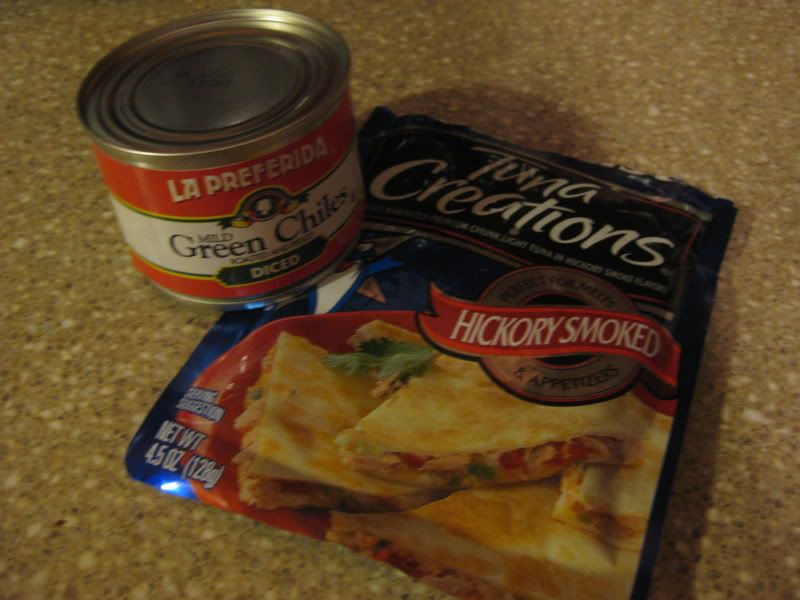
1 small can salsa verde ($1.25)
1/2 jar Mrs Rendfro's Black Bean Salsa, or salsa of your choice ($1.85)
generous handful or two of shredded "taco cheese" ($0.75 on sale)
beer (the equivalent amount to what you'd typically pour out for your homies) (price is negligible)
1/2 can chipotle peppers in adobo (already had it at home, but typically about $0.50)
4-5 flour tortillas, soft taco size ($1.30)

Total Cost: $10.21  Cost per serving: $2.55!!!

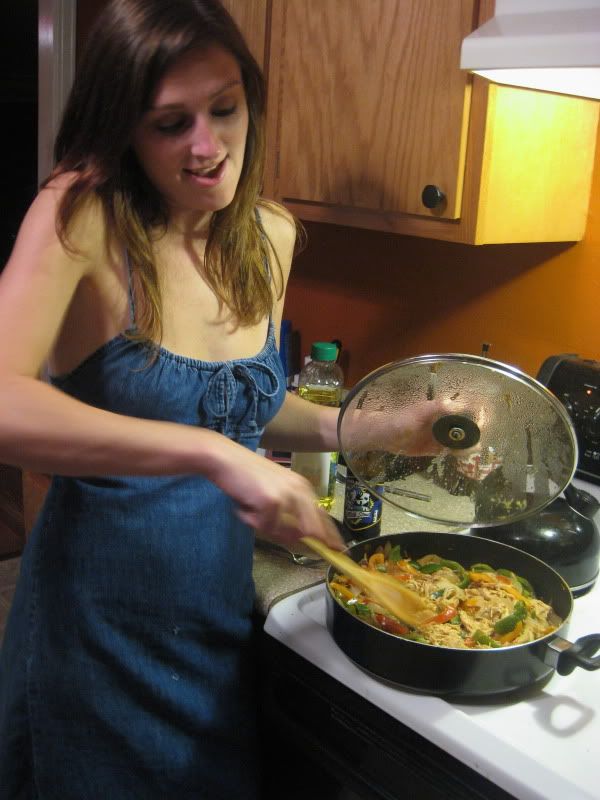
Okay, first things first.  I knew I wanted rice and beans to go with this, so I went ahead and started a pot of brown rice, seasoned with chili powder, salt, pepper, and dried red chilies.  Next, I butchered up my chicken (I bought a pack of split breasts for less than $4, cut one up and put the rest in the freezer for later) and added it to a large skillet with some butter (oil would have been better but I was out) and onions.  When the chicken was seared but not yet cooked through, I added the peppers and the chipotles.

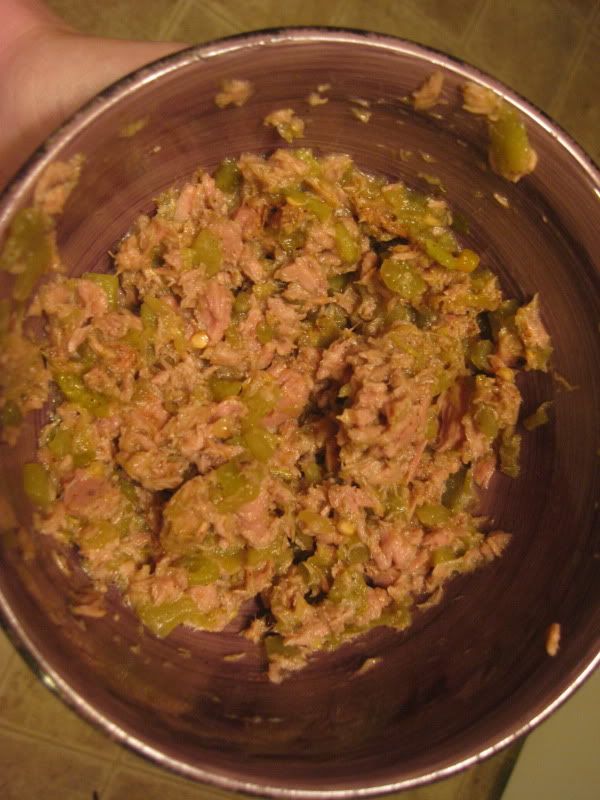
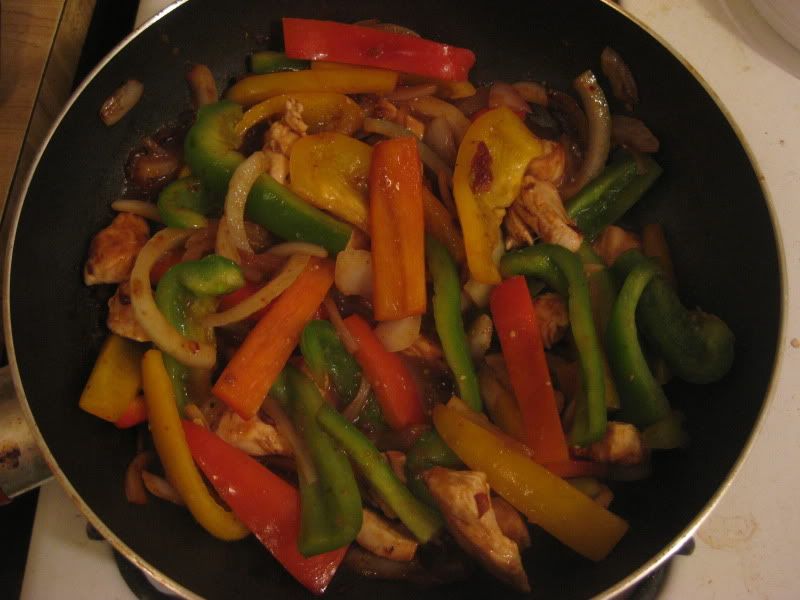
Chicken and peppers and onions, Oh My!

A note on the chipotles, if you haven't used them before:  Always keep these in your pantry.  I use them for everything, and they are so delicious that you have to get in the habit of using them if you don't already.  They come packed in a thick red sauce (adobo) with onions, and you have to fish them out, slice them open, and scrape out the seeds and membranes with a spoon or the back of a knife if you don't want to die from hot-mouth.  If you don't necessarily want to use the peppers in your cooking, you can just spoon a little of the sauce into your dish for an instant punch of flavor (try mixing the adobo with some chopped garlic and mayo for a spicy aioli to spread on sandwiches).

When the pan started to get a little dry, I added some of the salsa, a splash of beer, the rest of the adobo sauce from my can of chipotles, and the cream cheese.  I'd never made enchiladas with cream cheese, but several recipes I've seen call for sour cream, which I hate, so when I saw my favorite flavor of cream cheese on sale, I decided it would made a lovely substitute.  And man, do NOT miss out on this ingredient, because this literally elevated the dish to a level I never could have imagined without it.  The cream cheese makes the dish.  The chipotles are almost as essential, for the spice and smoky flavor they contribute, but the cream cheese is king here.  Trust me on this.

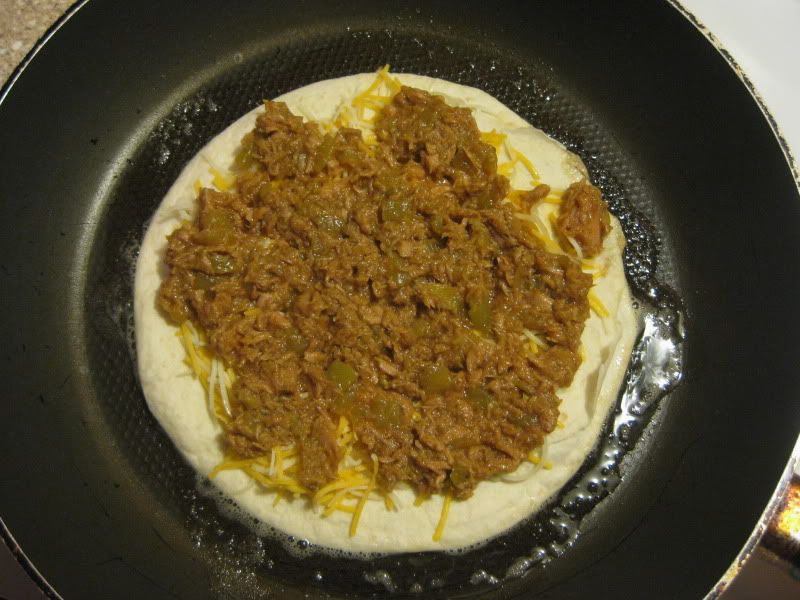
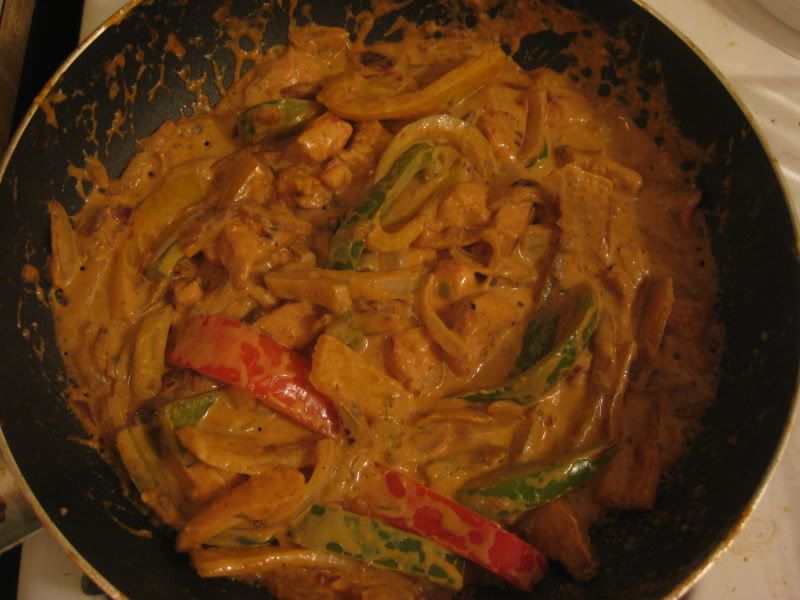
There is no way you could ever understand how delicious this is.  Unless you make it.

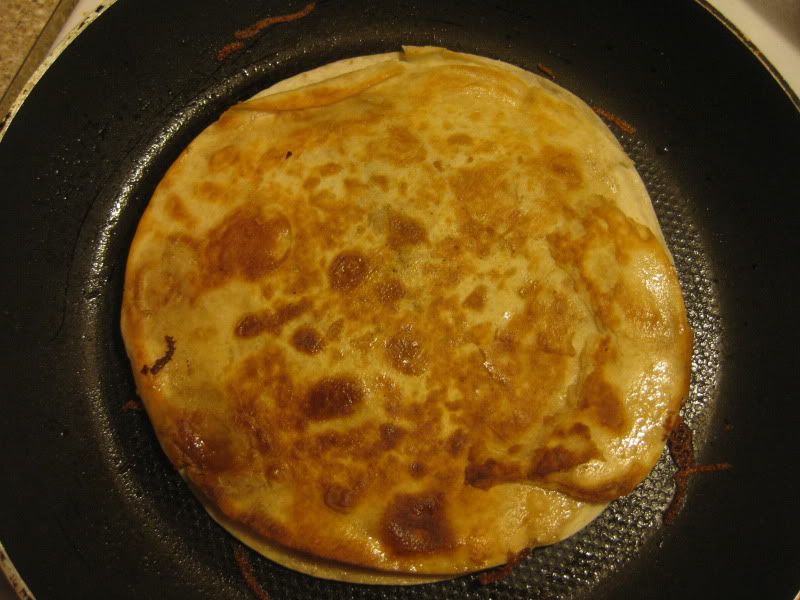
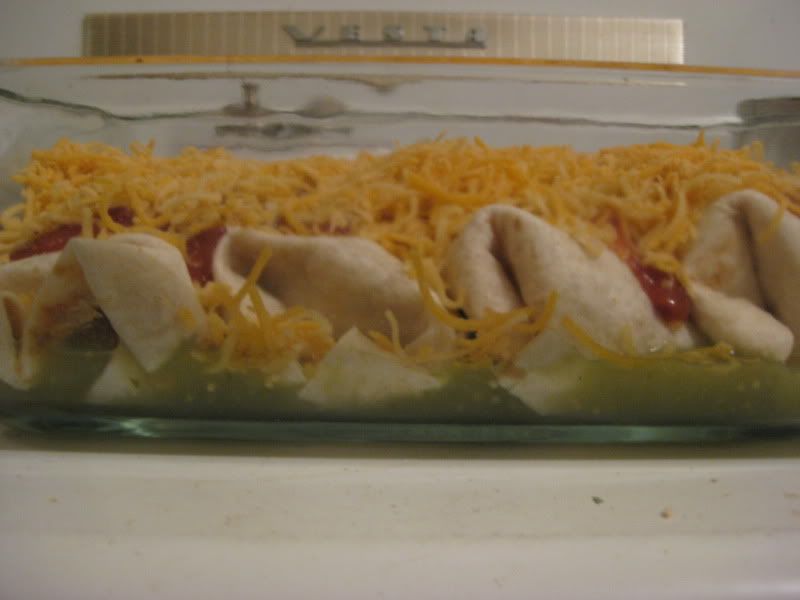
Okay, once I had all my stuff simmering away, I got my casserole dish ready.  This would have been way better (and would have fed more people) in a 9x13 dish, but all I had was a little 8x11 (or thereabouts), and it worked out just fine.  Pour the entire can of salsa verde over the bottom of the pan (you can Pam the sides of the dish at this point if you are so inclined, but hunger made me forget) and get your tortillas ready.  If the tortillas are rather flexible, you can use them as-is, but if they are a bit stale or too cold, they might tear, so you should nuke them for a few seconds to warm them up.

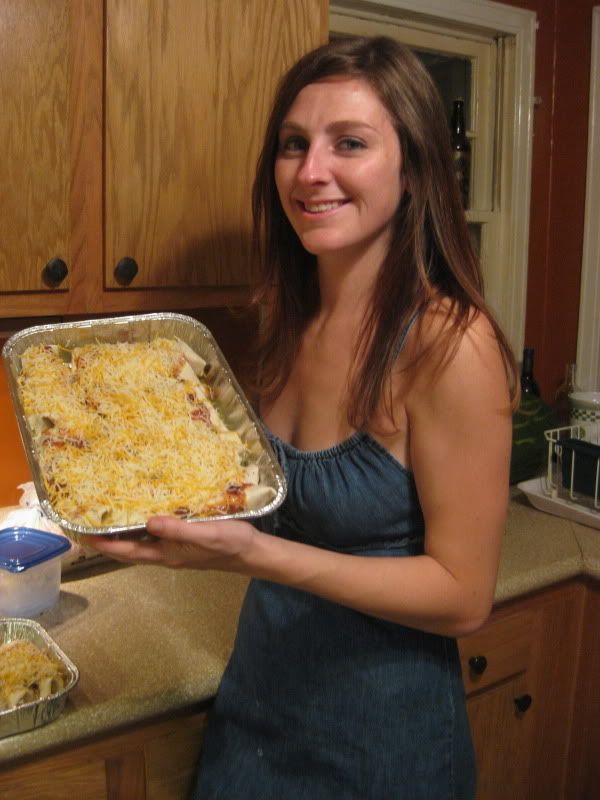
By this point, all the good stuff in the skillet was sizzling in a creamy and thick sauce.  If your sauce is too thick or too dry, add another splash of beer.  If it's pretty soupy, let it cook a bit longer.  When it's ready, spoon about a spatula-full of stuff in the center of a tortilla.  Roll it up burrito-style, then place it seam down in your casserole dish.  Repeat until you can't fit any more enchiladas in the pan.  Top with a generous serving of salsa (I do not believe in store-bought enchilada sauce.  Even if you're being lazy and can't make a sauce, use salsa or Rotel and you'll be just fine.  Enchilada sauce is poison.) and top the whole shebang with enough cheese to clog your arteries at the mere sight of it.  Or a healthier portion, whatever.  I opted for the artery-clog.

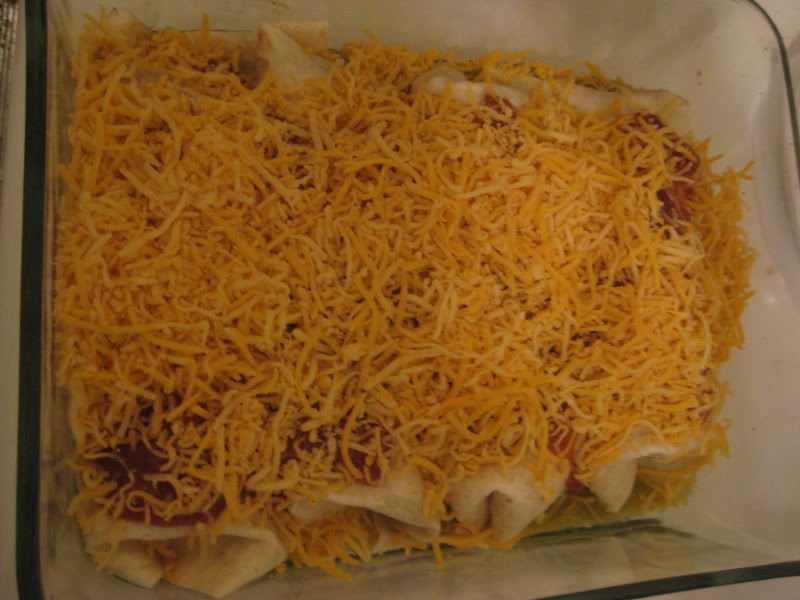
Don't let anyone fool you: pre-shredded cheese is the devil, but if you don't own a cheese shredder, it's a necessary evil on Enchilada Night.

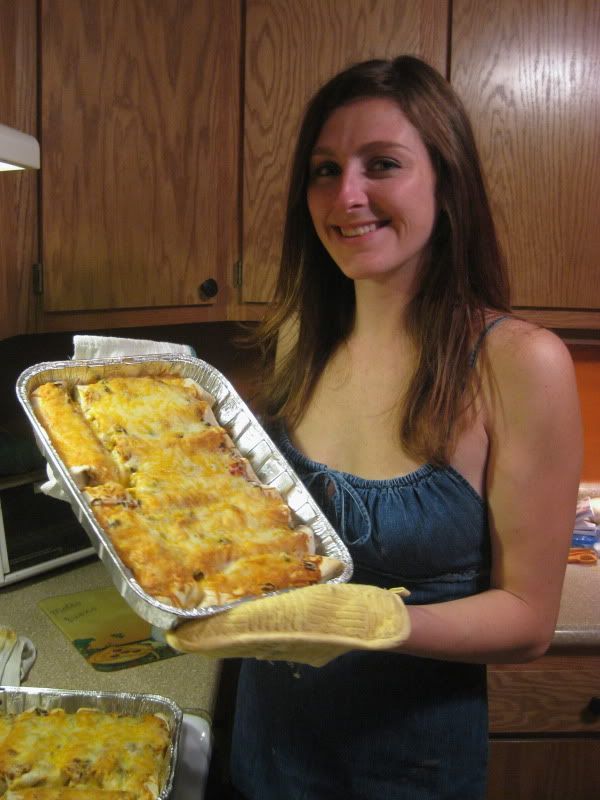
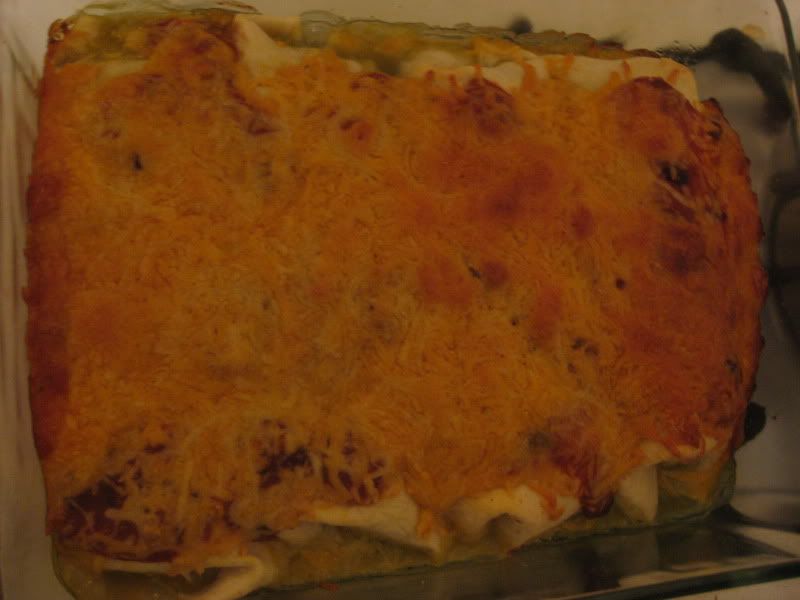
That's it, folks!  Pop that baby in the oven at about 350 degrees for as long as it takes for the cheese to bubble and the edges of the tortillas to crisp and brown.  Don't set a timer, just keep an eye on it. You'll know when it's done.


For the rice: when it was done, I pulled out the red chilies and added half a can of Bush's Grillin' Beans, black bean fiesta variety.  Huge mistake.  That shit is nasty.  But I ate it anyway, and I have lots of leftovers!

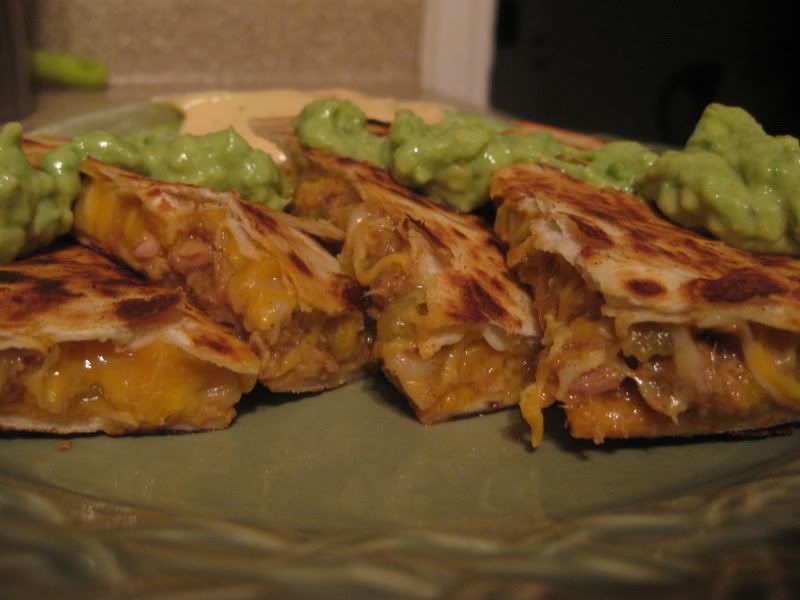
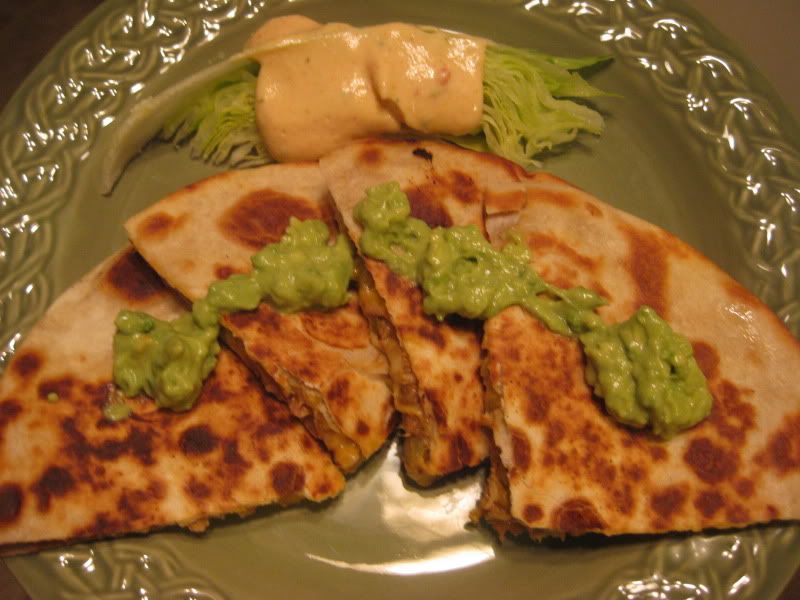
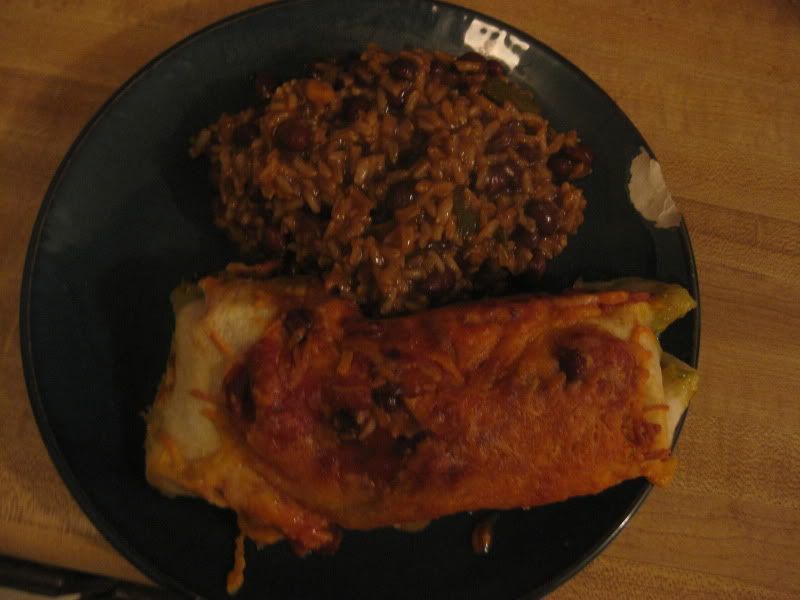
Poor lighting and a chipped plate help to drive home the idea that this is a poor-man's supper.  I was just too dang hungry and intoxicated by the aroma to wait long enough to take a proper photo.