Monday, August 30, 2010

Grumpy Bagels

What better way to wake up your Grump in the morning than with a piping hot onion bagel, made fresh in your own kitchen?  I went a step further and actually cajoled my own Grump to make these bagels himself... really working the grumpiness right into every chewy, soft, and savory pore of this delicious breakfast food!


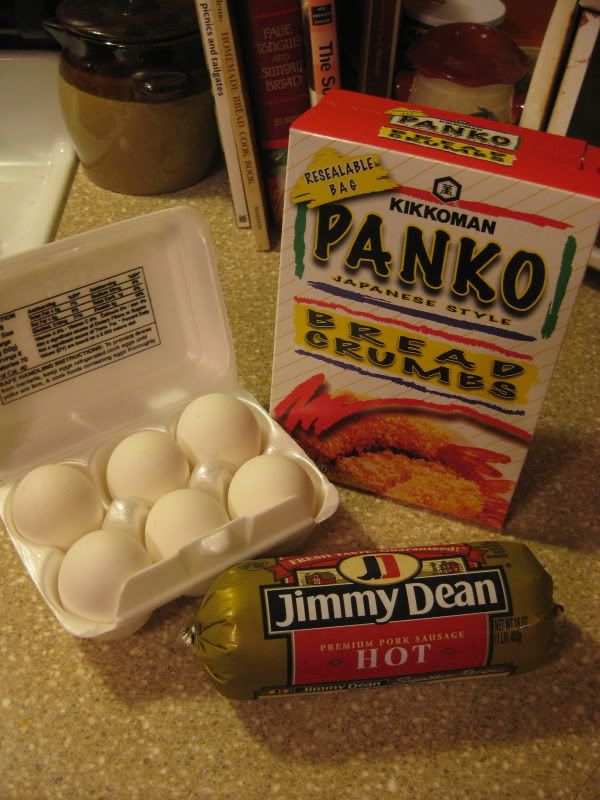
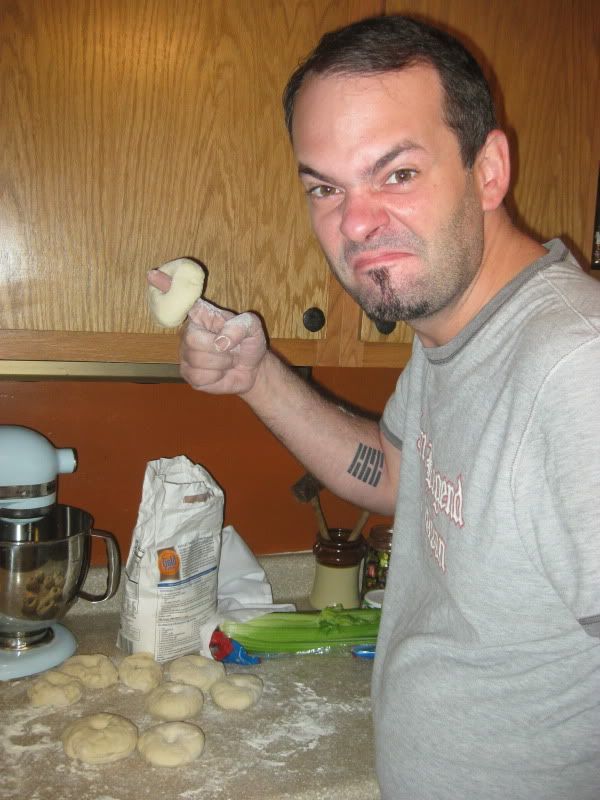
Bagels are much easier to make than you would think.  They only call for the bare minimum of ingredients, most or all of which I'm sure you already have in your pantry, and though they do take some time to make, most of it is inactive work, like waiting for the dough to rise or the bagels to bake in the oven.  And while you can definitely make these yourself, the fun is in having your Grump join you in the kitchen... four hands work better than two!

I'll post the entire recipe at the bottom of the page, because bread is one of those things you can't really mess around with too much.  You gotta have exact measurements, which is not usually my style.

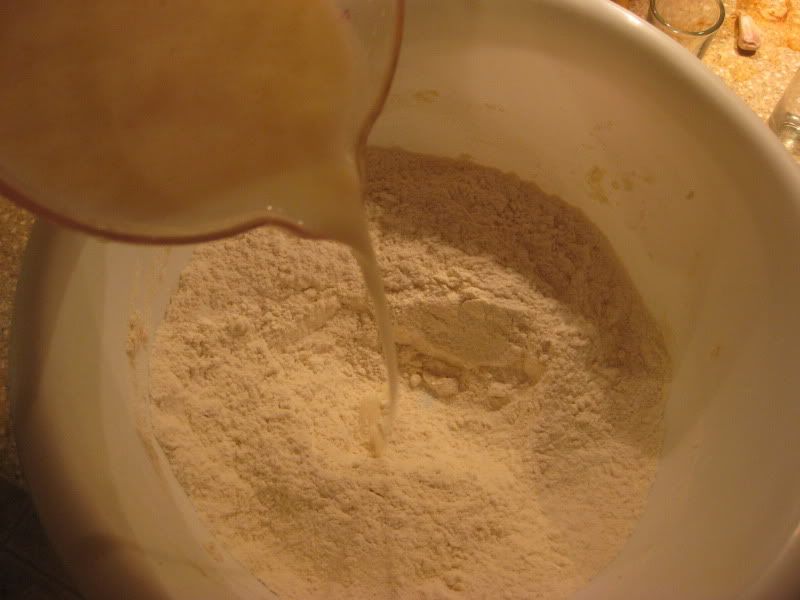
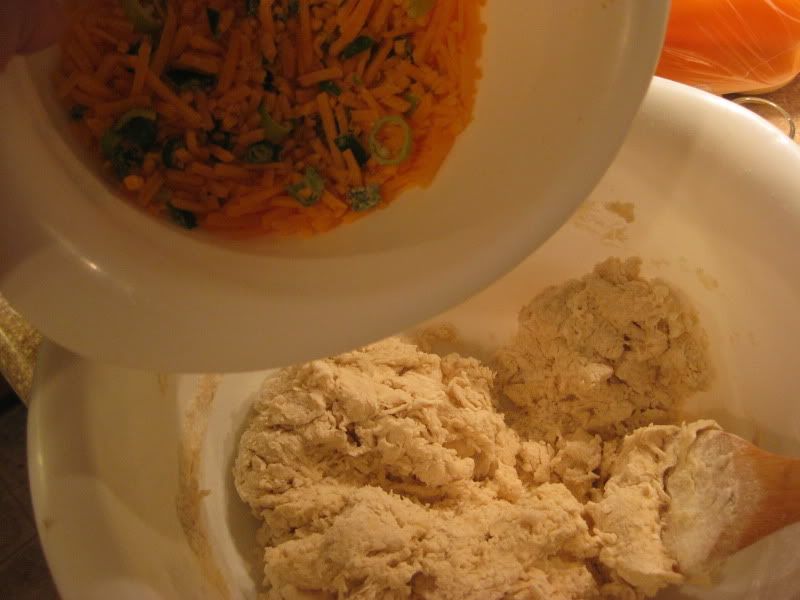
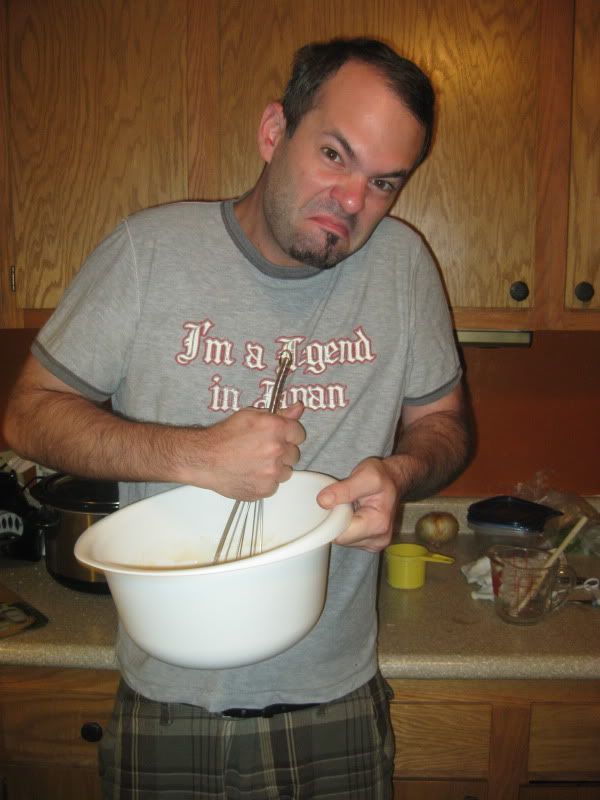
To begin, you'll mix together your dry ingredients (flour and yeast), then your wet ingredients (water, salt and sugar), and then pour the wet into the dry.  Getting this thoroughly mixed takes either a stand mixer (which I did not feel like cleaning), or some serious elbow grease.  My Grump has plenty of the latter, so I put him to work on the dough.

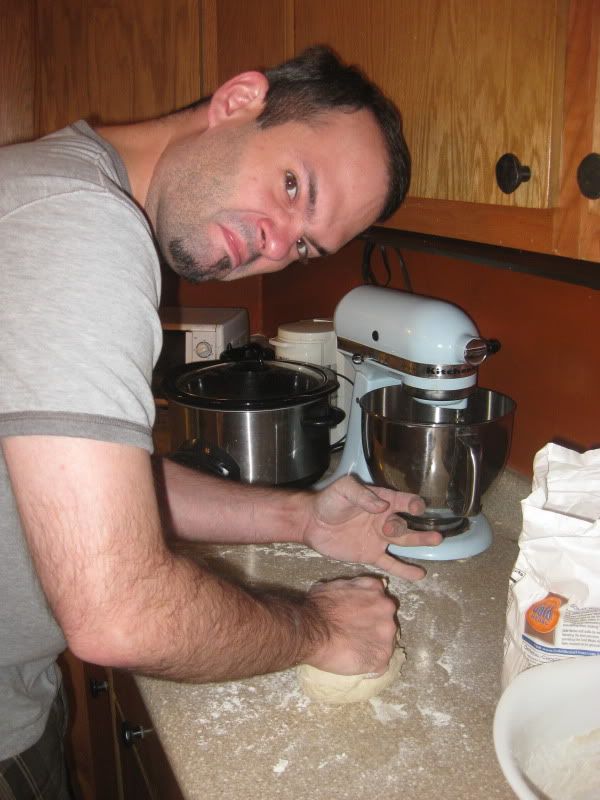
When the dough is properly mixed, it's time to knead.  Throw a little flour down on your countertop and get to work.  It takes about 8-10 minutes of kneading if you're doing it by hand, so put on some tunes, roll up your sleeves, and go on and get your hands dirty.  If you're feeling extra grumpy, it's a good way to get some tension out!

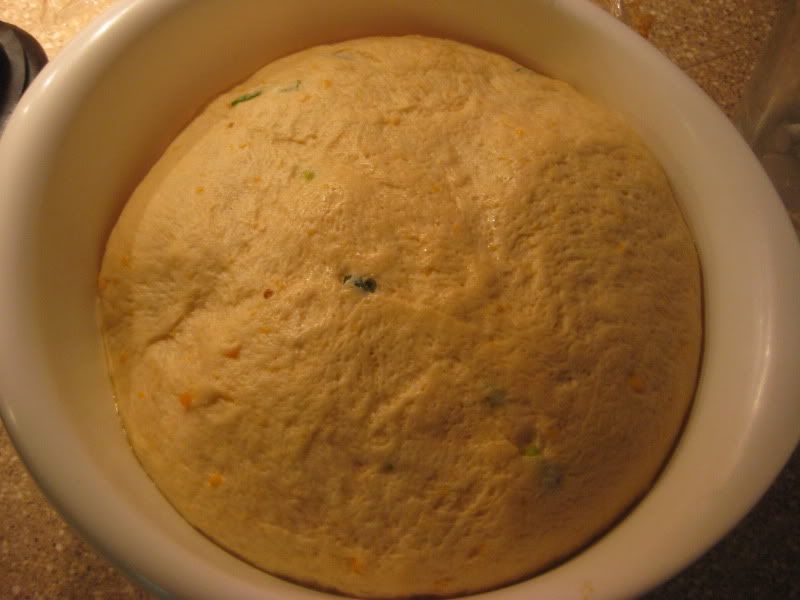
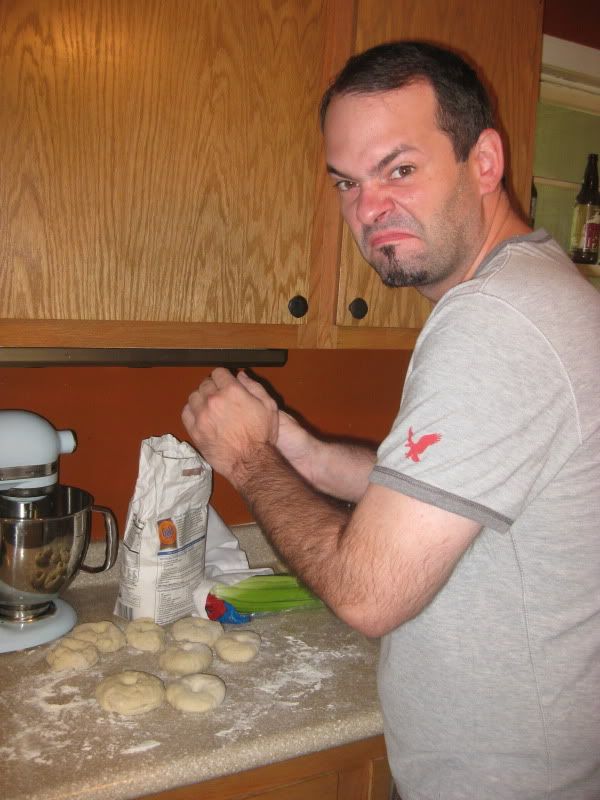
Now it's time for a rest... for you and the dough!  Cover everything up and let it sit on the counter for about fifteen minutes.  The dough will rise, but it won't actually double in size as if you were making bread.  It'll just get nice and soft and puffy.  Cut the dough into 12 equal pieces (though, for this recipe, which was written in the '70s, I generally made about 8 modern-sized bagels) and form into balls.


Now to make these rolls into bagels...  with a floured finger, poke a hole through the center of the dough ball and wiggle it around, stretching and pulling the dough evenly until you have what actually looks like a bagel.


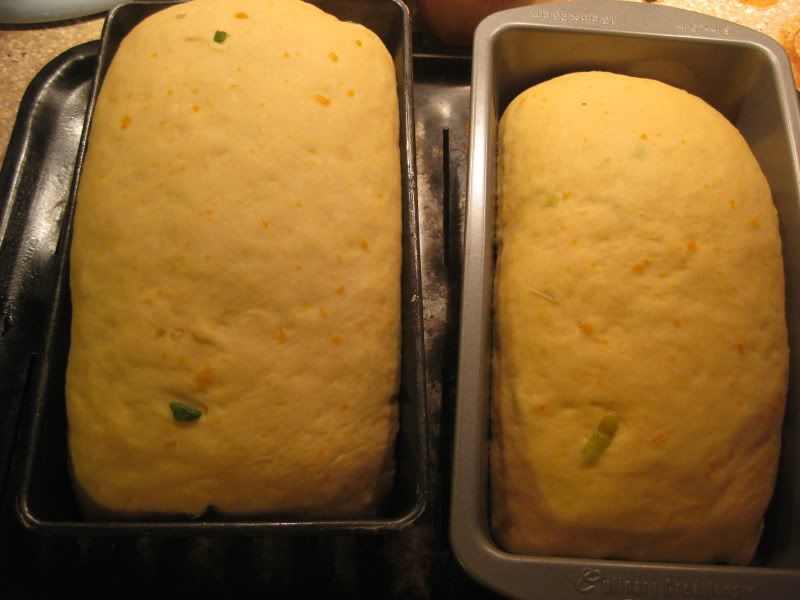
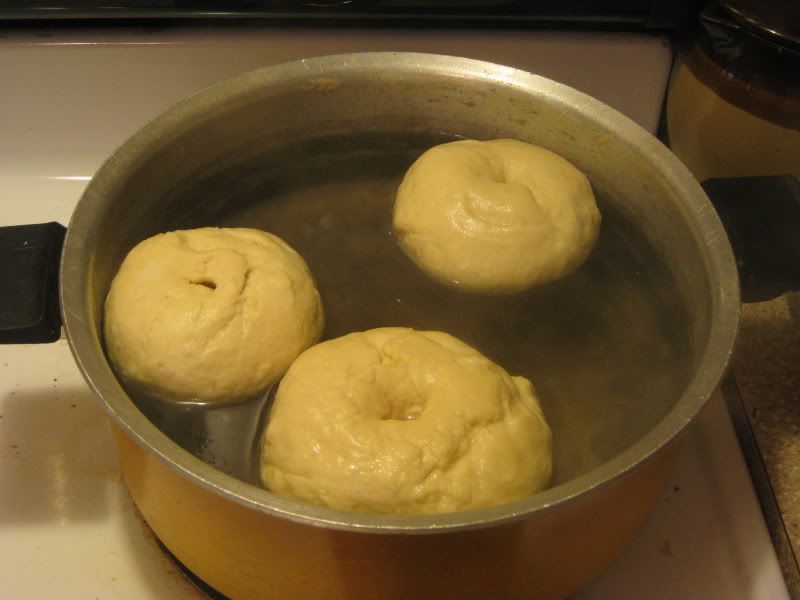
Now, cover your bagels and let them rise again for about 20 minutes.  In the meantime, fill up a large, wide pot with a gallon of water and one tablespoon of sugar.  Bring the water to a boil, then reduce to simmering.  If you are working with an oldish electric range, like I was, your 20 minutes should have elapsed by now and it's time to start boiling the grump right into those bagels.

Drop 3 or 4 bagels into the pot, or however many you can fit without the sides touching, and boil for about 7 minutes, turning over halfway through.  Don't worry, they will float, and they will toughen up as they boil, so you don't have the sticky mess you might expect.  As you pull them out of the water, put them on a plate lined with towels to absorb the rest of the water, and continue on with your next batch until all the bagels are boiled.

When all your bagels are ready, pop them on a greased baking sheet and into the oven at 375 degrees for 30-40 minutes.  But wait!  Weren't we making onion bagels?  One more step...  In a saucepan, melt a few tablespoons of butter (2 or 3) with about half of an onion, very finely minced.  Saute until the onions are cooked, but not yet brown.  And you'll want to stay in the kitchen for this one, folks... if there's a better scent than onions cooking in butter, I don't want to know about it!
When are they ever going to invent smellovision? This would be the perfect time to use it.
When the bagels have about 15 minutes left in the oven, brush on the butter-onion mixture, then return to the oven.  Let your nose be your guide... when you smell onions, your bagels are ready!  They won't brown up very much, so be careful not to overcook them.  Then dig in!  Please, please, I beg you, do not wait for these guys to cool before you eat them.  One of the greatest joys in life is a hot bagel fresh from the oven, and that joy exists only in a window about about 10 minutes.  You can toast the rest later, grill them, slice them up for sandwiches, I don't care.  Just make sure you get at least one hot chewy bagel while it's still steaming!


Onion Bagels (makes 8-12)

  • 4.5 cups flour
  • 2 pkgs instant dry yeast
  • 1.5 cups warm water
  • 3 tbsp salt
  • 1 tbsp sugar
  1. Mix 1.5 cups flour and yeast in a large mixing bowl, or in your stand mixer, dough hook attached.  In a separate bowl, mix water with sugar and salt, then add to flour mixture and stir until thoroughly combined.  Knead 8-10 minutes or until dough becomes elastic and smooth. Cover and let rest 15 mins.
  2. Cut dough into 8-12 equal portions; form into smooth balls.  With a floured finger, poke a hole in the center of each ball and gently stretch to form bagel shapes.  Cover and let rest 20 mins.
  3. In a large pot, boil one gallon of water and one tbsp sugar, reduce to simmer.  Drop bagels into water, 3 or 4 at a time, for seven minutes each, turning halfway through.  Let bagels dry on a plate lined with towels until all bagels have boiled.
  4. Place bagels on a greased baking sheet and place in a 375 degree oven for 30-40 minutes.  If making onion bagels, saute 3 tbsp butter with 1/3 cup finely minced onion until onions are soft but not yet browned.  Brush onion-butter mixture over bagels at the final 15 minutes of baking time.

Saturday, August 28, 2010

Leslie's Inside-Out Venison Burgers

When my old pal Leslie called me the other day and asked if I would like some ground venison, I almost fainted.  Venison is one of my favorite meats, and pretty much the only reason I condone deer hunting.  I could never kill a deer myself, but I'll be first in line to get my grubby little hands on some of that delicious meat!  It's lean, it's packed with protein, and the flavor is out of this world.  It was actually Leslie's idea to make the inside-out burgers, a recipe I've been making for several years now, so when she came over, it was only natural that we'd capture it and write a blog about it.


The recipe is super-simple, but always gets a great reaction from guests.  When I went on a cross-country road trip with friends last summer, we made these burgers whenever we met up with friends along the road, as a thank-you for sharing their space with us weary travelers.  All you do is make a regular old hamburger, but the surprise is that there is cheese... on the inside!  No need for any condiments, because it's all included (except for a little mayo, if that's your style).
We used a blend of Cheddar and Jack, but any cheese will work. Experiment!

We mixed our venison with some Panko breadcrumbs, Dale's marinade, salt, pepper, and some minced garlic.  Normally, I would add an egg per pound of burger meat, but the venison doesn't really need it.  Form the patty, a little larger than you usually would, then pound it out really flat, so you have a pretty little meat pancake.  Then heap a little shredded cheese in the center.  At this point, I usually add a few shakes of Tobasco, but Leslie wasn't in a spicy mood, so we left it out.  Then, carefully form the burger around the cheese in the center, bringing up the sides and smoothing out any holes.

The final step, and the secret to a really flavorful burger, is to marinate the patties in a little more Dale's while the grill is heating up.  I understand Dale's isn't available everywhere once you leave the South, and I feel sorry for those poor folks who have to go without.  Dale's is truly one of the greatest inventions to ever hit the kitchen... I couldn't make burgers without it!


As far as toppings go, this burger doesn't need much.  Leslie brought some of her home-grown tomatoes and peppers, so we sliced them up along with some sweet onion for some crunch.  
After some truly frightening and painful experiences after not washing my hands properly after cutting peppers, I now wear gloves each and every time.

Scott and I topped ours with a squirt or two of Sriracha (because in our house, Sriracha goes on everything.  It's a rule.), and Leslie loaded on the mayo (you would not believe the amount of mayo this girl uses.  She's got the stuff running in her veins.), and we were all set!  Pair it with an ear of freshly grilled Indiana sweet corn and you've got one of the best summer meals you could ever have.

Thursday, August 5, 2010

Enchilada Party!

So, Monday night Scott and I had our friend Natalie over for a quick and easy cooking lesson.  We used my enchilada recipe because it was so foolproof, and because Nat and I had been talking about making enchiladas for years and years before we finally made this happen.

Nat had to work that day and was planning to come by afterwards, so I did a bit of prep before she came over. I went shopping for ingredients (cheap, remember?), cooked the chicken in the crockpot (3 bone-in breasts with about half a cup of salsa and just a tad of barbecue sauce on high for 6 hours), and cut up the bell peppers.
This is actually a fairly good example of what my usual shopping list looks like, enchiladas or not.
When Nat came over, we put her to work, cooking the onions, peppers, and chicken in the saute pan while Scott and I fiddled with the avocado fries.

Watch out, Rachael Ray!
Then we made an assembly line to get the enchiladas from skillet to pan, and taught Natalie the finer points in tortilla folding technique.


Finally, after some temperature adjustments to the oven (an electric; I will SORELY miss my gas oven after I move), we had two batches of enchiladas ready to serve: one for Natalie to take home, and one to take to Scott's parents for dinner the following evening.  Remember, folks: enchiladas, much like soup and chili, get better and better each day after they're made.  They're perfect leftovers-food, so don't be scared to make way more than you think you need!

Natalie's first batch of scratch-made enchiladas!


Avocado Fries

Avocado... fries?  I was as skeptical as you probably are when I first heard of this recipe.  Being a huge fan of avocados and a huge enemy of deep-frying, I was conflicted as to whether to even attempt this at all.  In the end, my love of avocados won over and conquered my anti-deep-frying side, and the result was pure genius.

Served with ranch dressing for dipping, but trust me, you don't need ANYTHING to make these guys taste amazing!

Would you believe me if I said this was the first time I had ever deep fried anything, ever?  Well, it's true.  And to be honest, I don't know if I would ever do it again.  I nearly set the kitchen on fire, and definitely filled the room up with smoke, and then there was the question of what to do with the used oil.  I mean, I used almost half a bottle to make this dish, and eventually just poured it out in the trash, knowing it might be years before I fried again.  That said, I have no regrets.  Avocado fries are clearly what they serve in the afterlife, and if they don't, then baby, I want to live forever.

The cooking process went so quickly that I don't have any pictures, but it's very simple, so here's how it goes:
1. Slice up some avocados.  They should be ripe, but just barely so.  Green but not soft.
2. Sprinkle with salt, then dredge in flour.
3. Dip in some beaten egg (about 2 eggs for 2 avocados) then some Panko breading.
4. Deep fry for about 30 seconds in some canola oil heated to 350 or thereabouts.  I don't have a fry thermometer, so there was a lot of trial and error involved.  Drain on a plate lined with paper towels and sprinkle with a little salt to finish.

These were absolutely magical on their own, but next time I think I might want to dip in a little bit of salsa.  Try them out, serve them at your next party, and be amazed!

Wednesday, August 4, 2010

Jalapeno-Cheddar Sandwich Bread

I am a lover of all things spicy, and honestly, everyone loves anything cheesy... am I right?  This bread will satisfy both cravings, and goes perfectly with a BLT, or stands alone toasted and topped with cream cheese or butter.

This is one of my first attempts at baking bread from scratch, and though I suffered a minor fail, the bread was still amazing.  I'll go ahead and tell you my main error, so that you don't make the same mistake: I was pressed for time, and used a KitchenAid stand mixer to knead the bread, which was my first time using such a method, and the bread did not get thoroughly kneaded.  Typically, bread dough should be hand-kneaded for at least ten minutes, which is how long this batch spent in the mixer, but when you use a mechanical mixer, you should at least double that time.  As a result, the bread resembled a quick bread, and was doughy and dense, and fell apart quite easily.  If I had kneaded it by hand, it would have been much fluffier, and even though these were relatively fail, they were still delish.

Here's the recipe; I found it at Pink Parsley and can't rightfully claim it as my own, so I've gotta give props to Josie for all this awesomeness.  And here are some pics of the process:

Adding the wet to the dry... slowly!

Adding the cheese and peppers to the dough

Mixing in the KitchenAid... bad idea!  Don't be so lazy!

The dough, in an oiled bowl, ready to rise
Like magic, it doubles in size!
The two loaves are uneven due to different rising times, but it all works out in the oven
I was in too much of a hurry to take a pic of the loaf right out of the oven, but after an hour of cooling, I made this awesome BLT.  Perfection!
This seriously, seriously makes the best BLT ever.  I lightly toasted two slices and added a chipotle aioli (one chipotle pepper, seeded and chopped, plus a teaspoon of adobo sauce mixed in with 1/4 cup mayo), slices of garden tomatoes, iceberg lettuce, and thick-sliced oven baked bacon.  The reason there's only half a sandwich in the picture is because I was halfway to heaven before I remembered to snap a pic.  Make this bread, NOW!

Stephen's Scotch Eggs

This post is dedicated to my brother, Stephen, a Marine currently serving his first (and hopefully ONLY) tour in Afghanistan.  My family briefly stayed in Wimbledon, England, with my aunt and uncle, where we were first introduced to Scotch eggs.  They are greasy, fatty, and full of protein, and boy are they delicious!  Today, if you ask Stephen what his favorite ethnic cuisine is, he is likely to mention British food as one of his favorites, largely due to Scotch eggs, which he ate plenty of during our stay in Wimbledon.  When I saw this recipe online, it reminded me of him, and I just had to make them in his honor.


Like many British foods, this is traditionally deep-fried, but mine is a somewhat healthier version, in that it is baked.  A Scotch egg is simple... a hard-boiled egg, wrapped in sausage, breaded, and cooked so that the sausage and egg meld into one portable, hand-held breakfast or snack, perfect for the Atkins dieter or anyone who needs a major protein boost.


The recipe is simple.  Boil some eggs, wrap them in some breakfast sausage (I used Jimmy Dean Hot Sausage), coat in an egg wash, roll in Panko, and bake.  I'm going to call this first try a fail, mainly because I forgot about them in the oven and they baked WAY too long, and the sausage shrunk and split, revealing the egg underneath.  But they were still quite tasty, and they stand alone as a perfect breakfast, without the need for condiments (though if you must, they go best with a dollop of stone-ground mustard).

For one batch, you need about 5 large hard-boiled eggs (I used 10-minute eggs), one pound of sausage, one beaten egg for the wash, and about 1/4 cup of panko breading.  You could use fresh breadcrumbs or any store-bought seasoned breadcrumbs, but I prefer Panko for the delicious crisp they provide.  Estimate one egg per serving, as they are quite rich.  I will definitely be making these for Stephen when he gets home from Afghanistan, and I hope he enjoys these as much as he loved the ones from his stay in England!